
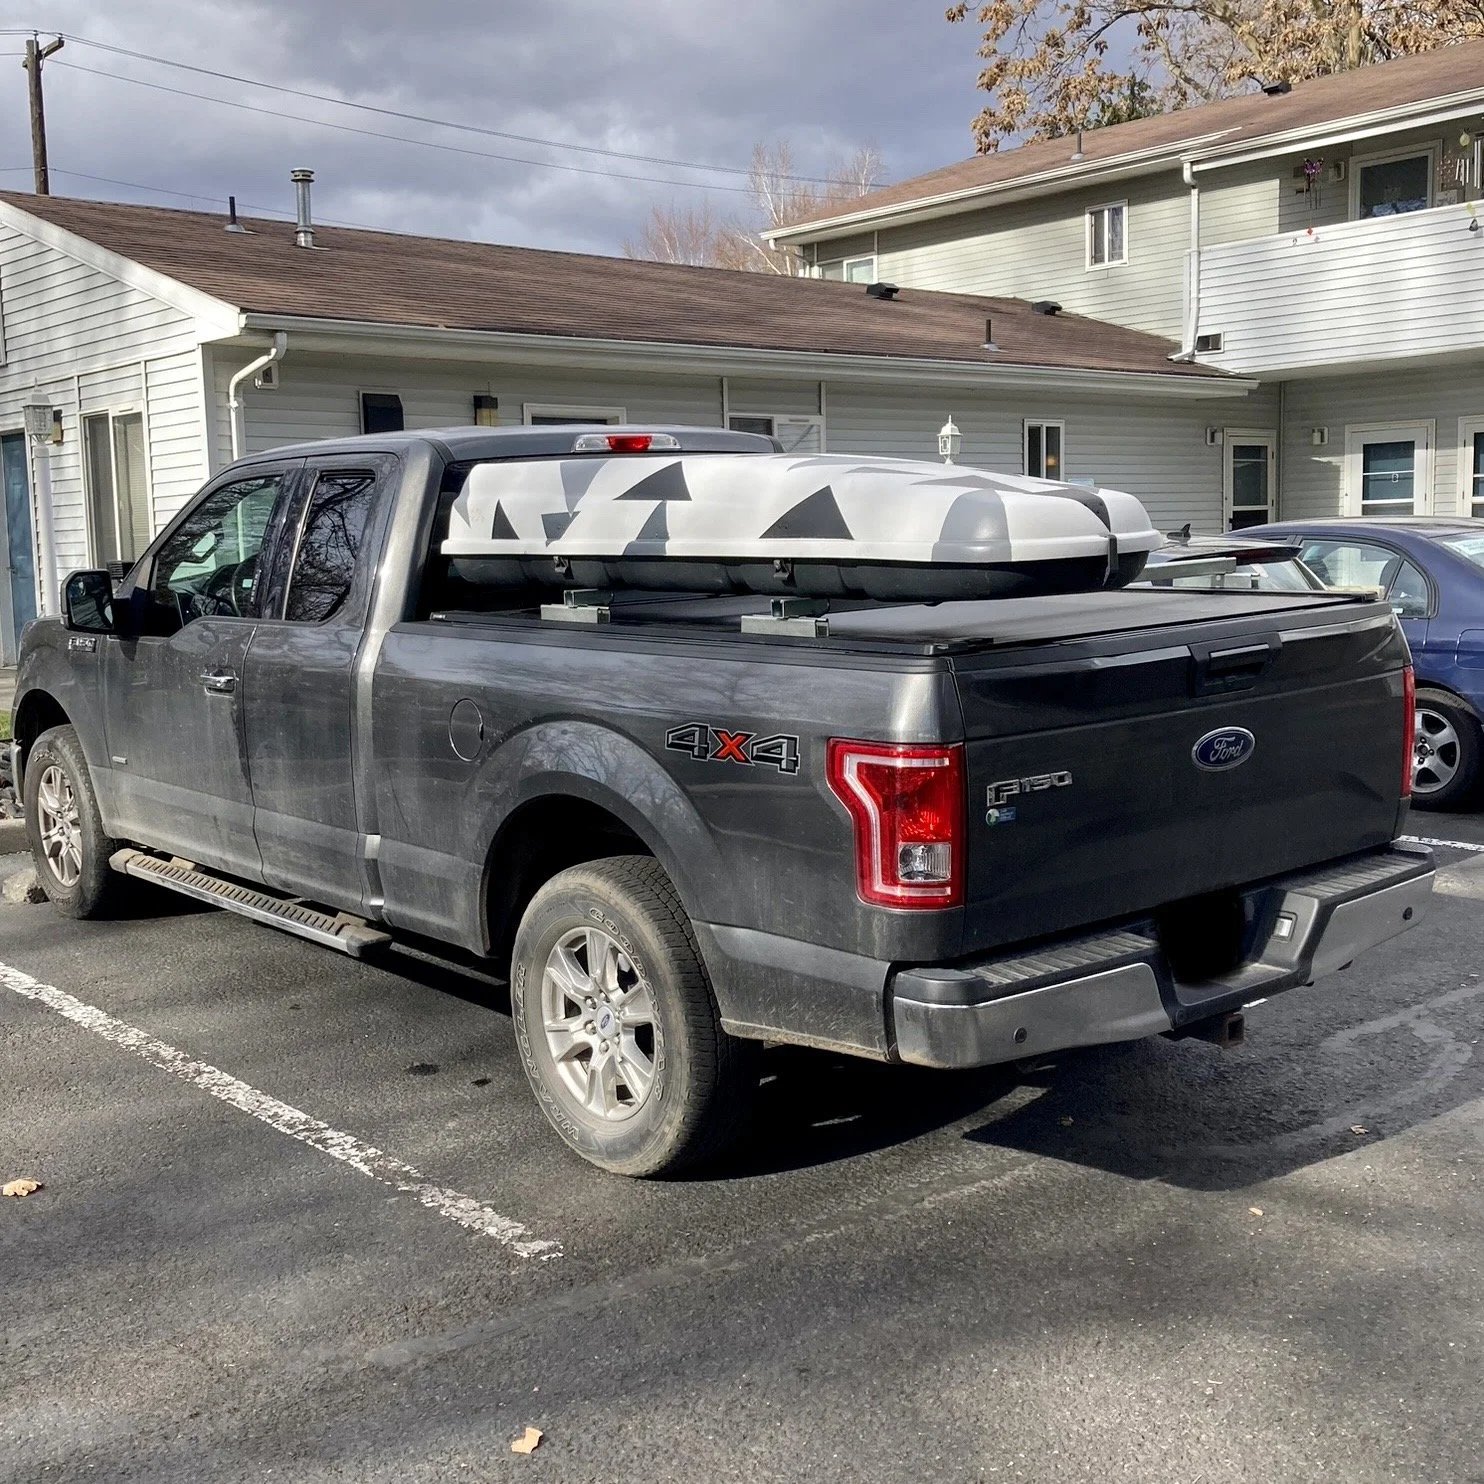
How to build a unistrut/suprestrut bed rack for your F150
What is unistut?
Known to some as superstrut, unistrut was invented by Charles Attwood in 1924. Its most ubiquitous use can be found in the electrical and HVAC industries where it is primarily used to fasten conduit and pipe in industrial settings. With the rise of the vanlife movement, many industrious individuals have utilized it in much more creative manners. No surprise there considering the price and availability of unistrut in comparison to other popular metals, its strength, and the fact that it comes galvanized already (which vastly improves weather resistance). Add to this the expansive amount of accessories available like tie downs, fittings, hardware, couplers, hangers, rollers, grating… and it’s clear to see why many refer to it as “erector sets for adults”.
How do I make a bed rack out of this?
Ah, I’m glad you asked. It’s actually a very simple process. After browsing Pinterest and YouTube for a couple of days I came up with a low-profile design to keep anything attached to it beneath the top of the cab. Softroadingthewest over on YouTube was pivotal when it came to figuring out how to work with unistrut.
What I used:
I was able to take advantage of the Trax Rail System on my Retrax cover to save myself a few steps and some money by using fewer materials. I imagine it could be made to work with some other styles of tonneau covers but it will be easier (based on my design at least) for those that do not run a tonneau cover on their F150. Simply run a longer piece of unistrut along the top of the bed rails and secure it to your bed using some hardware and camper/topper clamps.
Hack saw
WD-40 or another type of cutting lubricant
Permanent marker
Measuring tape
10 ft. 12-gauge galvanized unistrut (2)
5-pk 3/8 in cone nut (3)
3/8 in flat washer (15)
3/8 in lock washer (15)
3/8 in – 16 x 1.5 in hex bolt* (15)
Hand file
*16 indicates the pitch of the bolts, not the length.
Optional:
Spray paint of your choice (2)
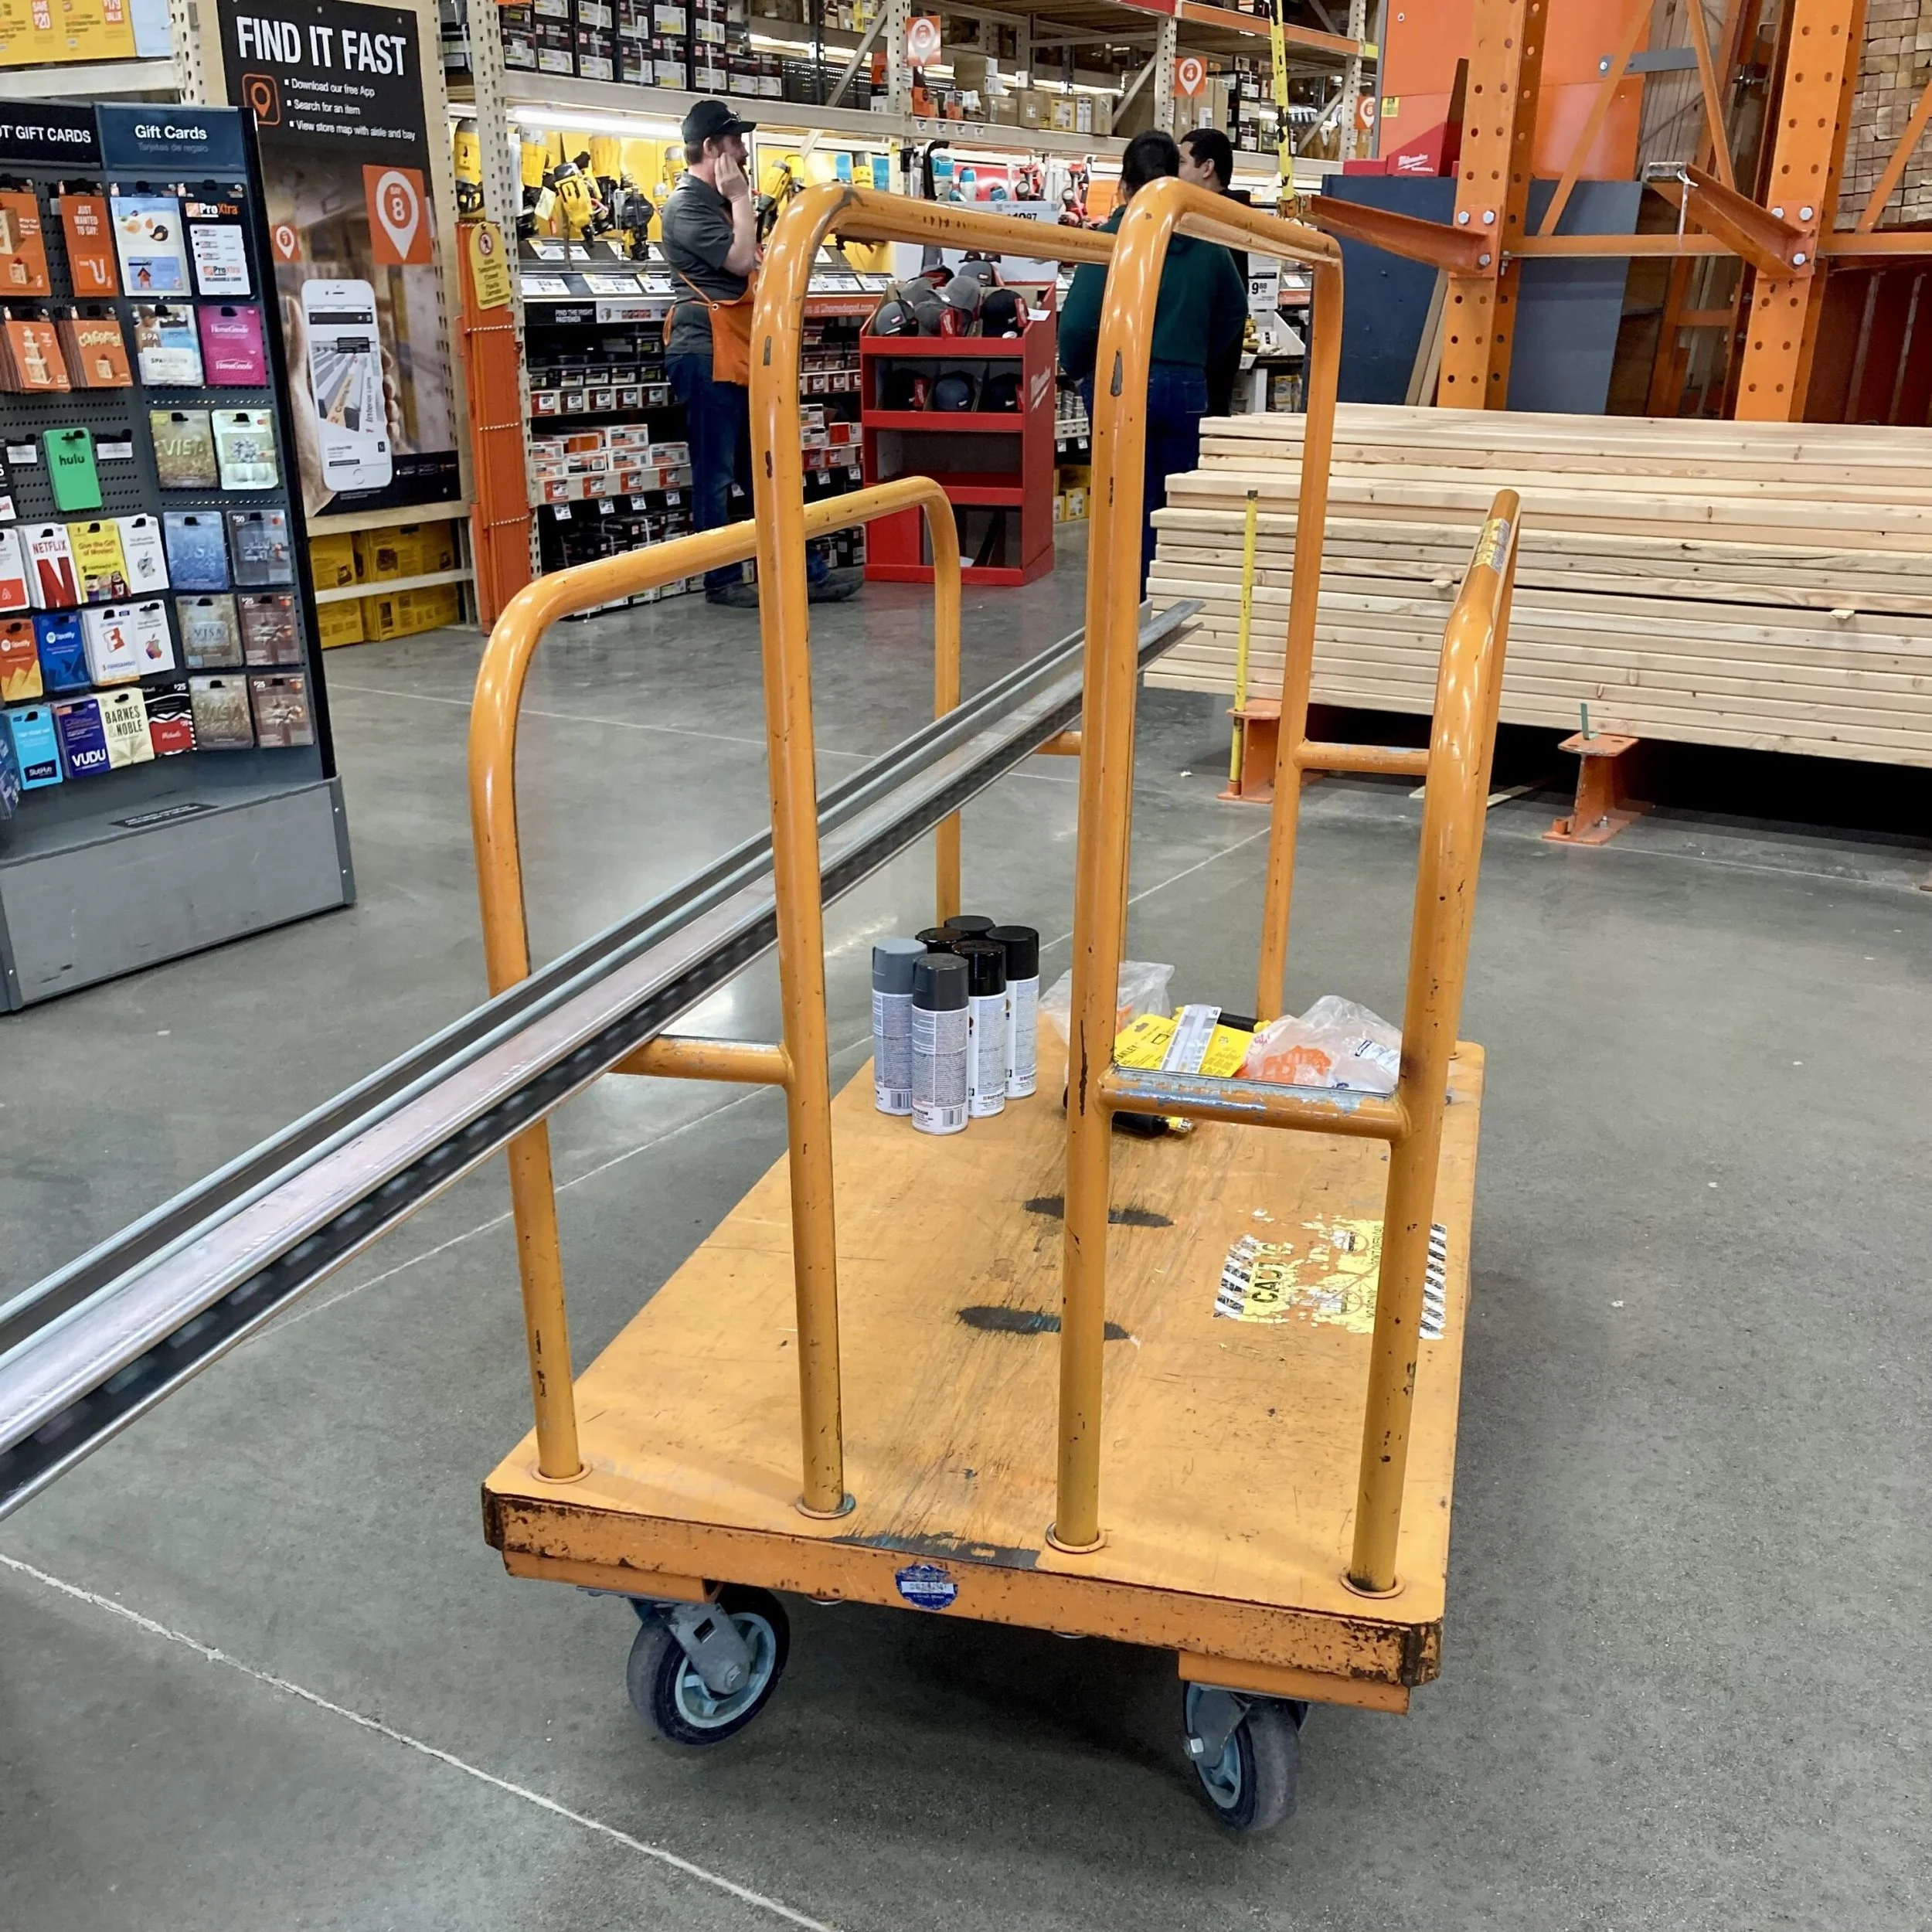
1. Gather all of your materials. Before purchasing anything ask acquaintances in the electric and HVAC fields if they would be willing to sell you cutoff unistrut pieces from previous jobs. Or visit a local steel recycling yard. I tried both of those options without success before hitting up my local Home Depot. You can also try Amazon or an online metal seller like McMaster-Carr but between buying in bulk and shipping, you will eat up your budget really quickly.
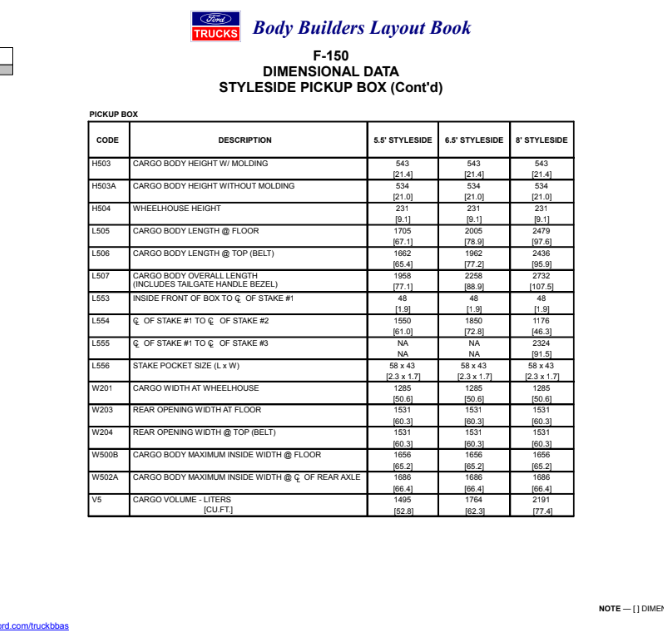
2. Measure the distance from outside the bedside to outside the bedside of your truck bed. Be sure to measure this distance at both the front (cab) and the back (tailgate) of your truck bed as most modern truck beds taper in as you near the tailgate. You can use the image to the right if you are also working on an F150 to save you some time. Everyone else will have to bust out the tape measure.
Image by Ford Pro Body Builder Advisory Service via Google
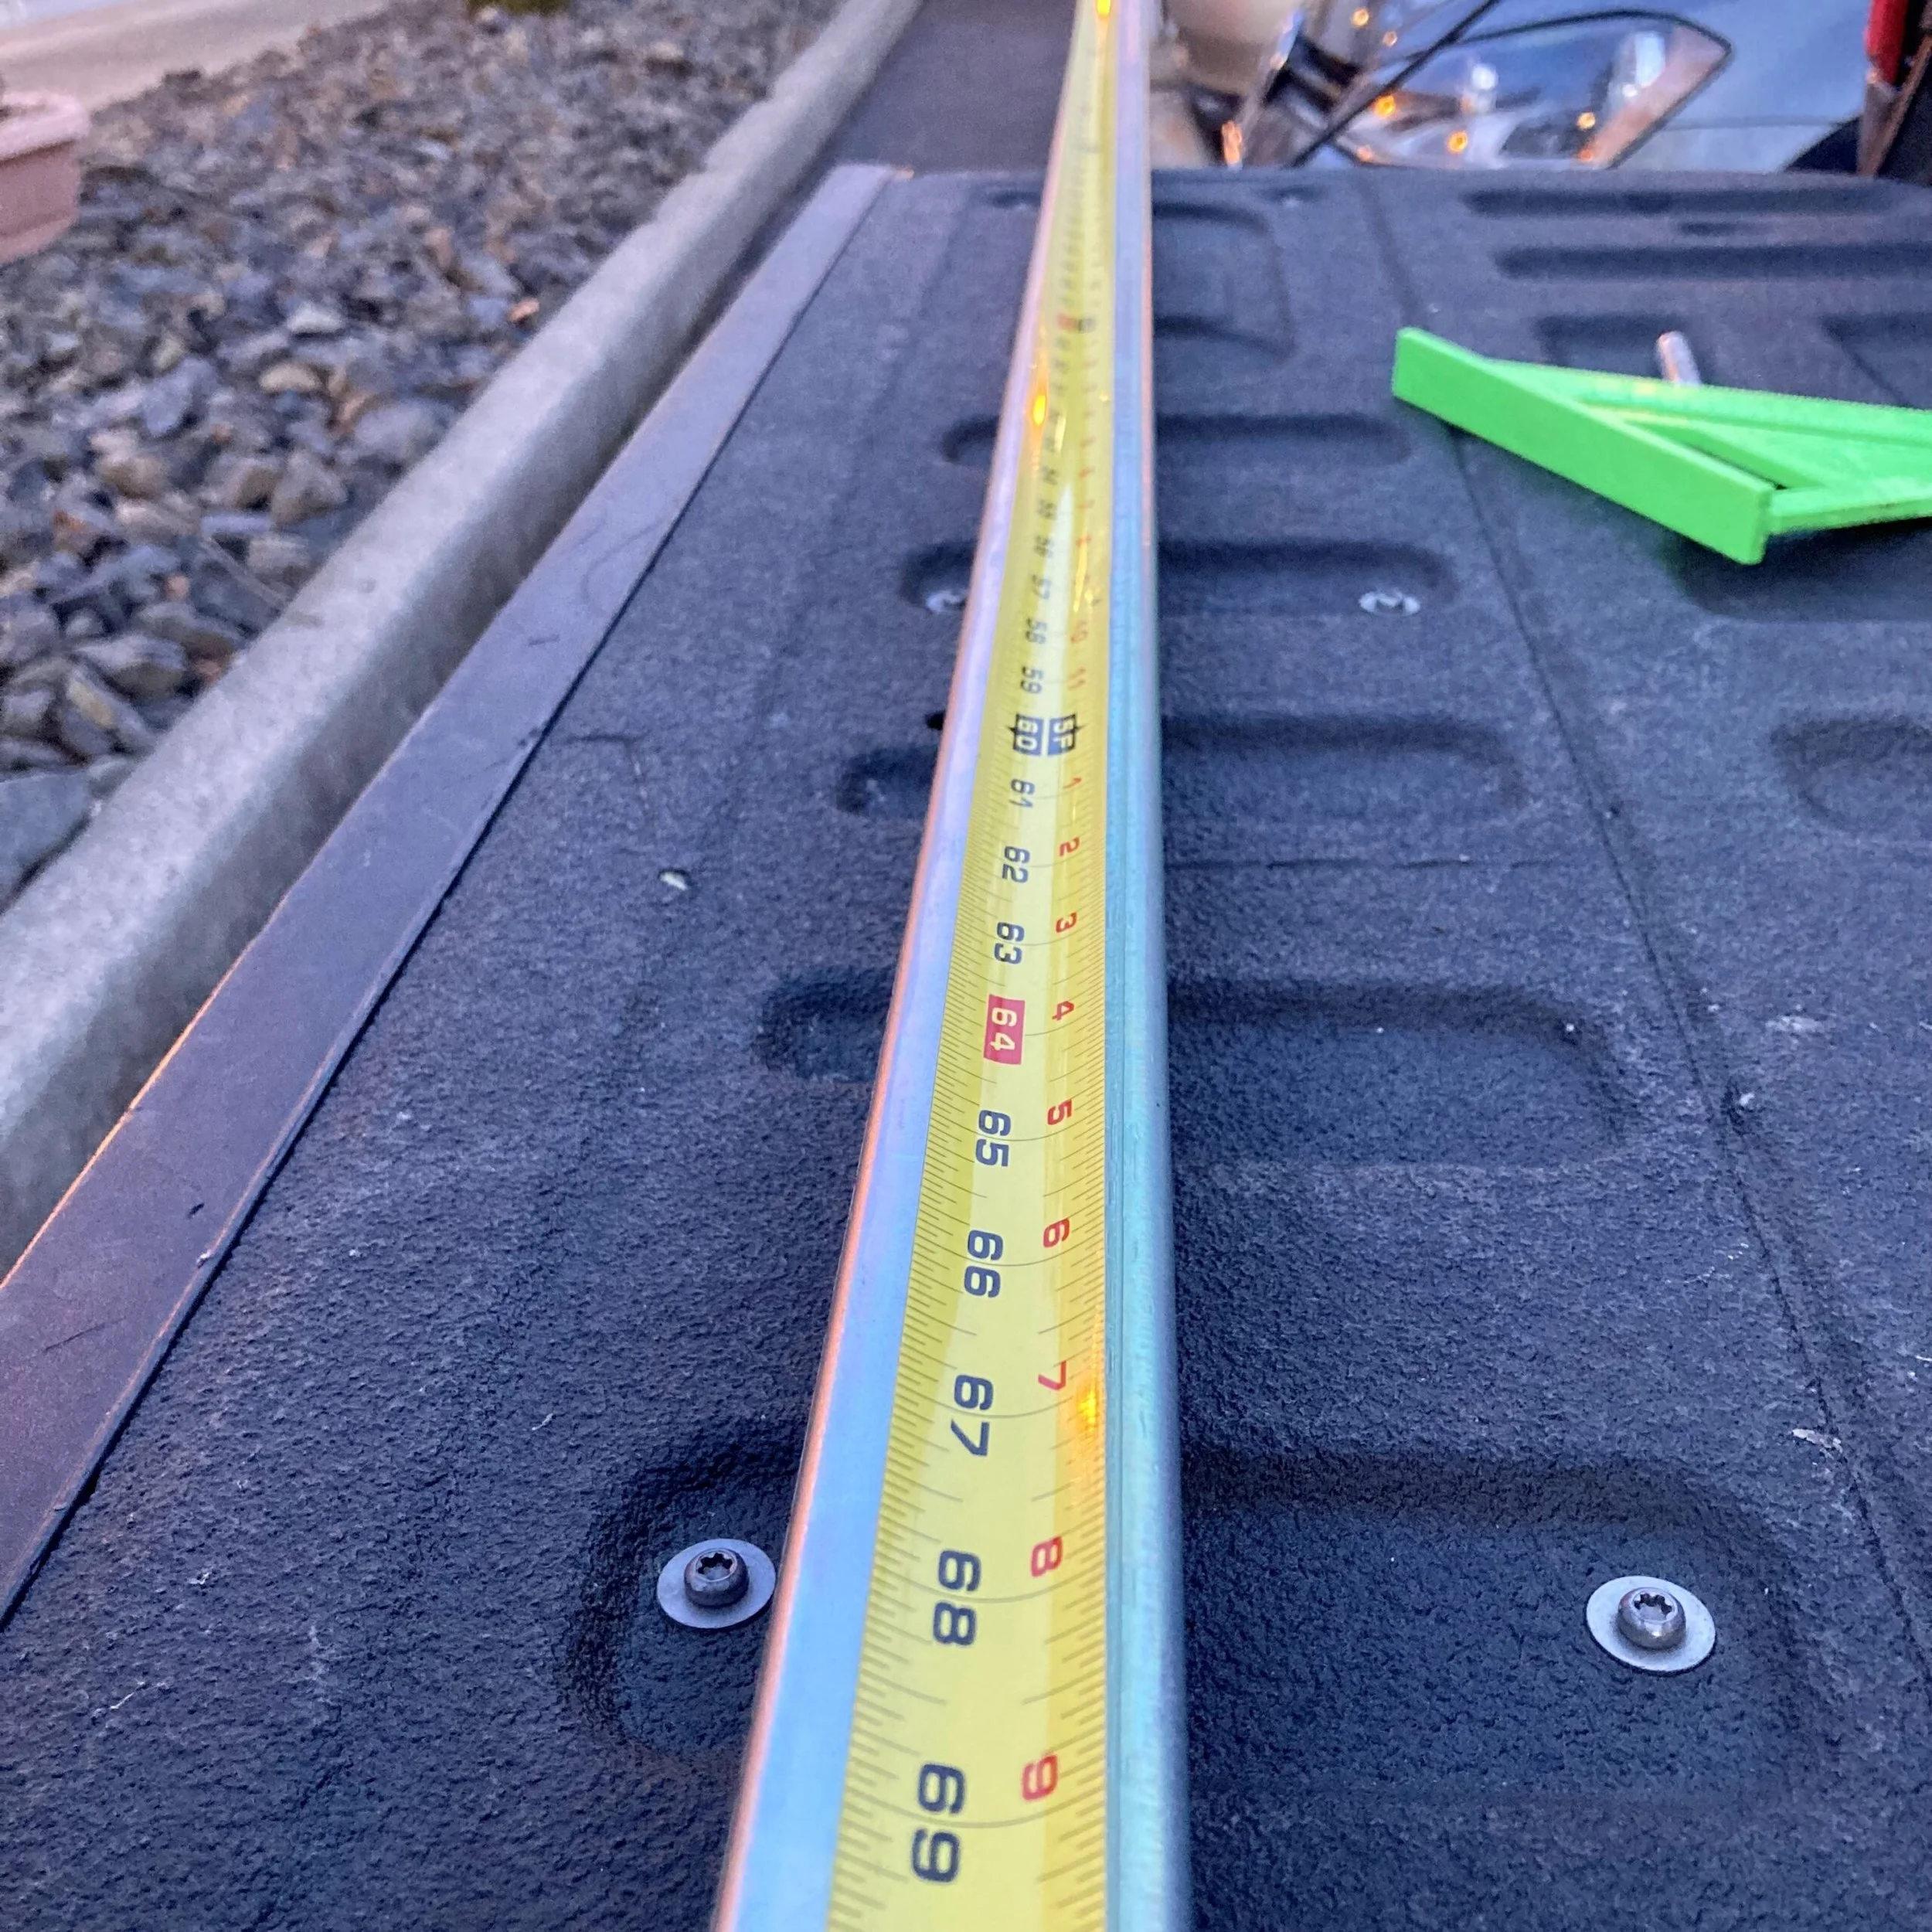
3. Transfer your measurements from step two onto your first two pieces of unistrut. Using a square and a permanent marker mark cut lines at the appropriate distance. Make sure to do this to both of your unistrut pieces.
If your measurements make it so that you have to cut into one of the slots in the unistrut move your mark further down in order to preserve the slot in its entirety. This will allow for adjustments to be made during the assembly process.
4. Spray the area to be cut with WD-40 to prolong the life of your hacksaw blade and simultaneously speed up the cutting process. Go slow to ensure that your cut is as square as possible. By the end of this step, you will end up with two longer pieces of unistrut that will be mounted perpendicularly to your truck bed at a later step.
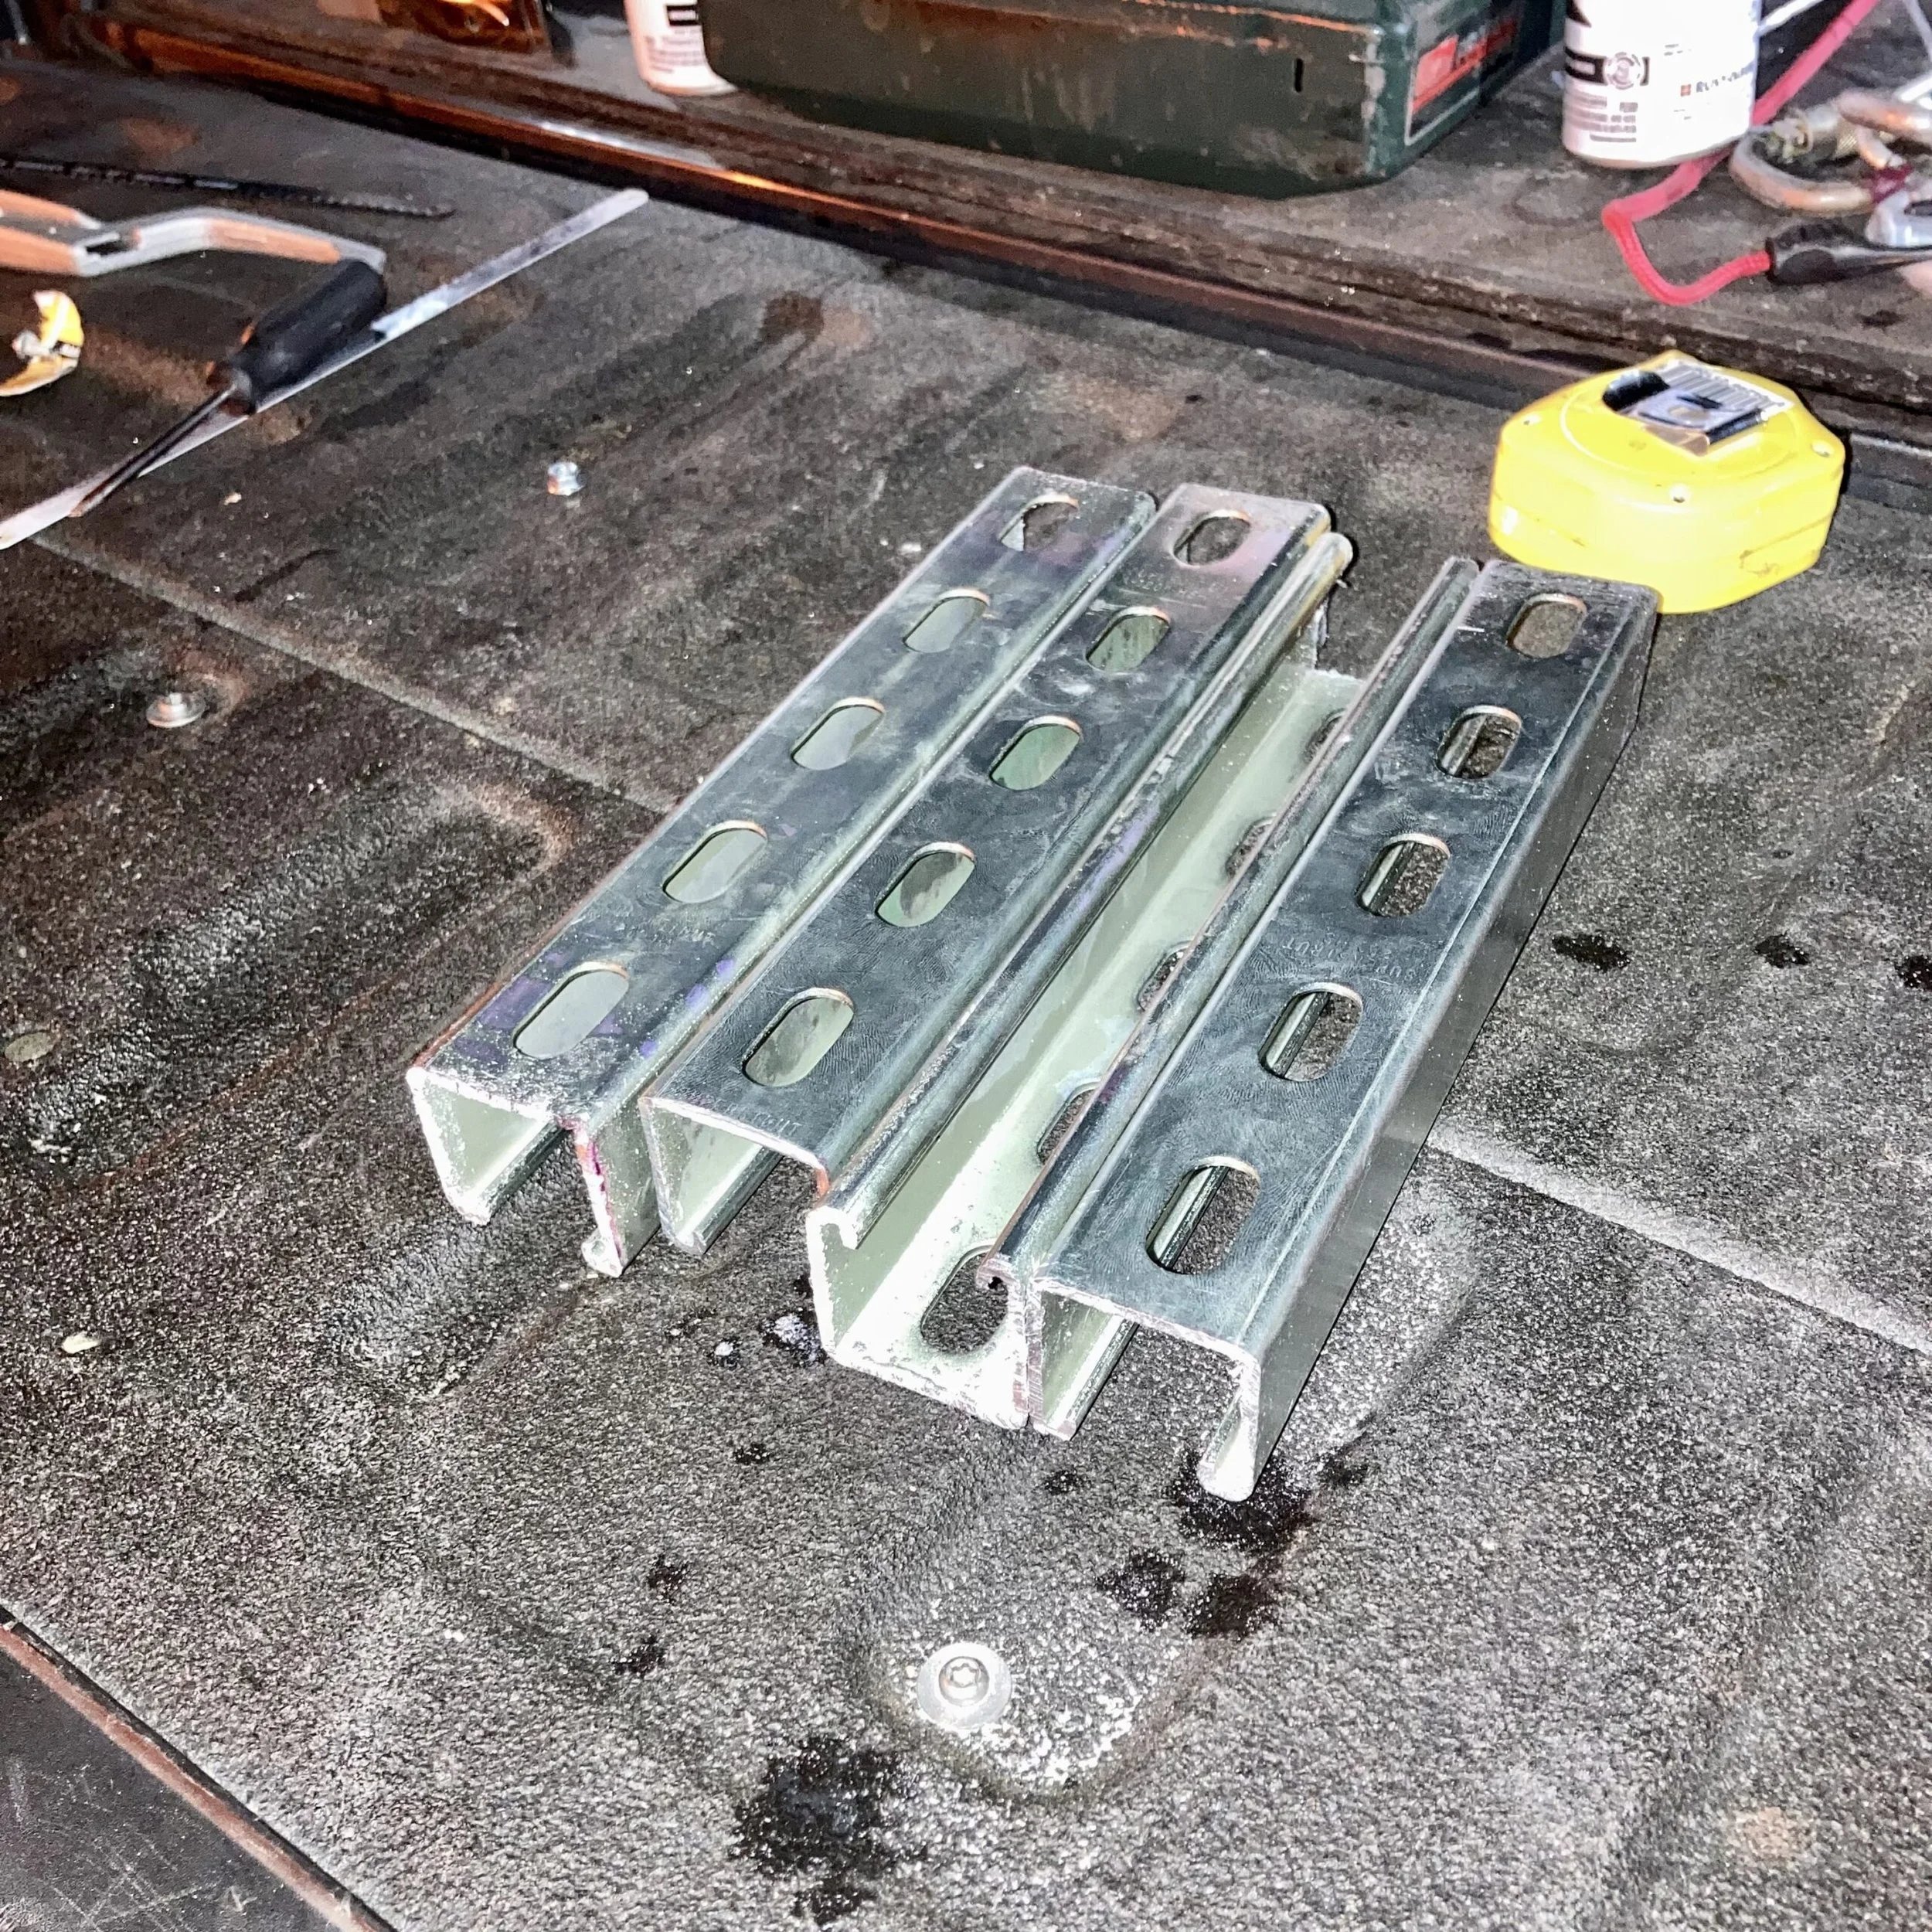
5. I made my crossbar mounts 12″ long because in my head this would help with stability and weight distribution (not that I will ever get close to overloading this). Repeat the marking, prepping, and cutting process from the previous step to create 4 crossbar mounts 10-12″ in length. I was able to get 4 mounts out of the remaining unistrut from step two.
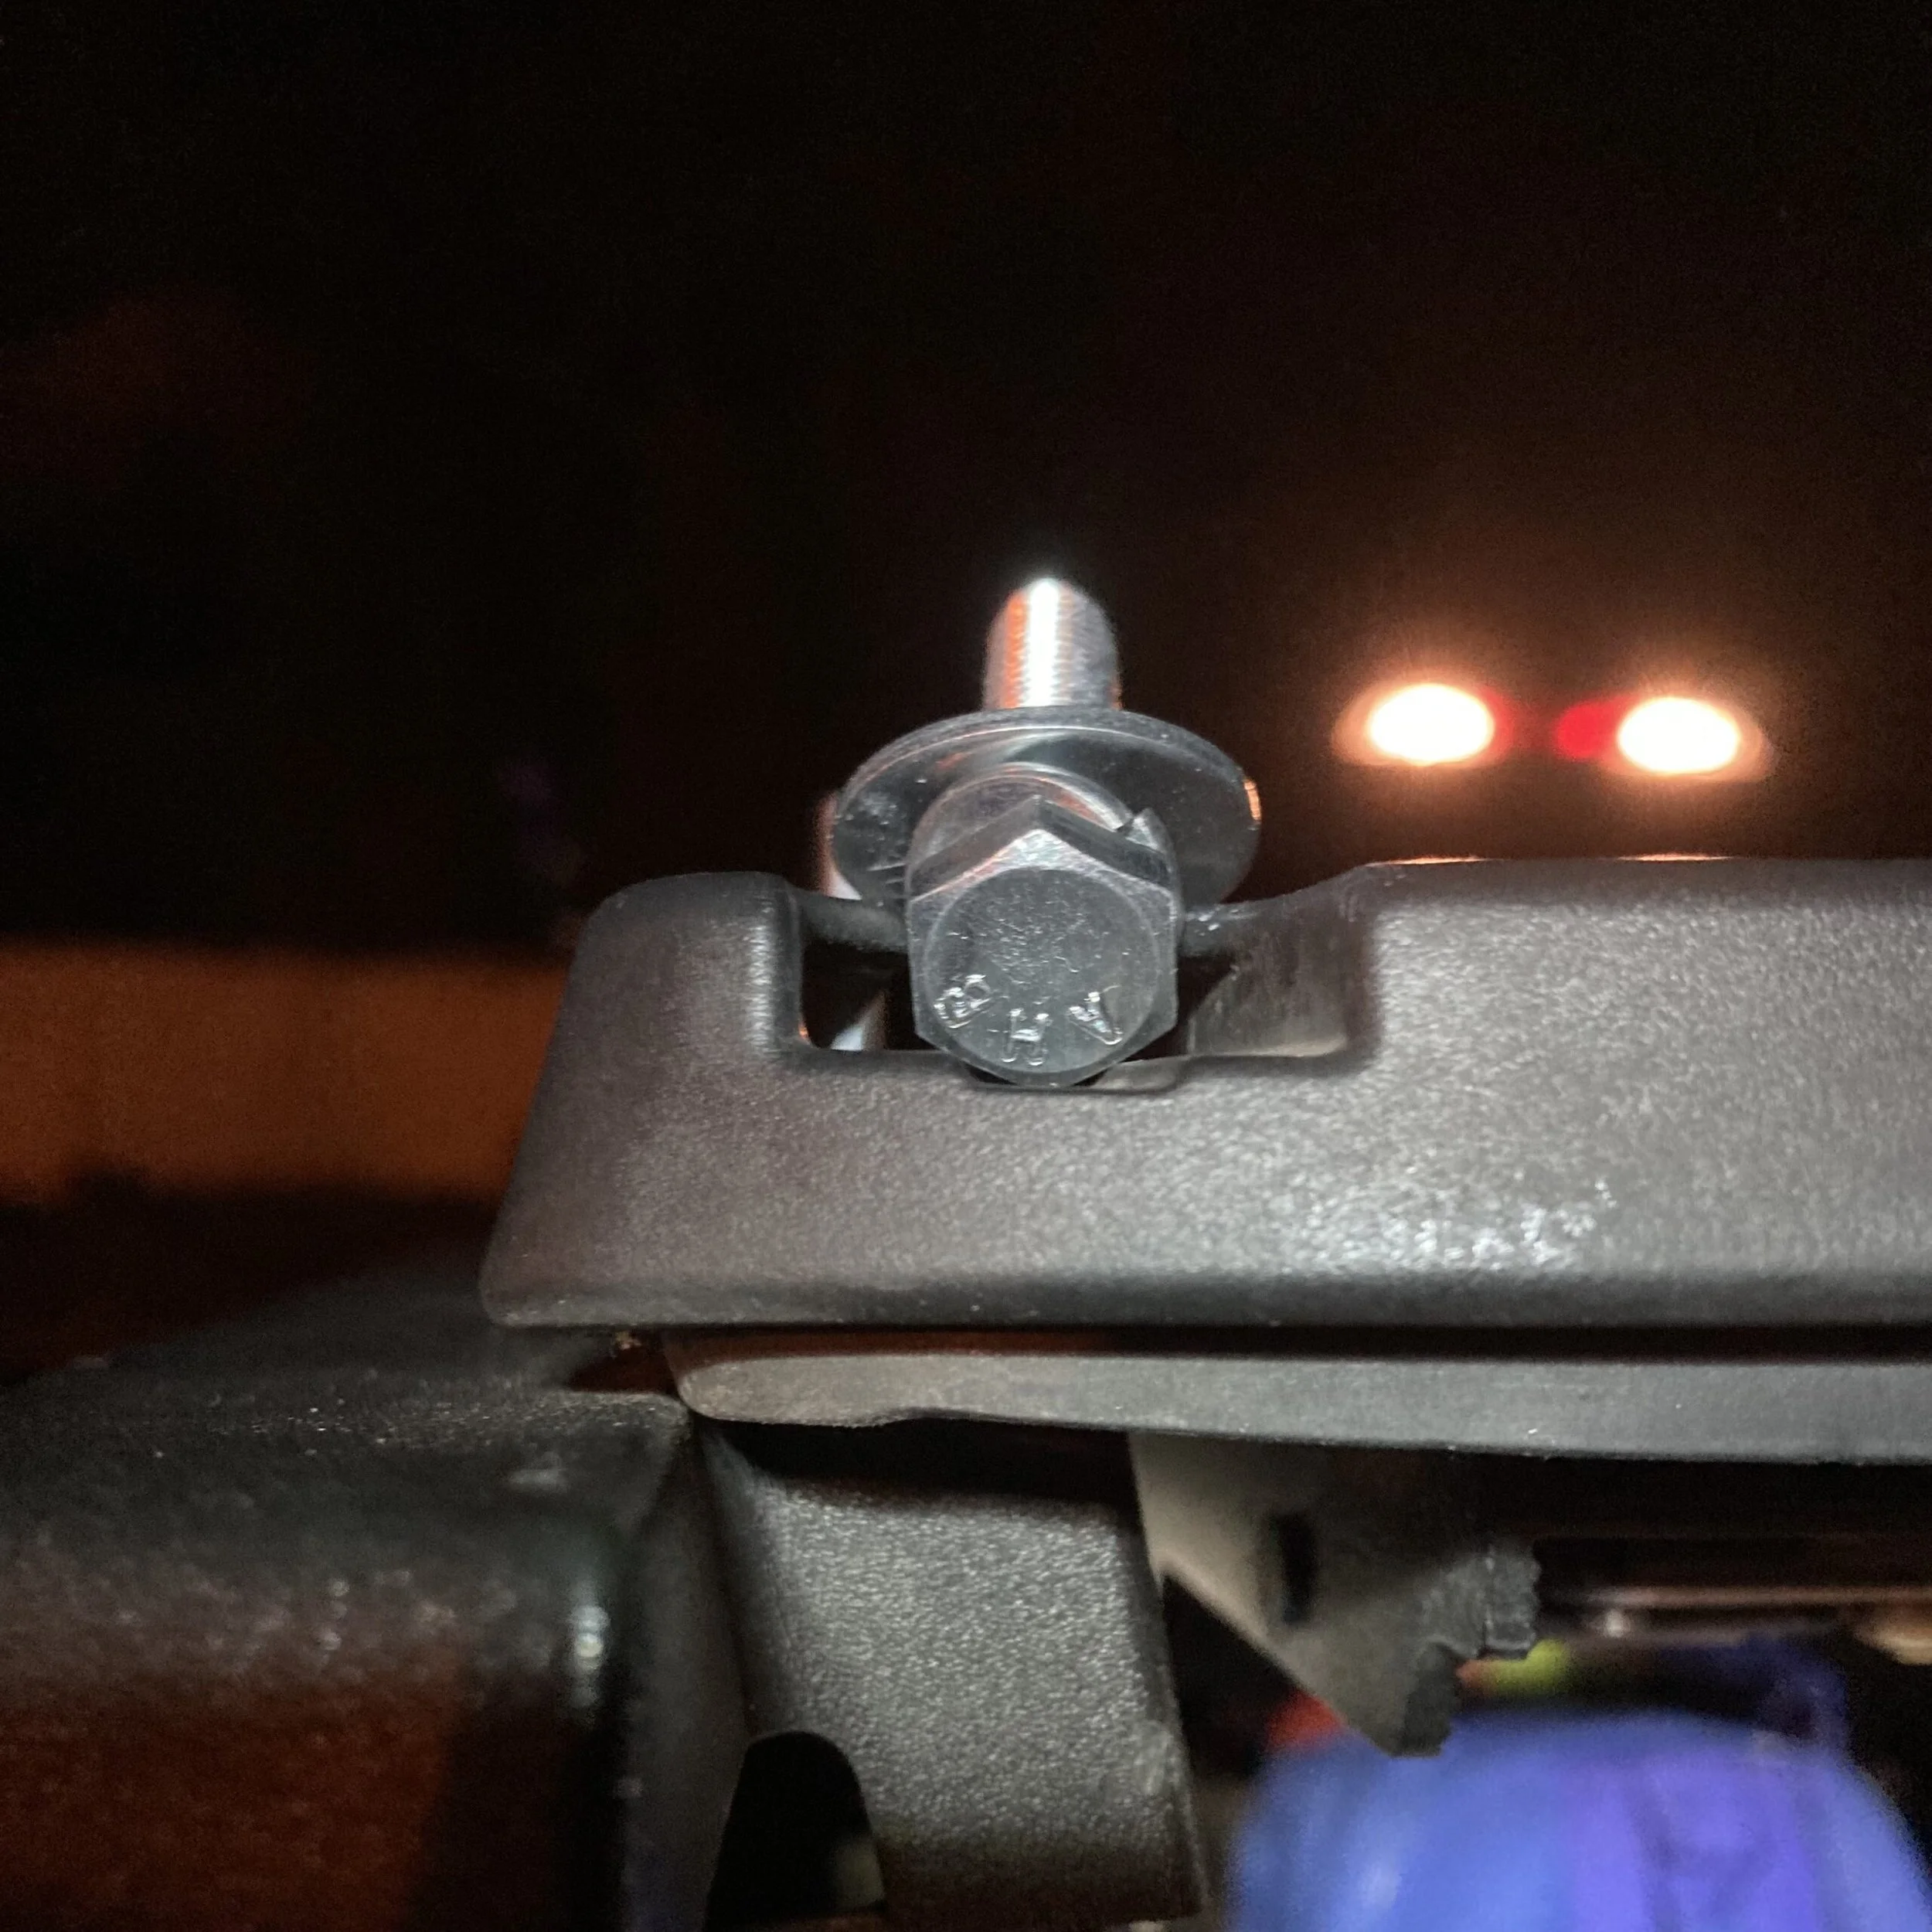
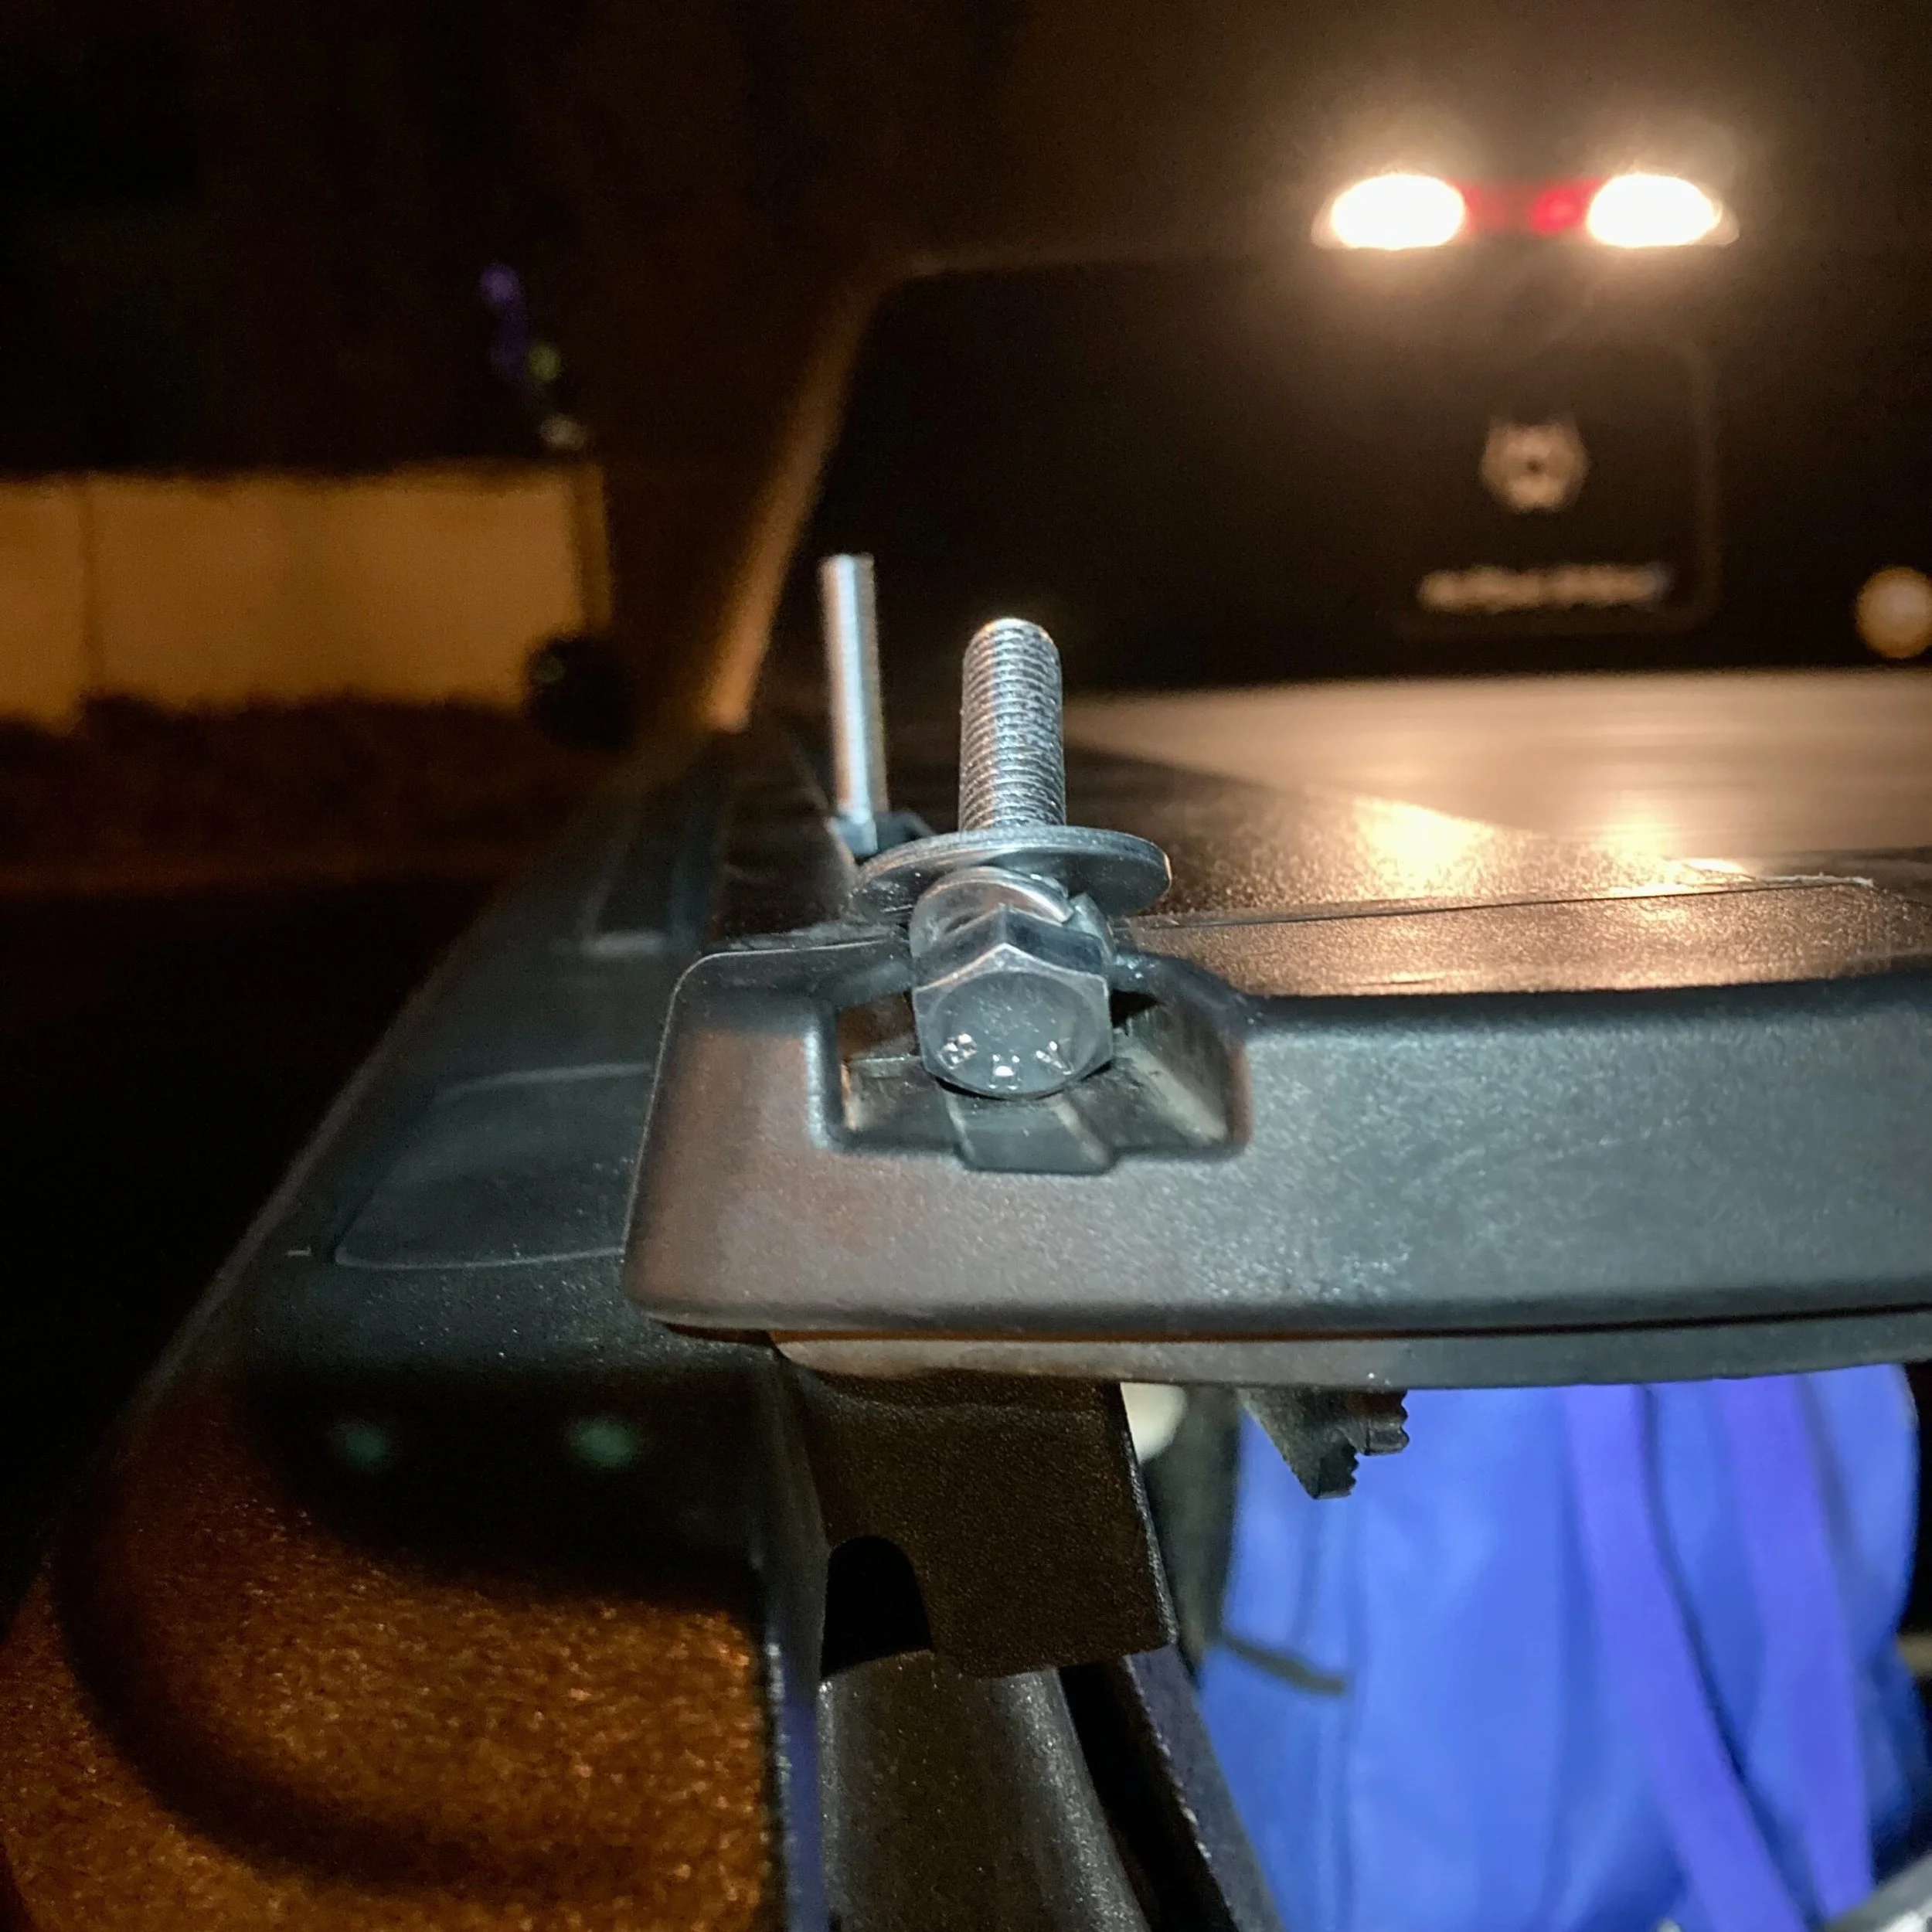
6. Assuming you are mounting this onto the Trax Rails or another similar system on your F150 the next step will be to install the hardware into the T-slots. The order will be as follows: hex bolt (upside down) into the T-slot and a flat washer on top of Trax rail. There will be 4 bolt/washer combos per rail if you are doing two crossbars as I did. You might have to wiggle the hex bolt heads into the T-slot.
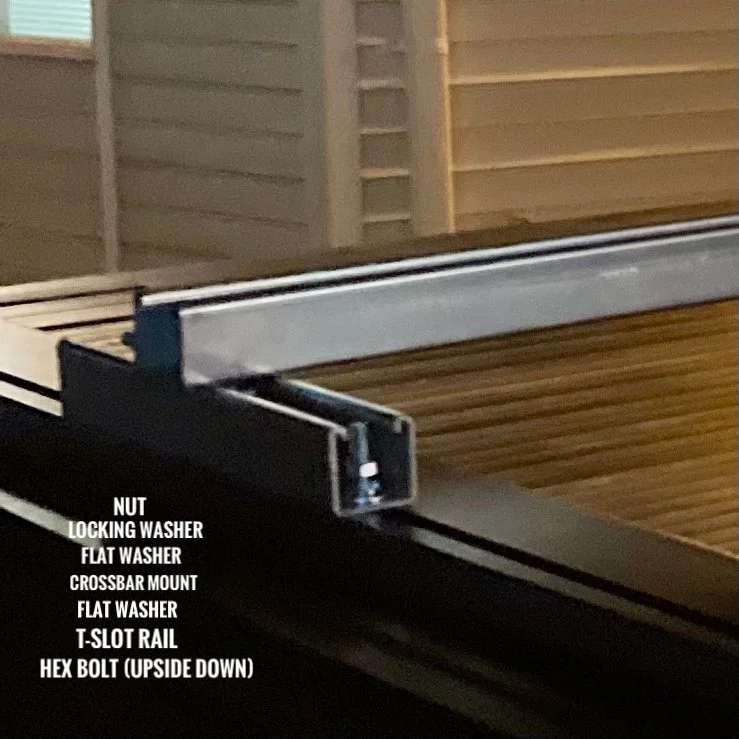
7. Place your recently cut crossbar mounts onto the bolts you just put into your T-slot rails. There will be 2 bolt/washer combos per mount. Add another flat washer, a locking washer, and a nut to end up with the following hardware sandwich: hex bolt (upside down), T-slot rail, flat washer, crossbar mount, flat washer, locking washer, and nut.

8. What you are planning on mounting to your crossbars will dictate the spacing of your crossbars and mounts. With my cargo in mind, I placed the cab side mounts 20″ from the rear window and 14″ from the end of the bed. Matching these measurements and locations will make the next steps a lot easier. Hand tighten everything down.
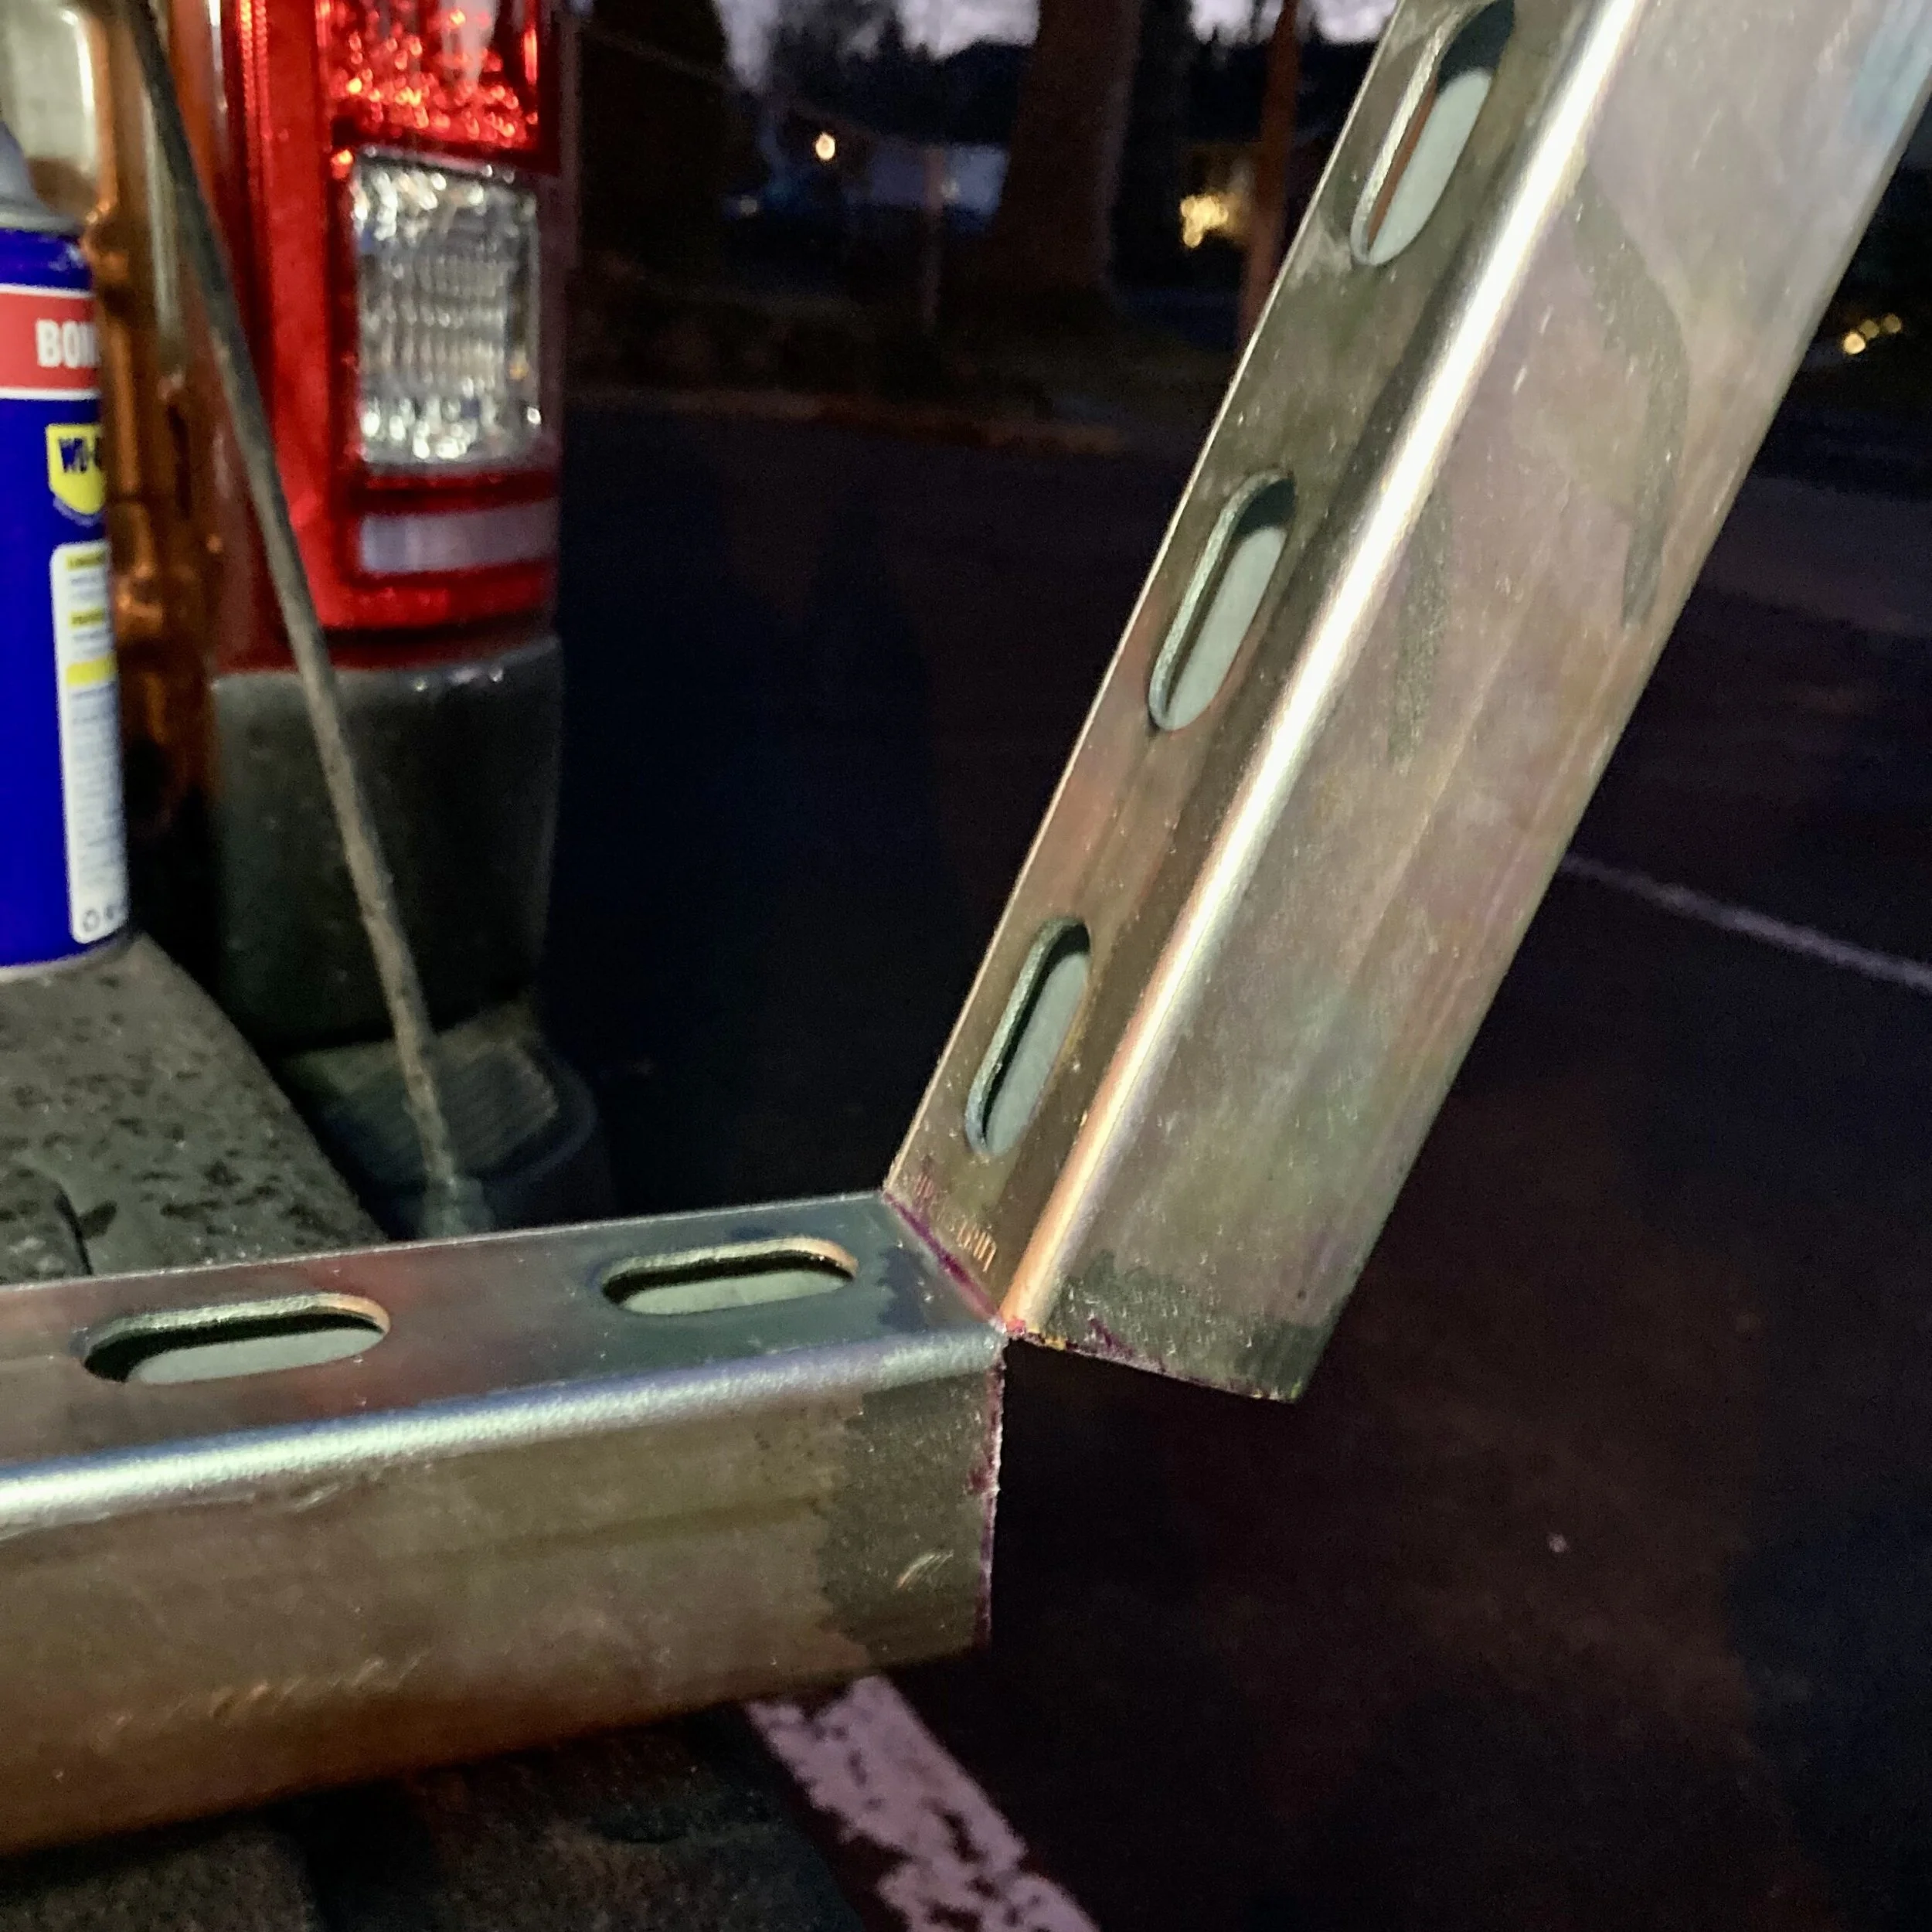
9. You’re almost there! Find and mark the center on one of your crossbar mounts. Slide one cone nut into the crossbar mount and then carefully place the crossbars on top of the mount. Be sure to align the middle of the crossbar with the center mark you made earlier. Use a flat washer, a locking washer, and a hex bolt to secure (hand-tight) the crossbar to the cone nut inside the mount.
10. Confirm that all mounts are located at the same distance from the cab and tailgate. Also, check that your crossbars are aligned with the center mark you made on each of your crossbar mounts. As you confirm that things are where they are supposed to be, tighten it all down.
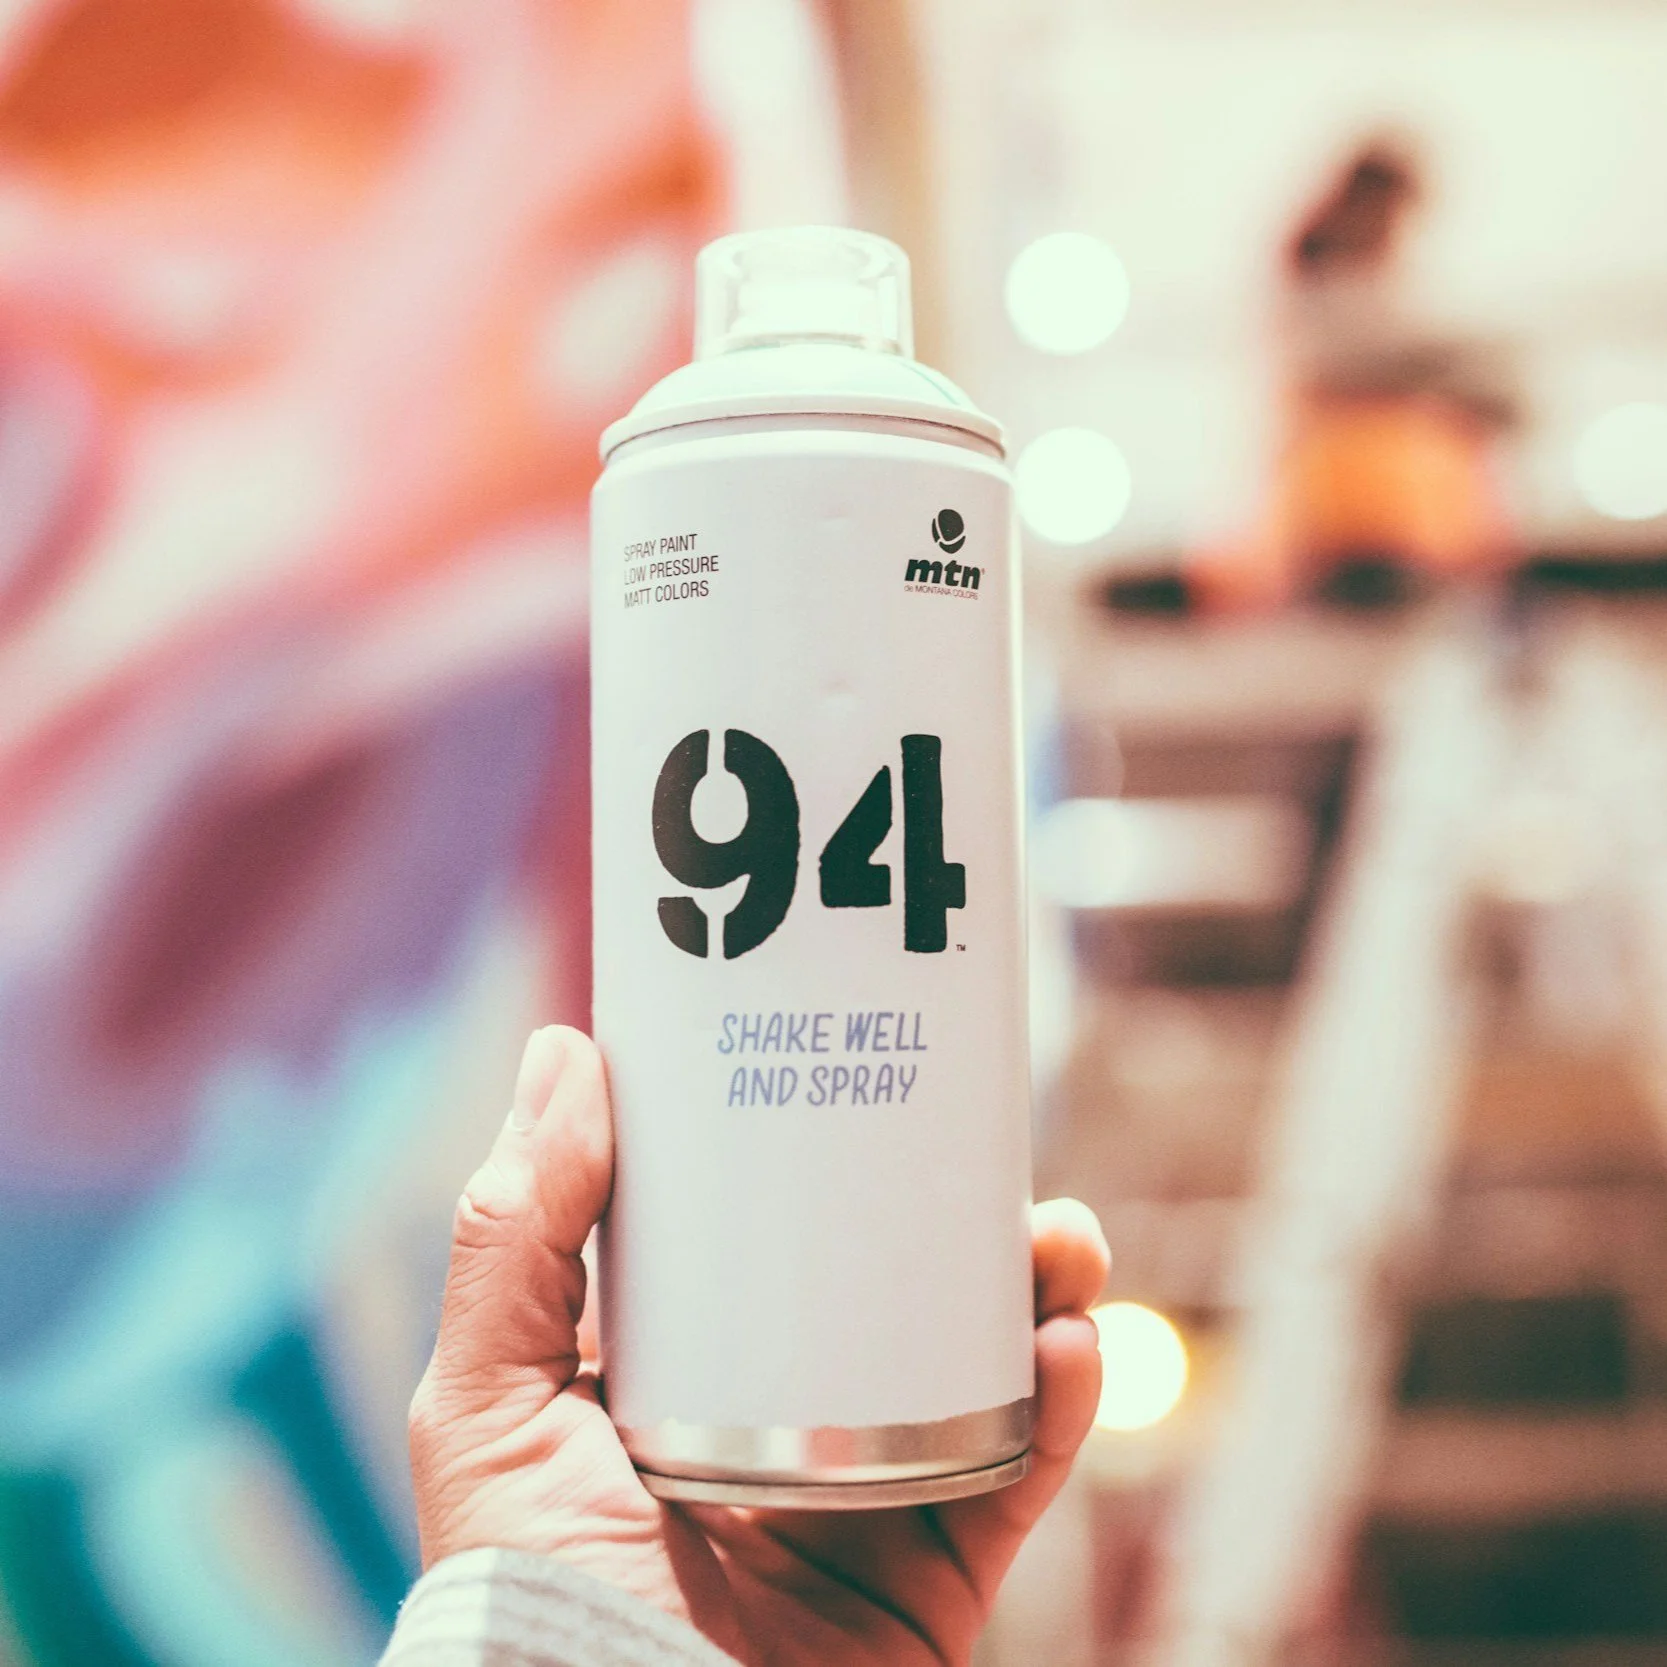
11. This step is not necessary, but if you want you can paint the entire thing black for a more Prinsu or Sherpa look (at a distance). Despite purchasing the paint I ended up not going that route. I felt that the galvanization on the unistrut would keep the paint from adhering to the metal.
And that’s it!!! A low-profile bed rack that is strong enough to rock the entire truck.
Price (estimate):
WD-40 | $23 2-pk Amazon; $6.98 Home Depot
12-gauge galvanized unistrut | $44 Home Depot for 10 ft length
3/8 in. cone nuts | $5.20 for 5-pk Amazon; $7.57 for 5-pk Home Depot
3/8 in. x 1.5 in OD flat washers | $11.98 Amazon for 25 Amazon; 31¢ ea Home Depot
3/8 in. lock washers | $7.49 for 50 Amazon; 29¢ Home Depot
3/8-16 x 1.5 in. hex bolts | $9.75 for 8 Amazon; 46¢ ea Home Depot
Hand file | $10.90 Amazon; $8.97 Home Depot
TOTAL: $141.46 Home Depot | $166.72 Amazon
Prices are accurate as of publication and do not take into account any tools I already had on hand.