
How to build a removable F150 Bed Divider
Da-da-da-dum, welcome to the inaugural post for All the Mods!
Choosing the long bed for our F150 was easy for my family and me but living with it turned out to be somewhat of a learning curve. Like most truck owners in 2022, I was daily-ing too much car for my daily commute. With a cavernous 62.3 ft³ of bed space, keeping things handy became a bit of a chore. So to minimize the number of times I had to crawl into the bed to retrieve my groceries, I hit the internet for ideas on the matter. A huge shoutout to YamahaDrtRdr on the F150 Forum for the inspiration.
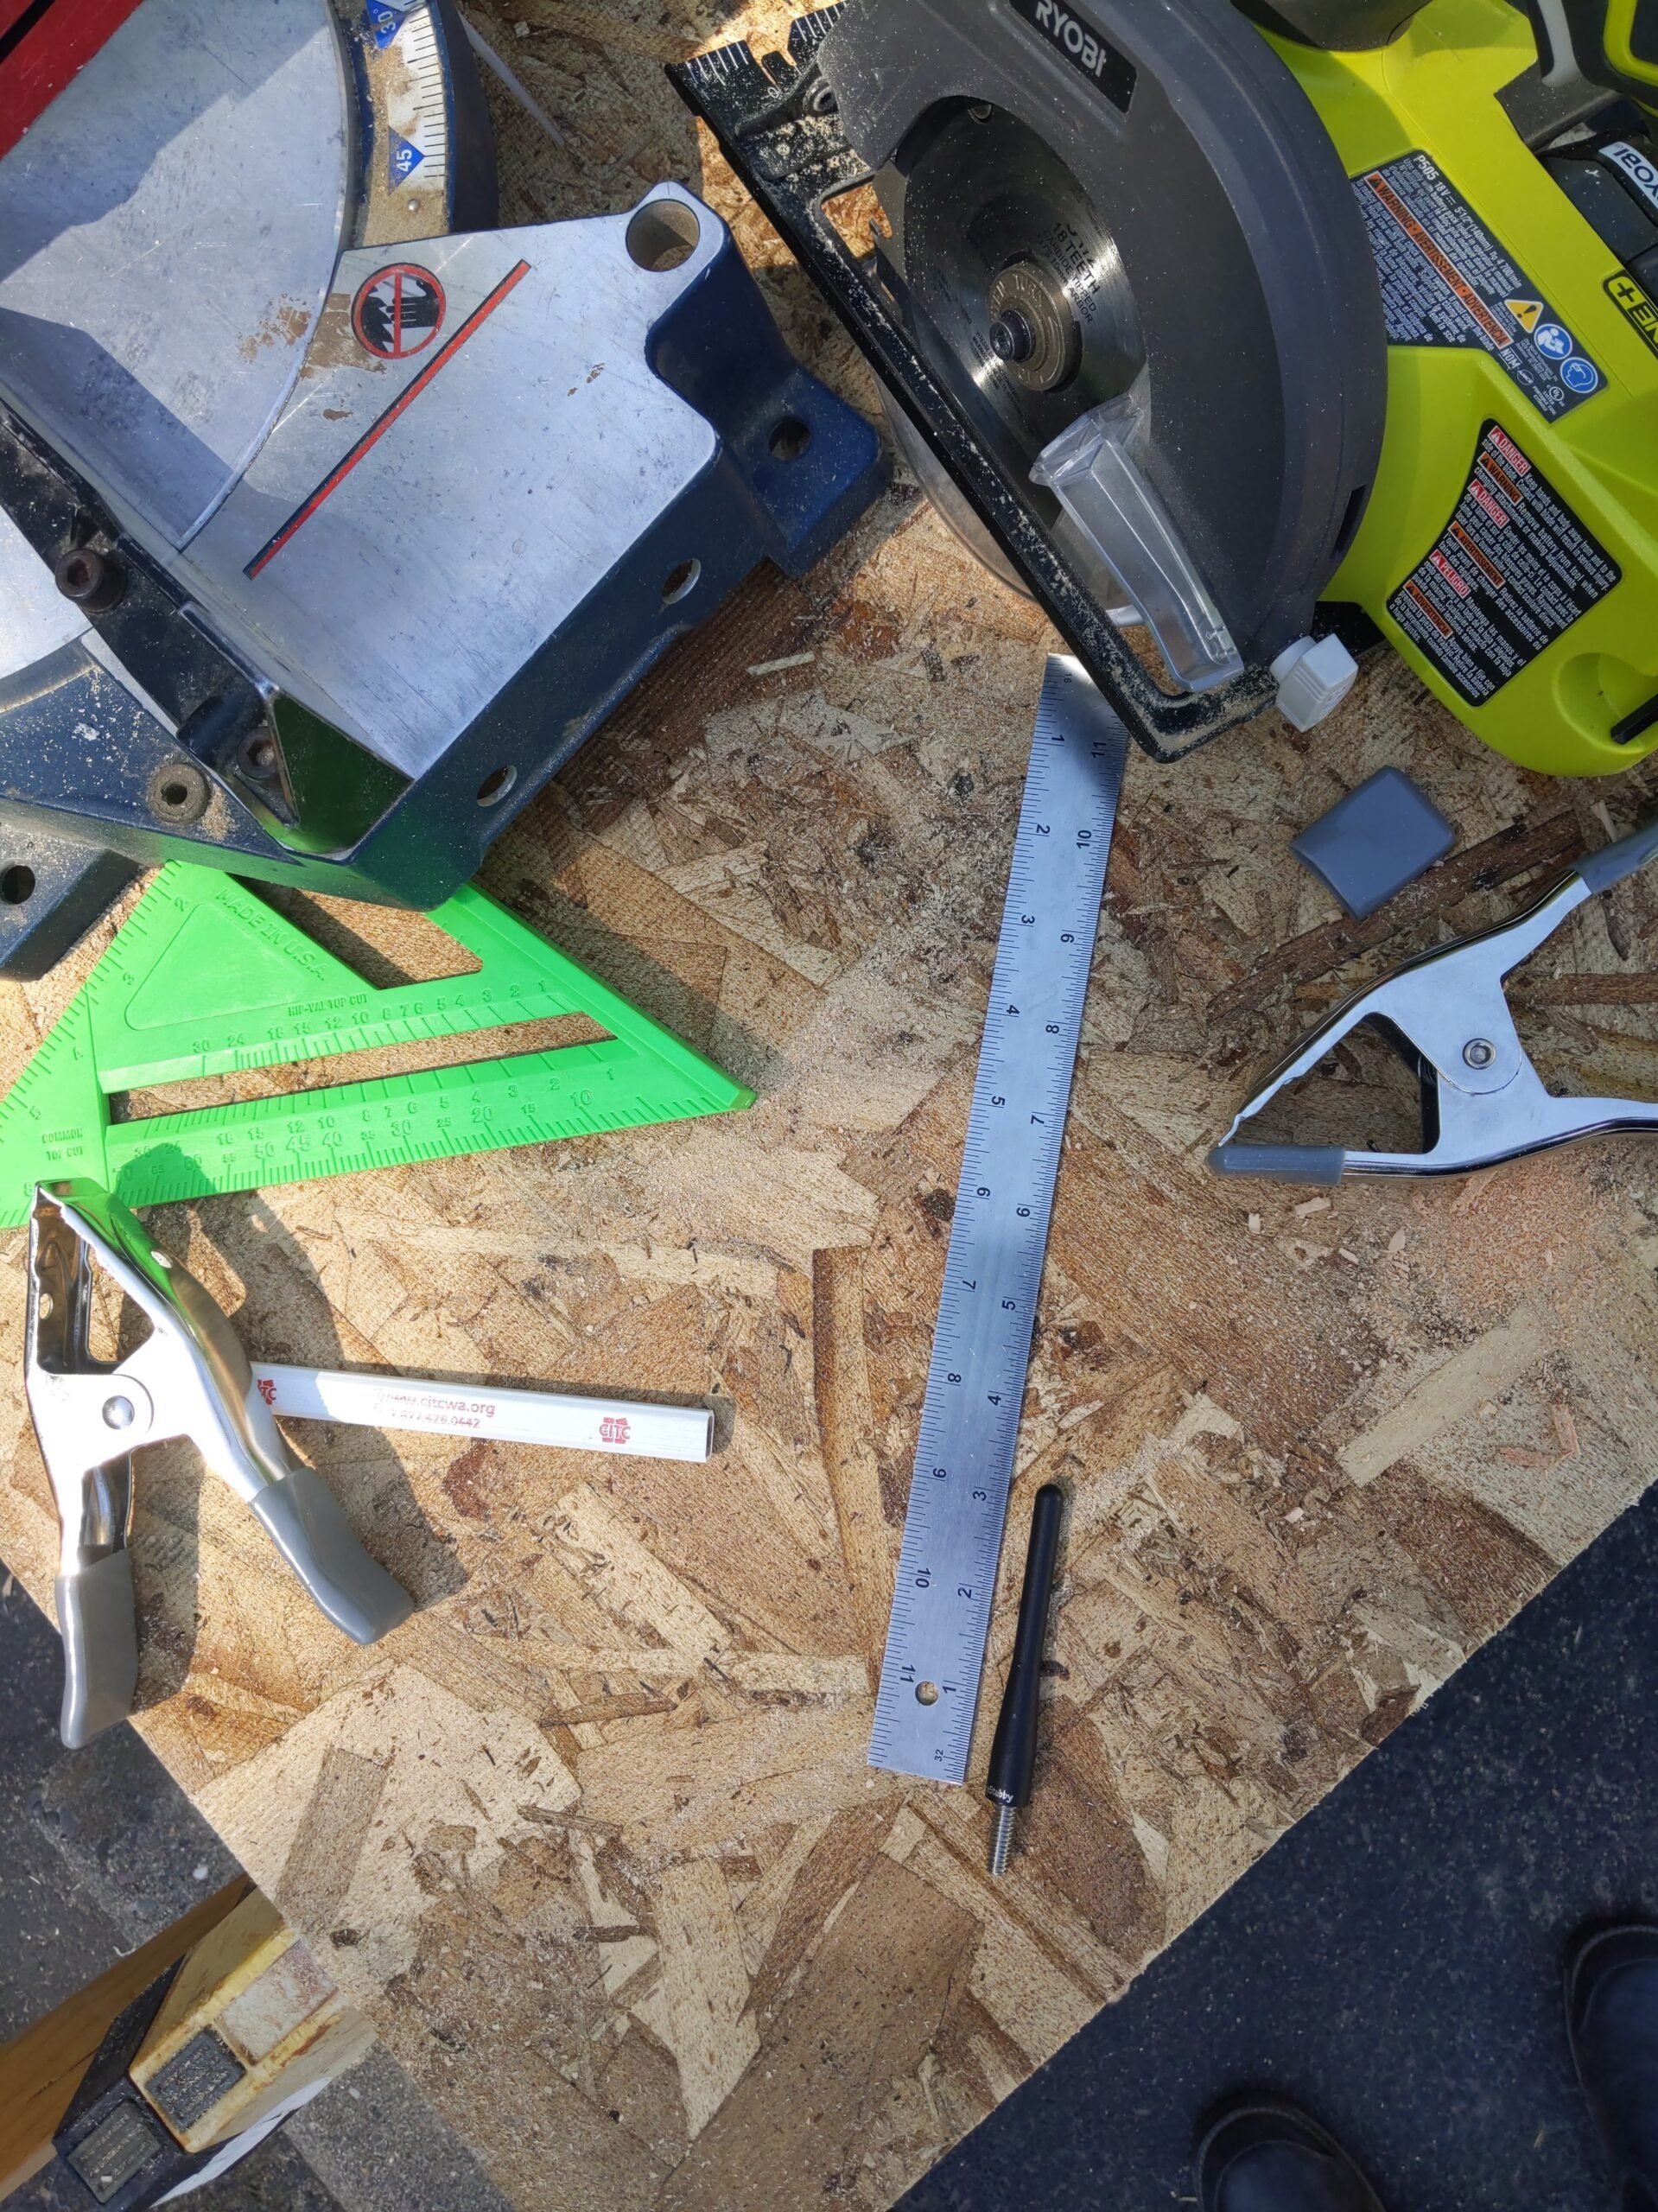
What I used:
Circular saw (a miter saw will work as well)
Band saw
Drill
#8 size countersinking drill bit
Pocket hole kit
3″ screws (I used galvanized star bit screws I had leftover from another project) (≈20)
D-rings and included screws (3)
Spray-on bed liner (2)
E-track beam socket (2)
Foam pipe insulation (1)
2″x4″x8′ stud (3)
2″x6″x4′ stud (1)
1. Gather all your materials (the list above is not all-inclusive and could be expanded depending on your design). This would also be a good time to remove the BoxLink cleats from their brackets if you have them installed in your truck.
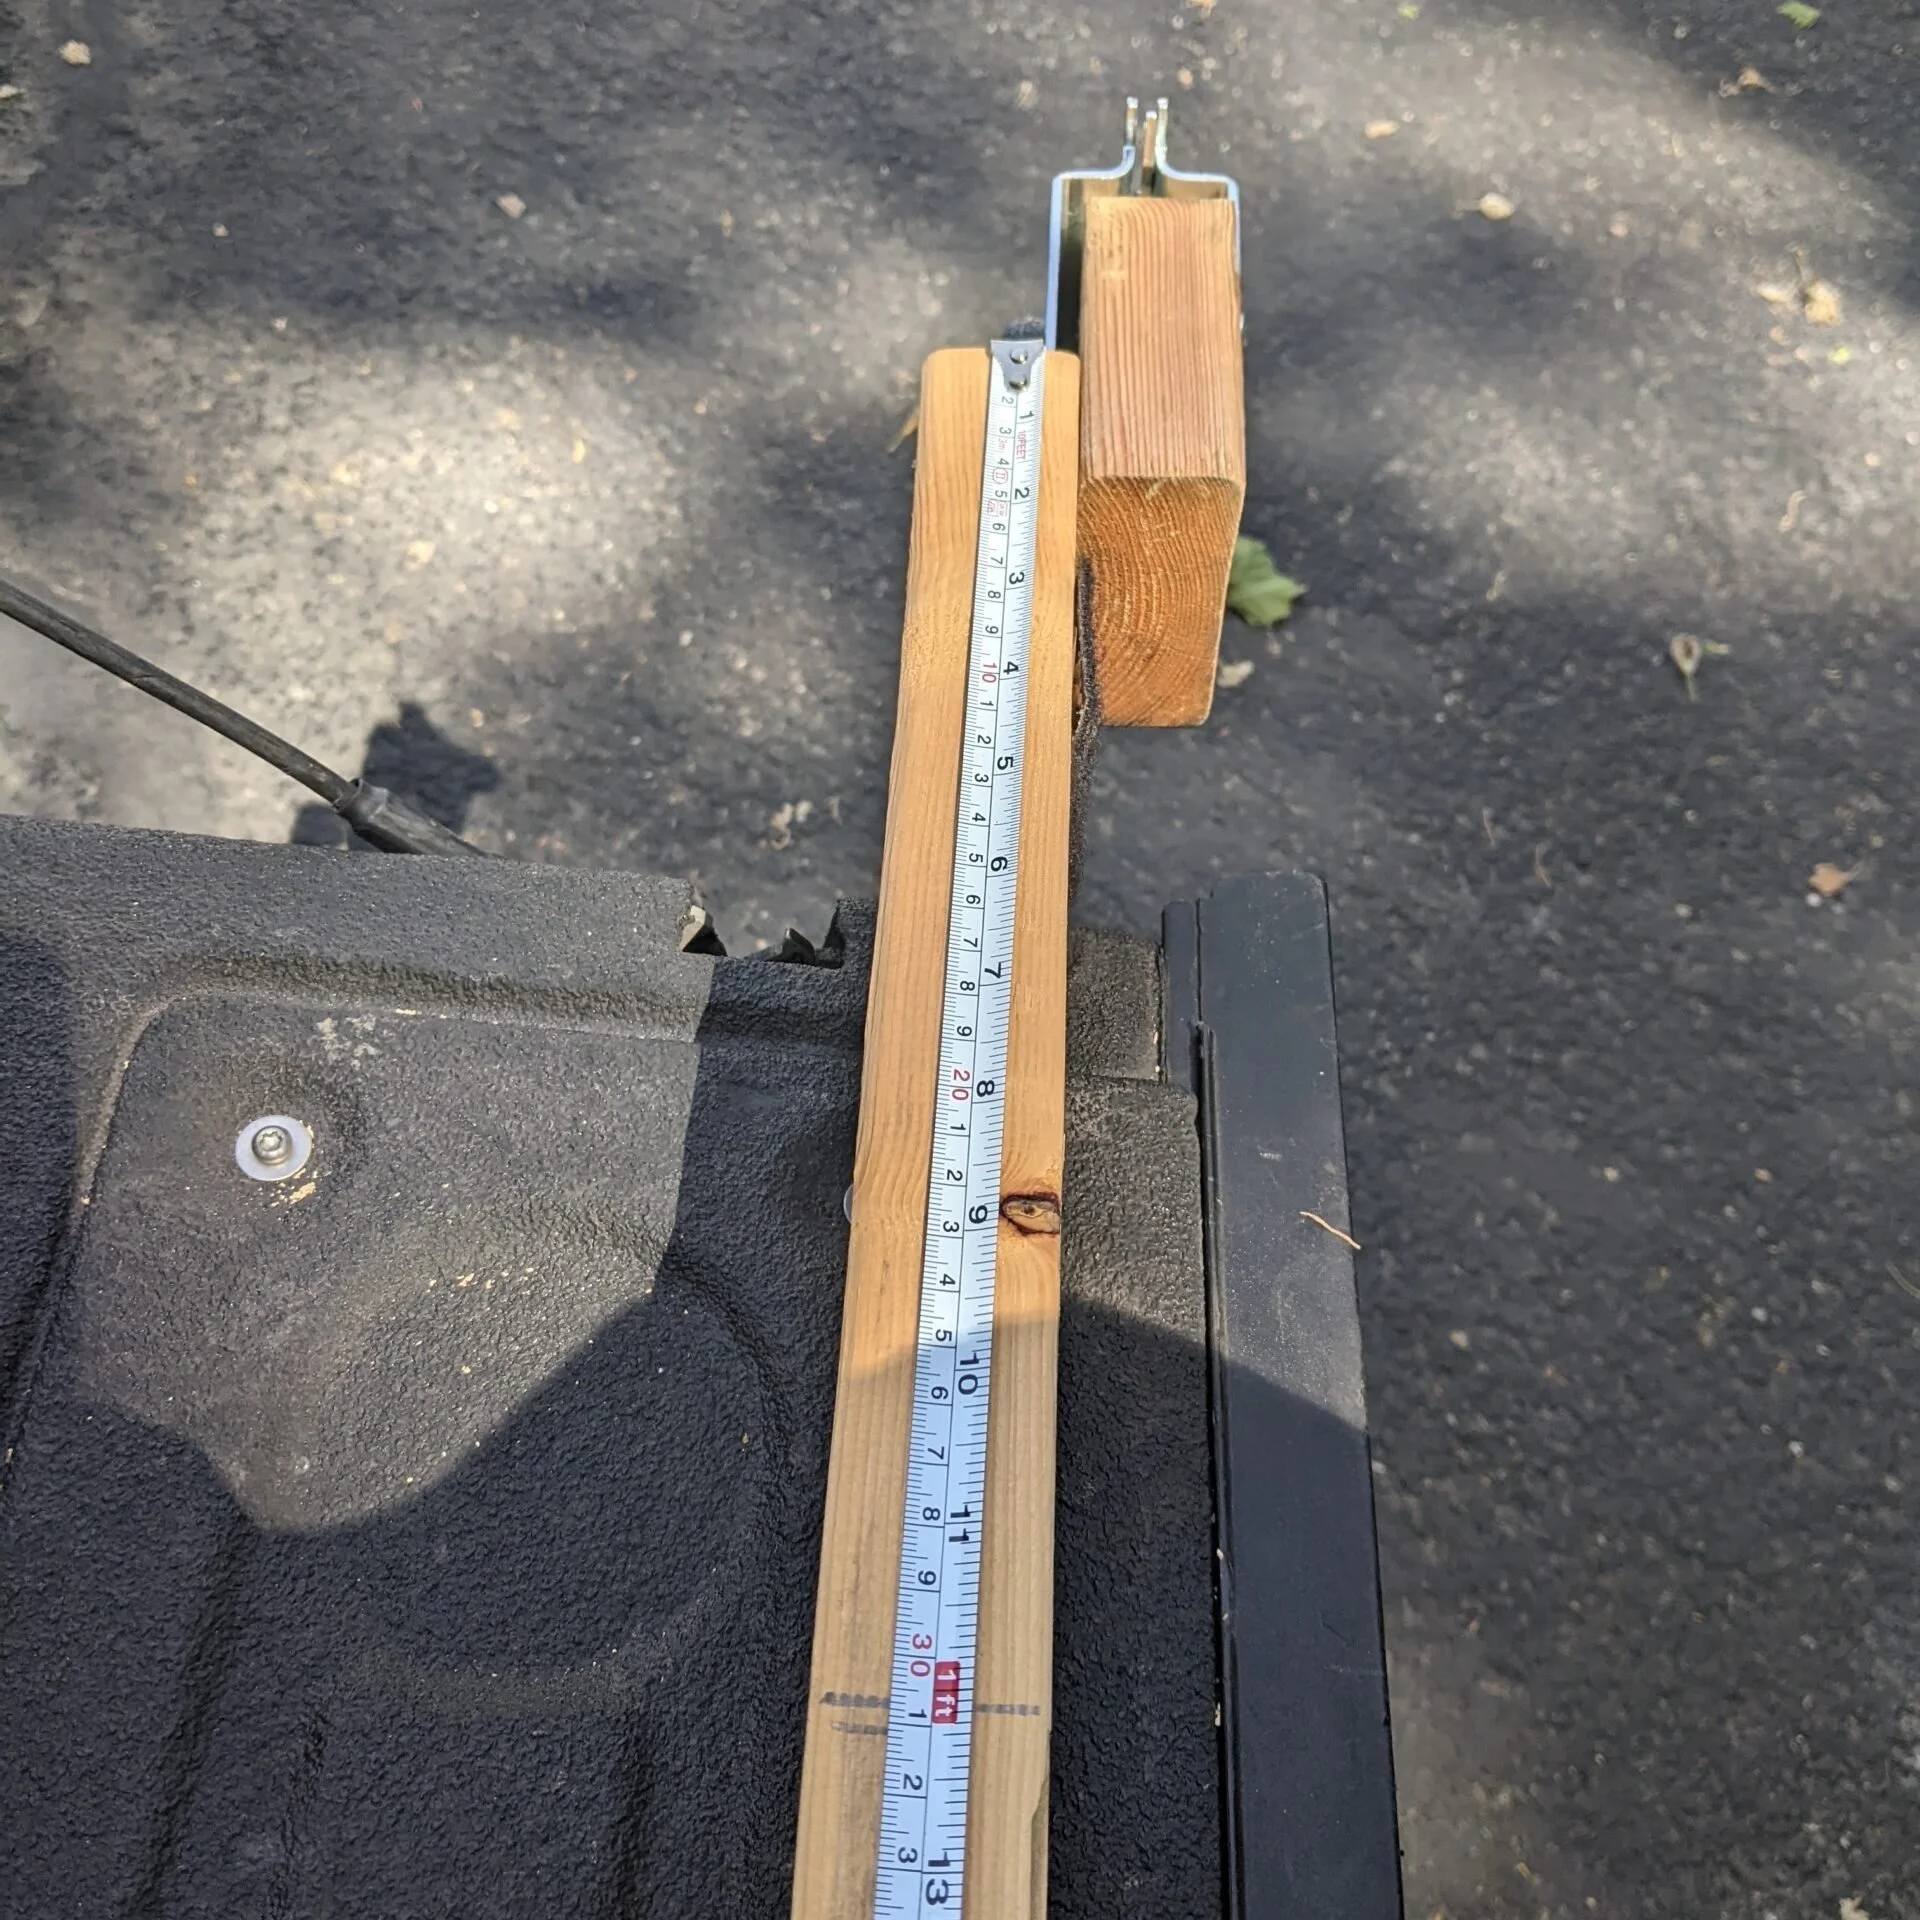
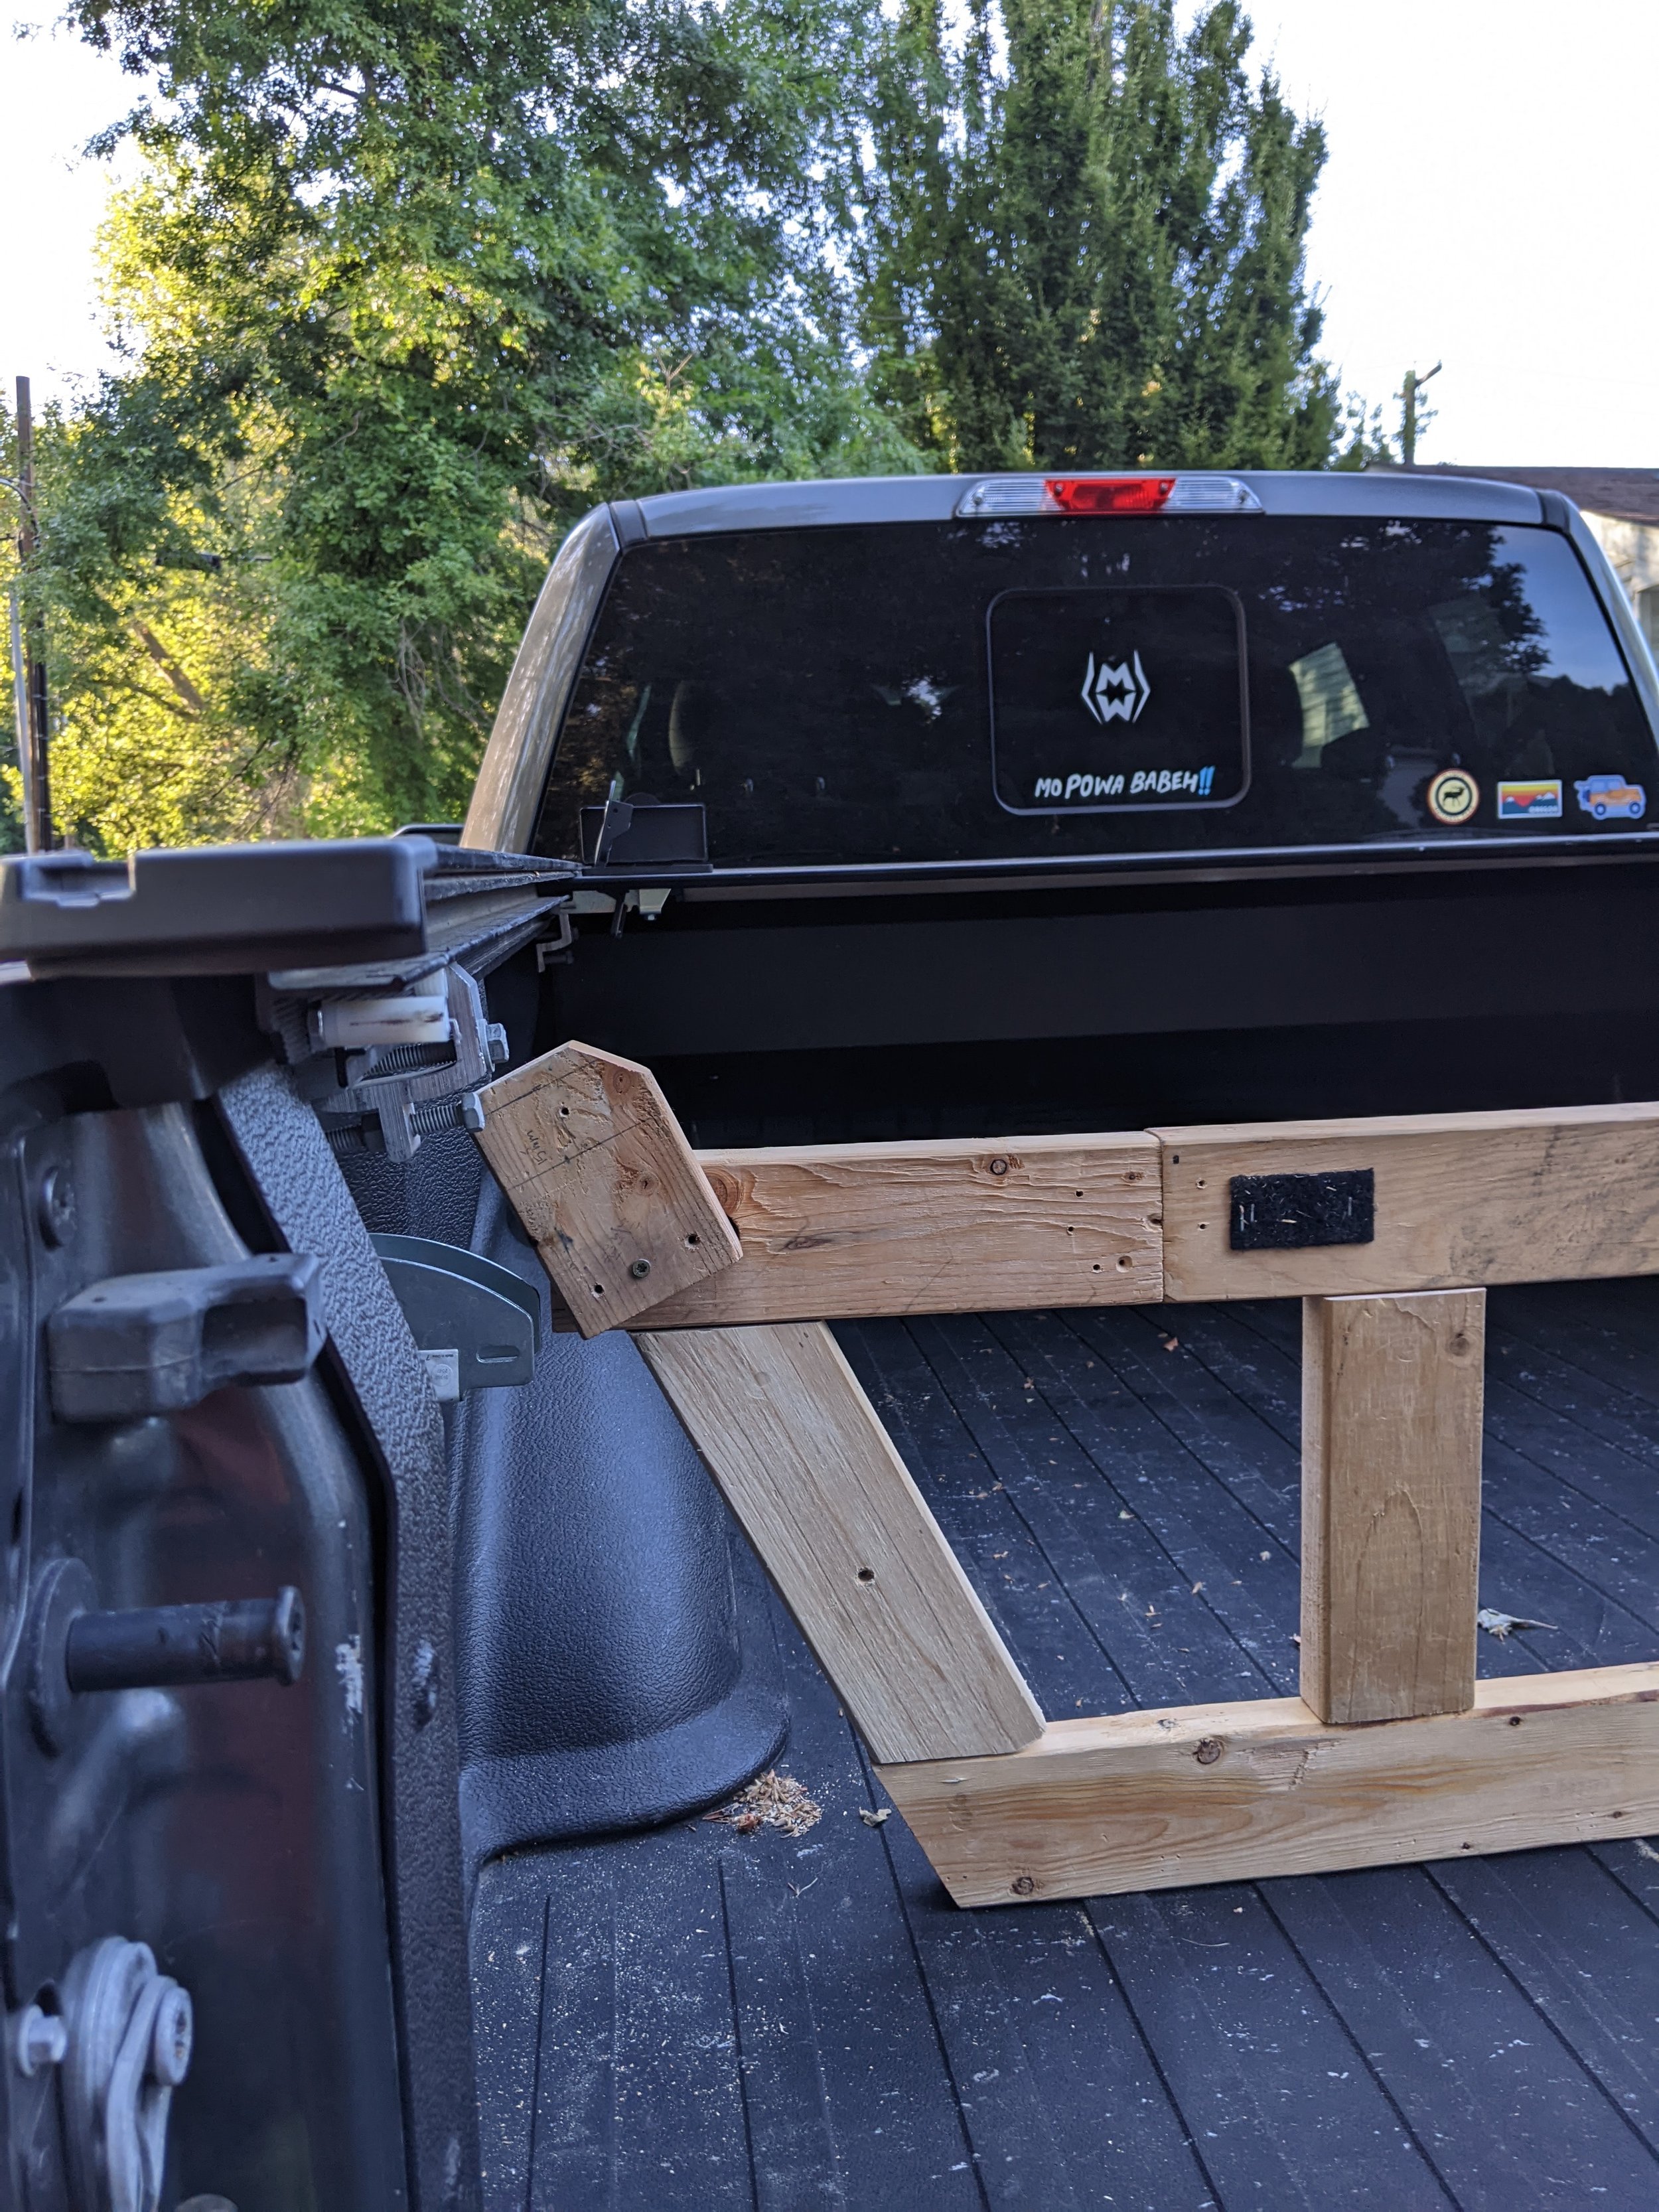
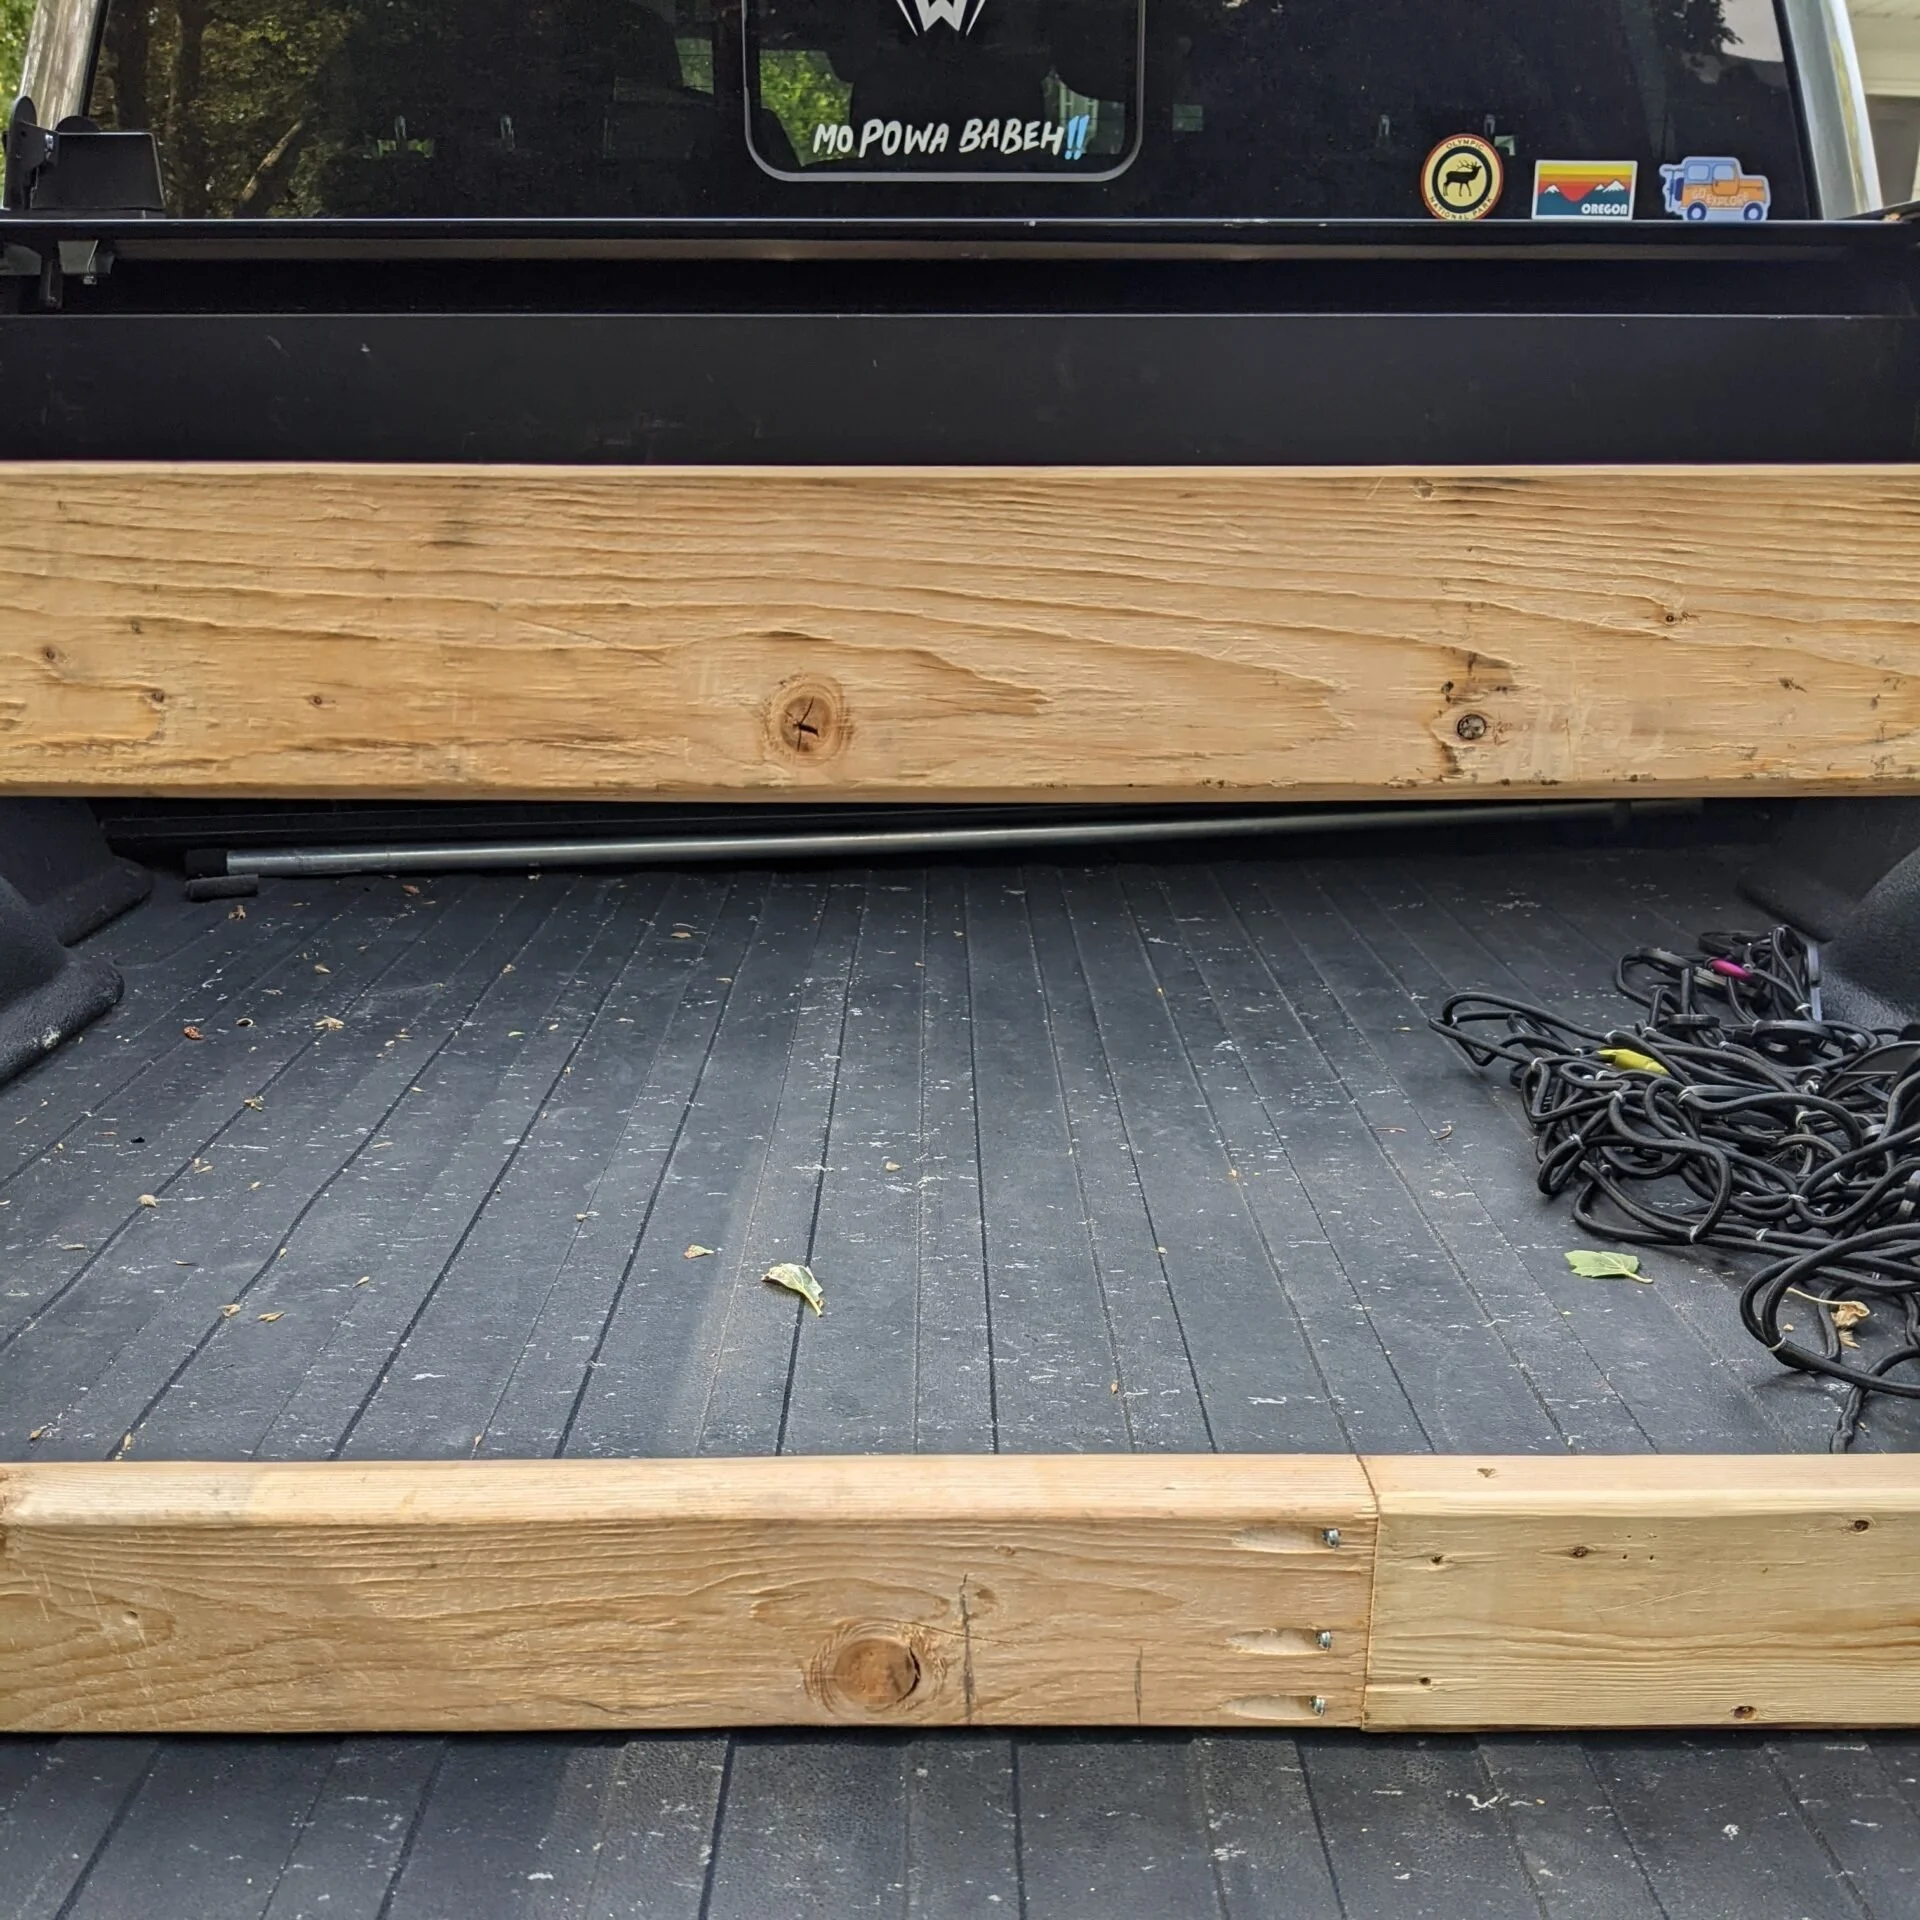
4. With the E-track wood beam sockets inserted into the BoxLink plates measure the distance from the outside of one of the brackets to the other. Transfer this measurement (outside of e-track socket to outside of e-track socket) to one of your 2x4s then make your first cut and save your cut-off piece. Your new piece will serve as the top piece of the bed divider. If you do not have an F150 or e-track socket simply cut your 2×4 to the distance from the inside of one side of the bed to the other.
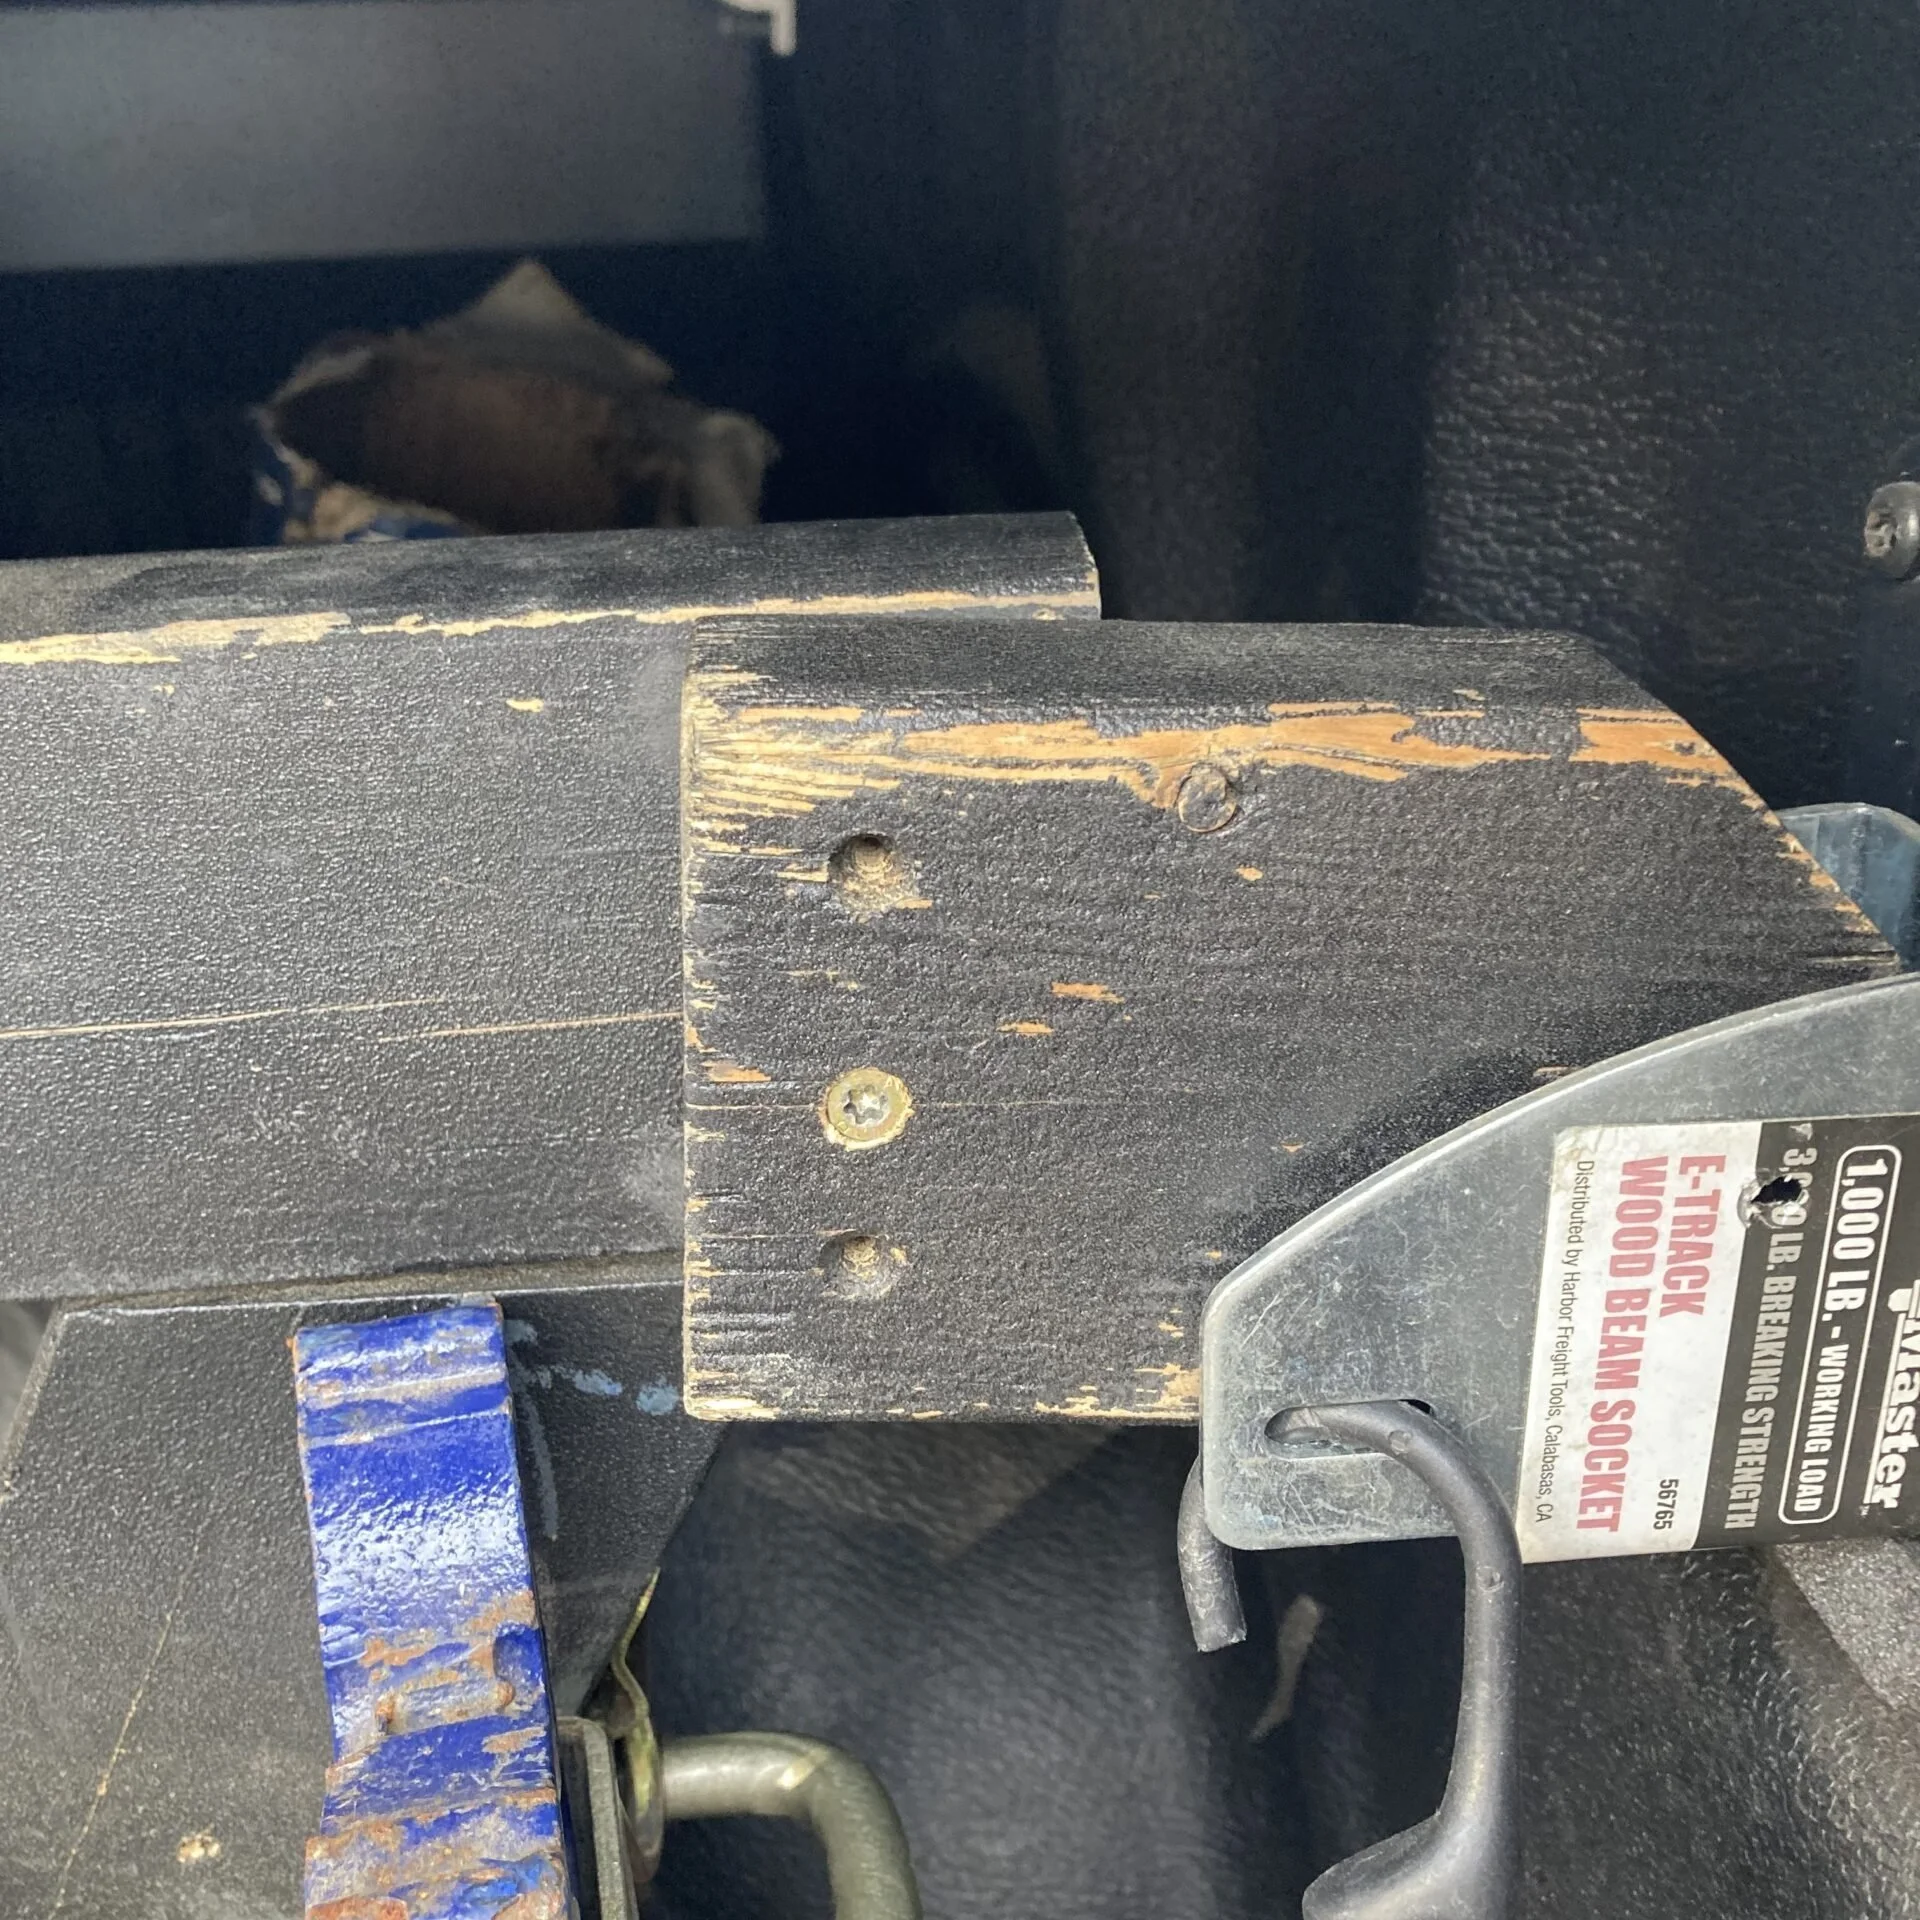
5. On the cutoff piece from your first cut measure and mark two 5″ sections and cut. Next, make a make mark 1.5″ along the long edge and another 2.5″ along the bottom edge then connect the two. Cut along this line and you should end up with two pieces that are missing one of the corners. We’ll call these “wings”. The notch will be helpful whenever you need to access the spring that releases the e-track sockets from the BoxLink system.
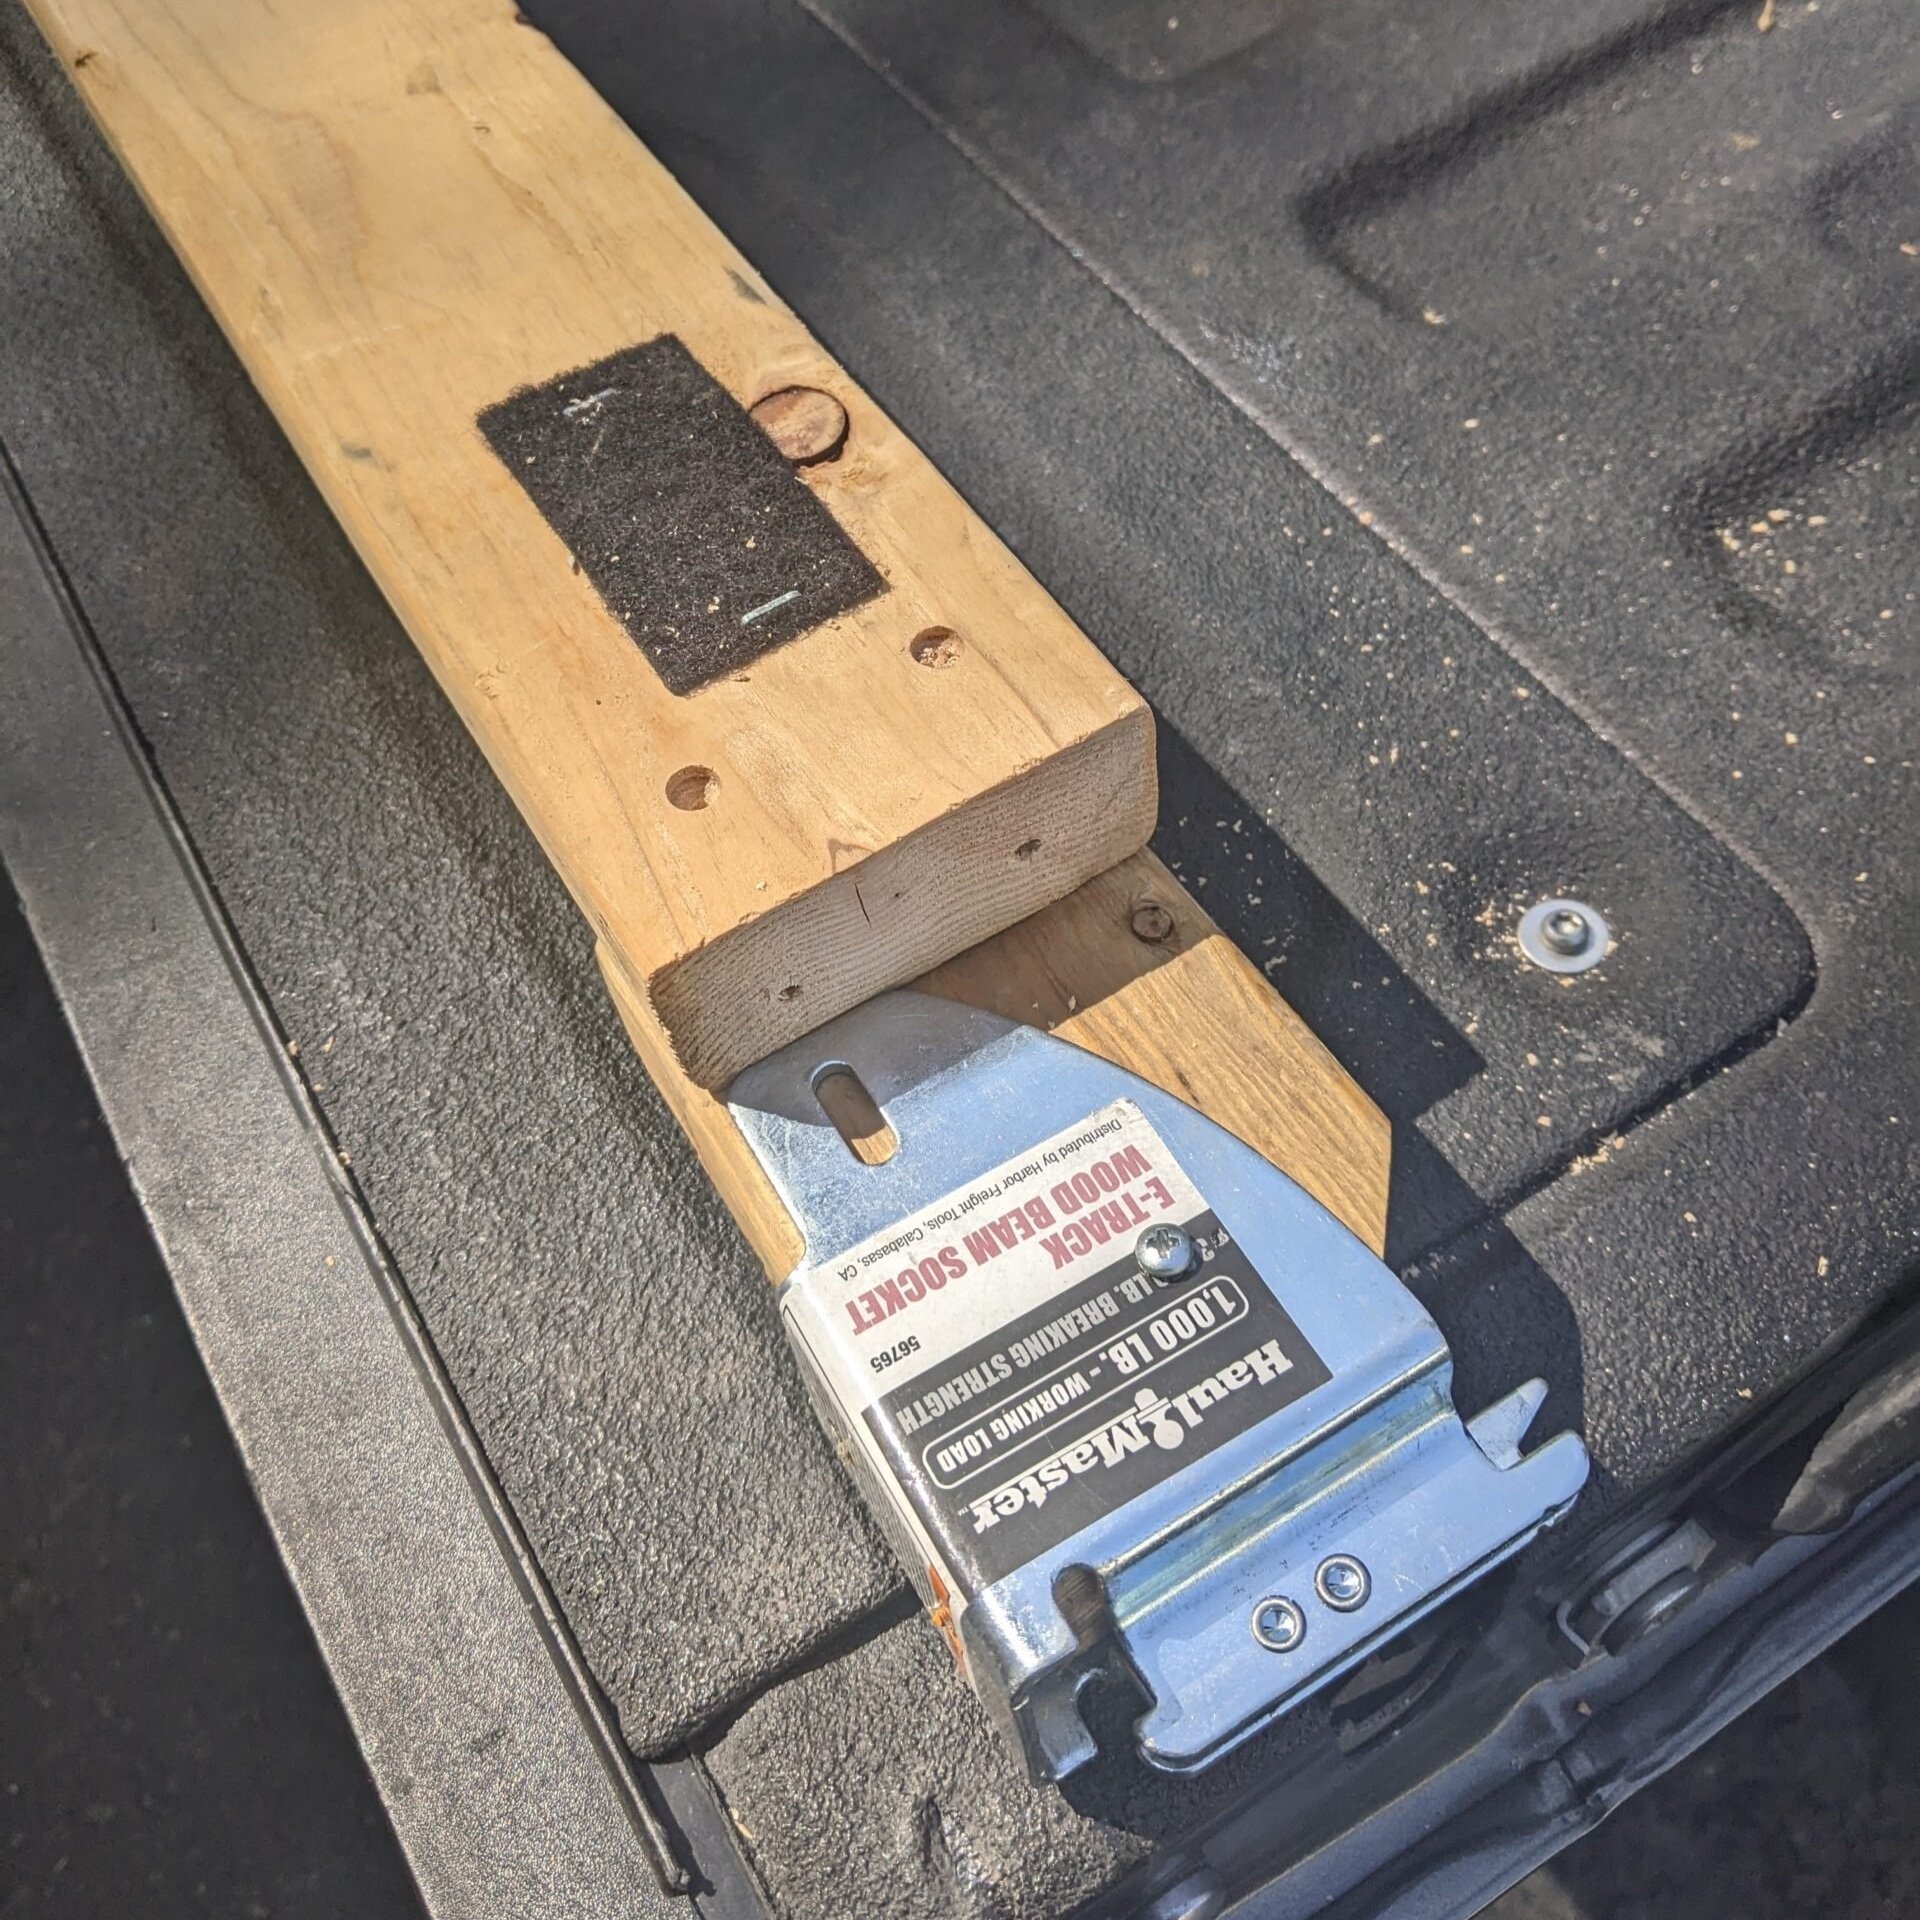
6. Clamp one of your “wing” pieces 2″ into the top runner, drill 2 holes and screw this shorter piece to the top runner piece. I used a #8 countersink drill bit to drill pilot holes and make sure that the heads of the screws would be flush. It took some trial and error on sacrificial pieces to figure out the depth of the countersunk hole but once I had it I marked it on the bit using a piece of tape so that when the tape hit the piece of wood I was drilling I knew to stop. Repeat this step at the opposite end but you’ll only need one hole and (duh) one screw. This is so that this piece can pivot out of the way when removing the bed divider.

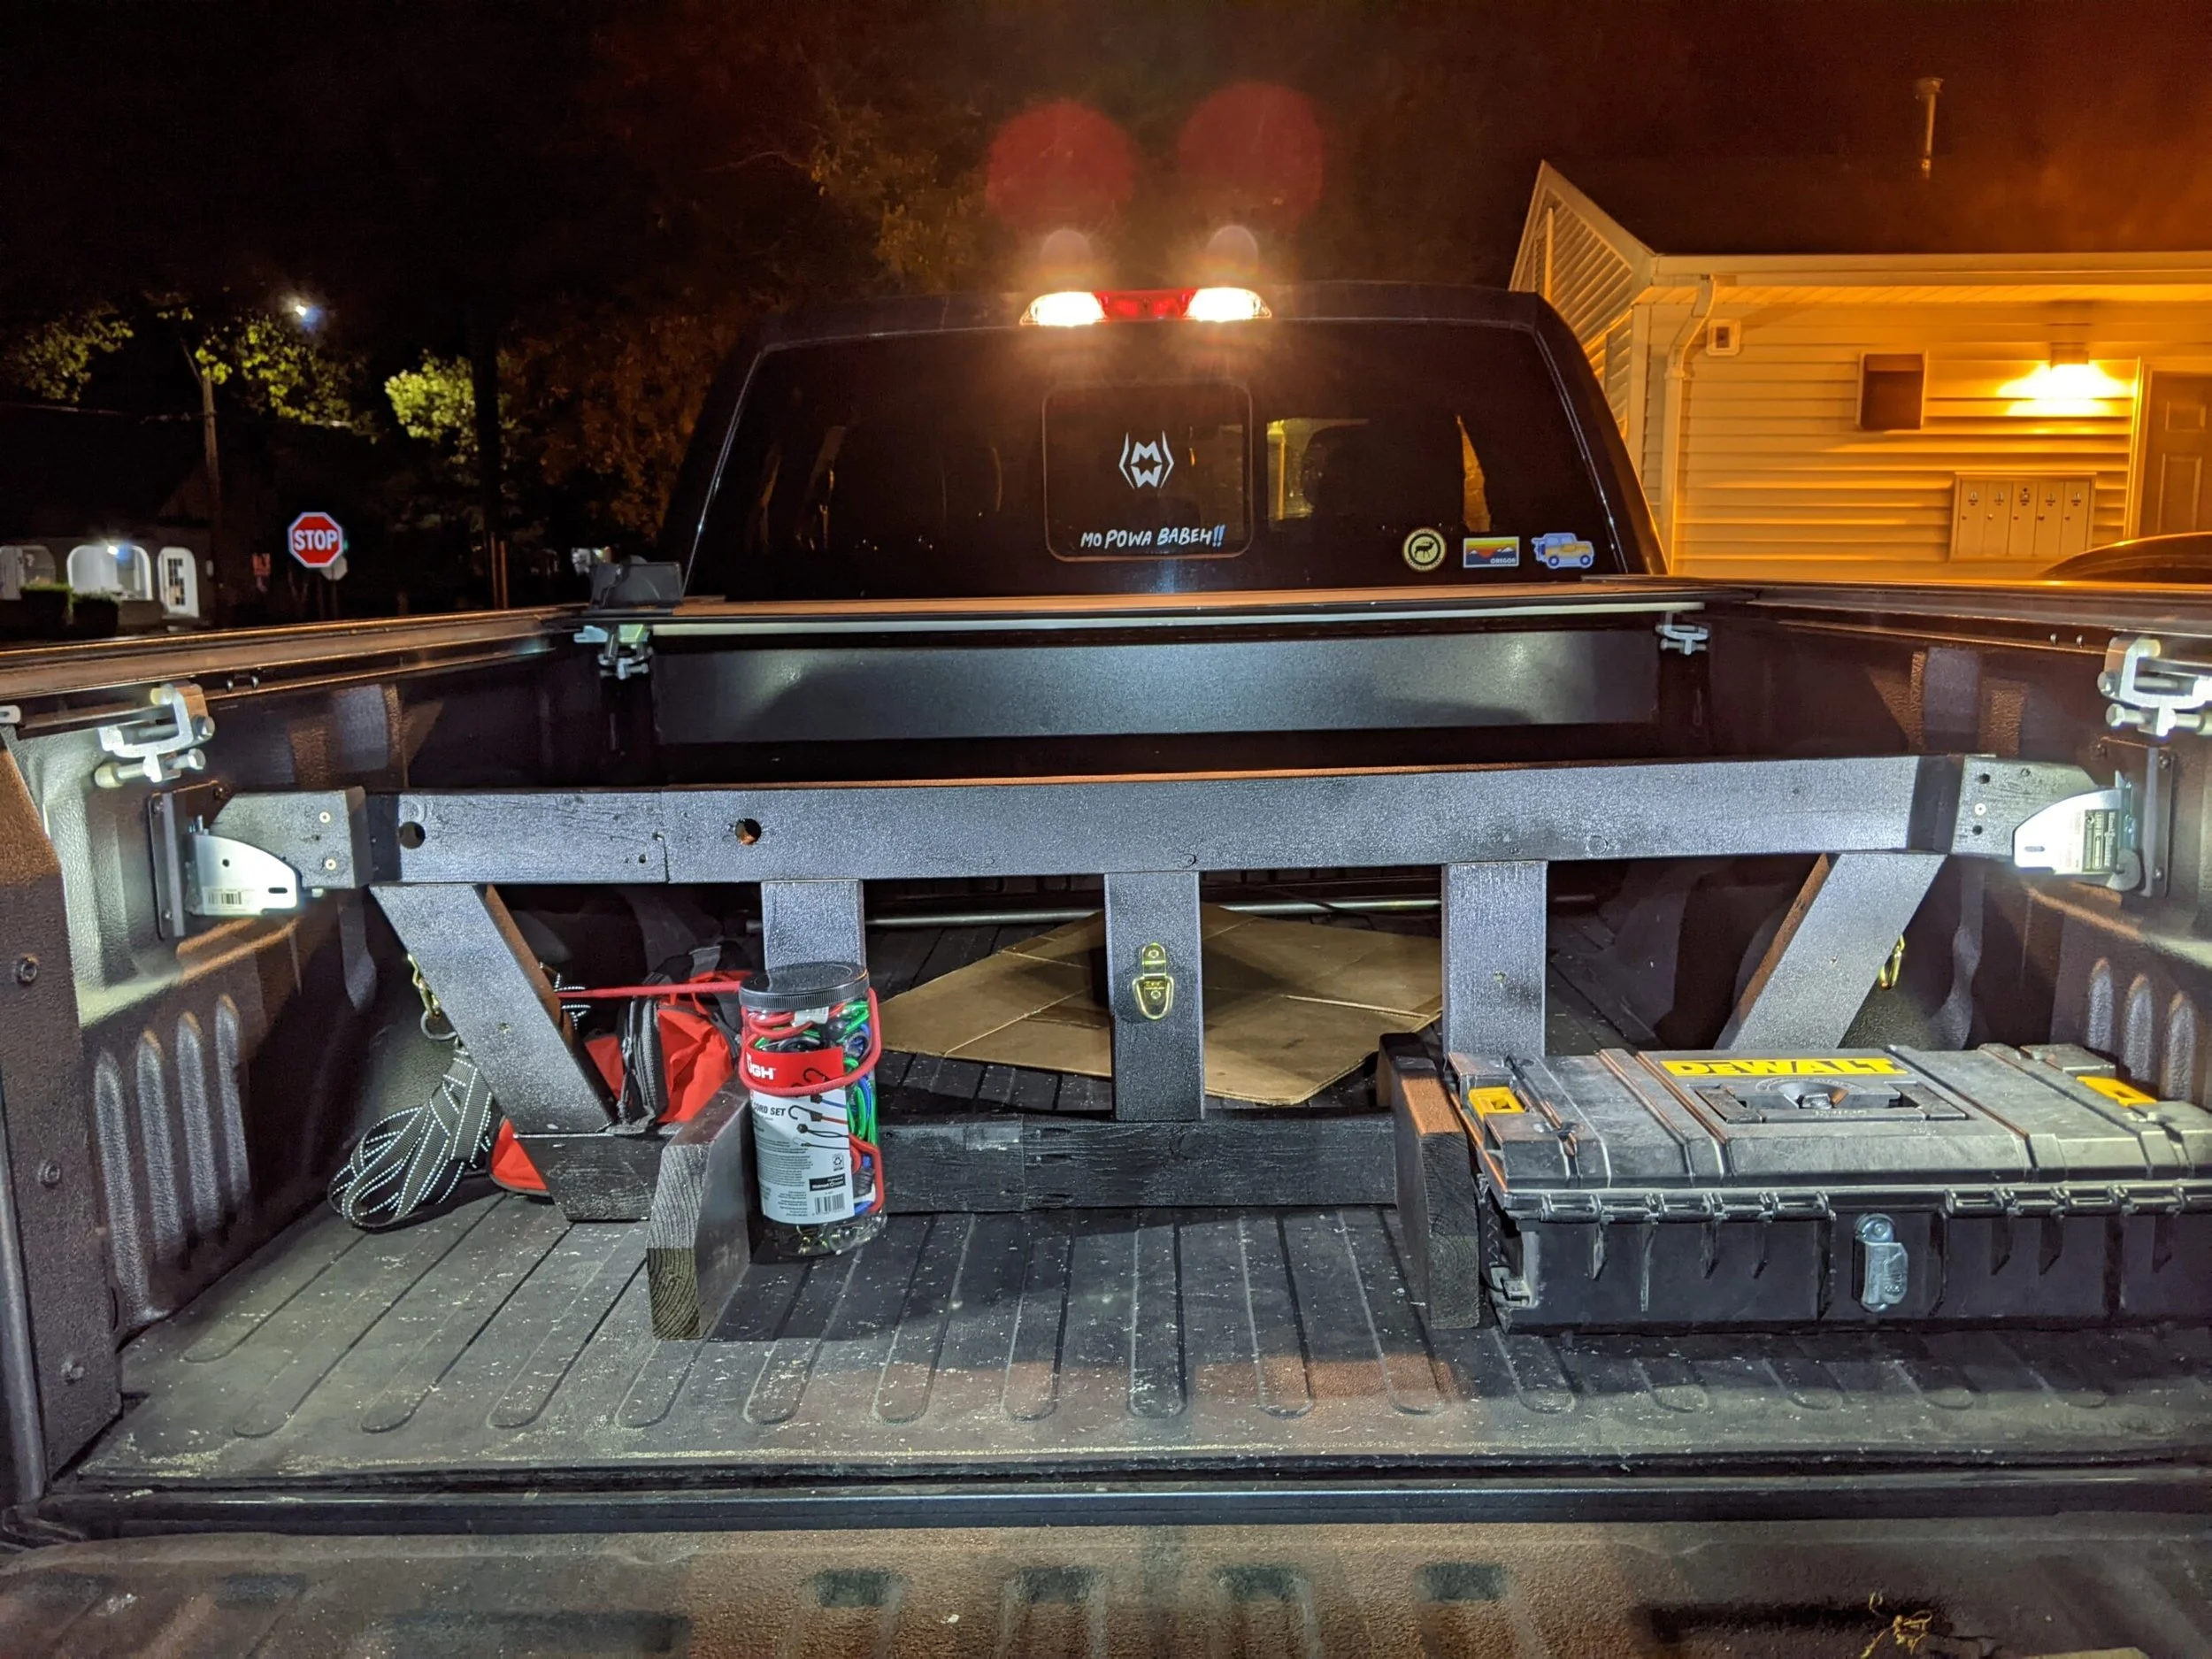
7. I chose to build a 45-ish degree angle into the two outermost support pieces. In order to do so I cut the bottom runner piece to the distance between the wheel wells. Use a measuring tape or ask ChatGTP to figure out the distance for your vehicle. If we share similar tastes (I mean that is why you’re here, no?) and you are doing this for your F150, you’ll cut your second 2×4 to 50.5″. Lay your new piece on its smaller edge and parallel to the tailgate in preparation for the next step.
8. With your top piece mounted + “wings” mounted inside of your e-track wood beam socket and the bottom piece directly beneath it (parallel to the top one and on its smaller edge), measure the inside distance between the two. I chose to do this in 5 different locations for aesthetic reasons, more tie-down possibilities as well as to account for irregularities between the top and bottom runners. You should do this at least 3 times (middle and both ends). Make sure to keep track of these measurements in a notebook or on the top and bottom pieces themselves.
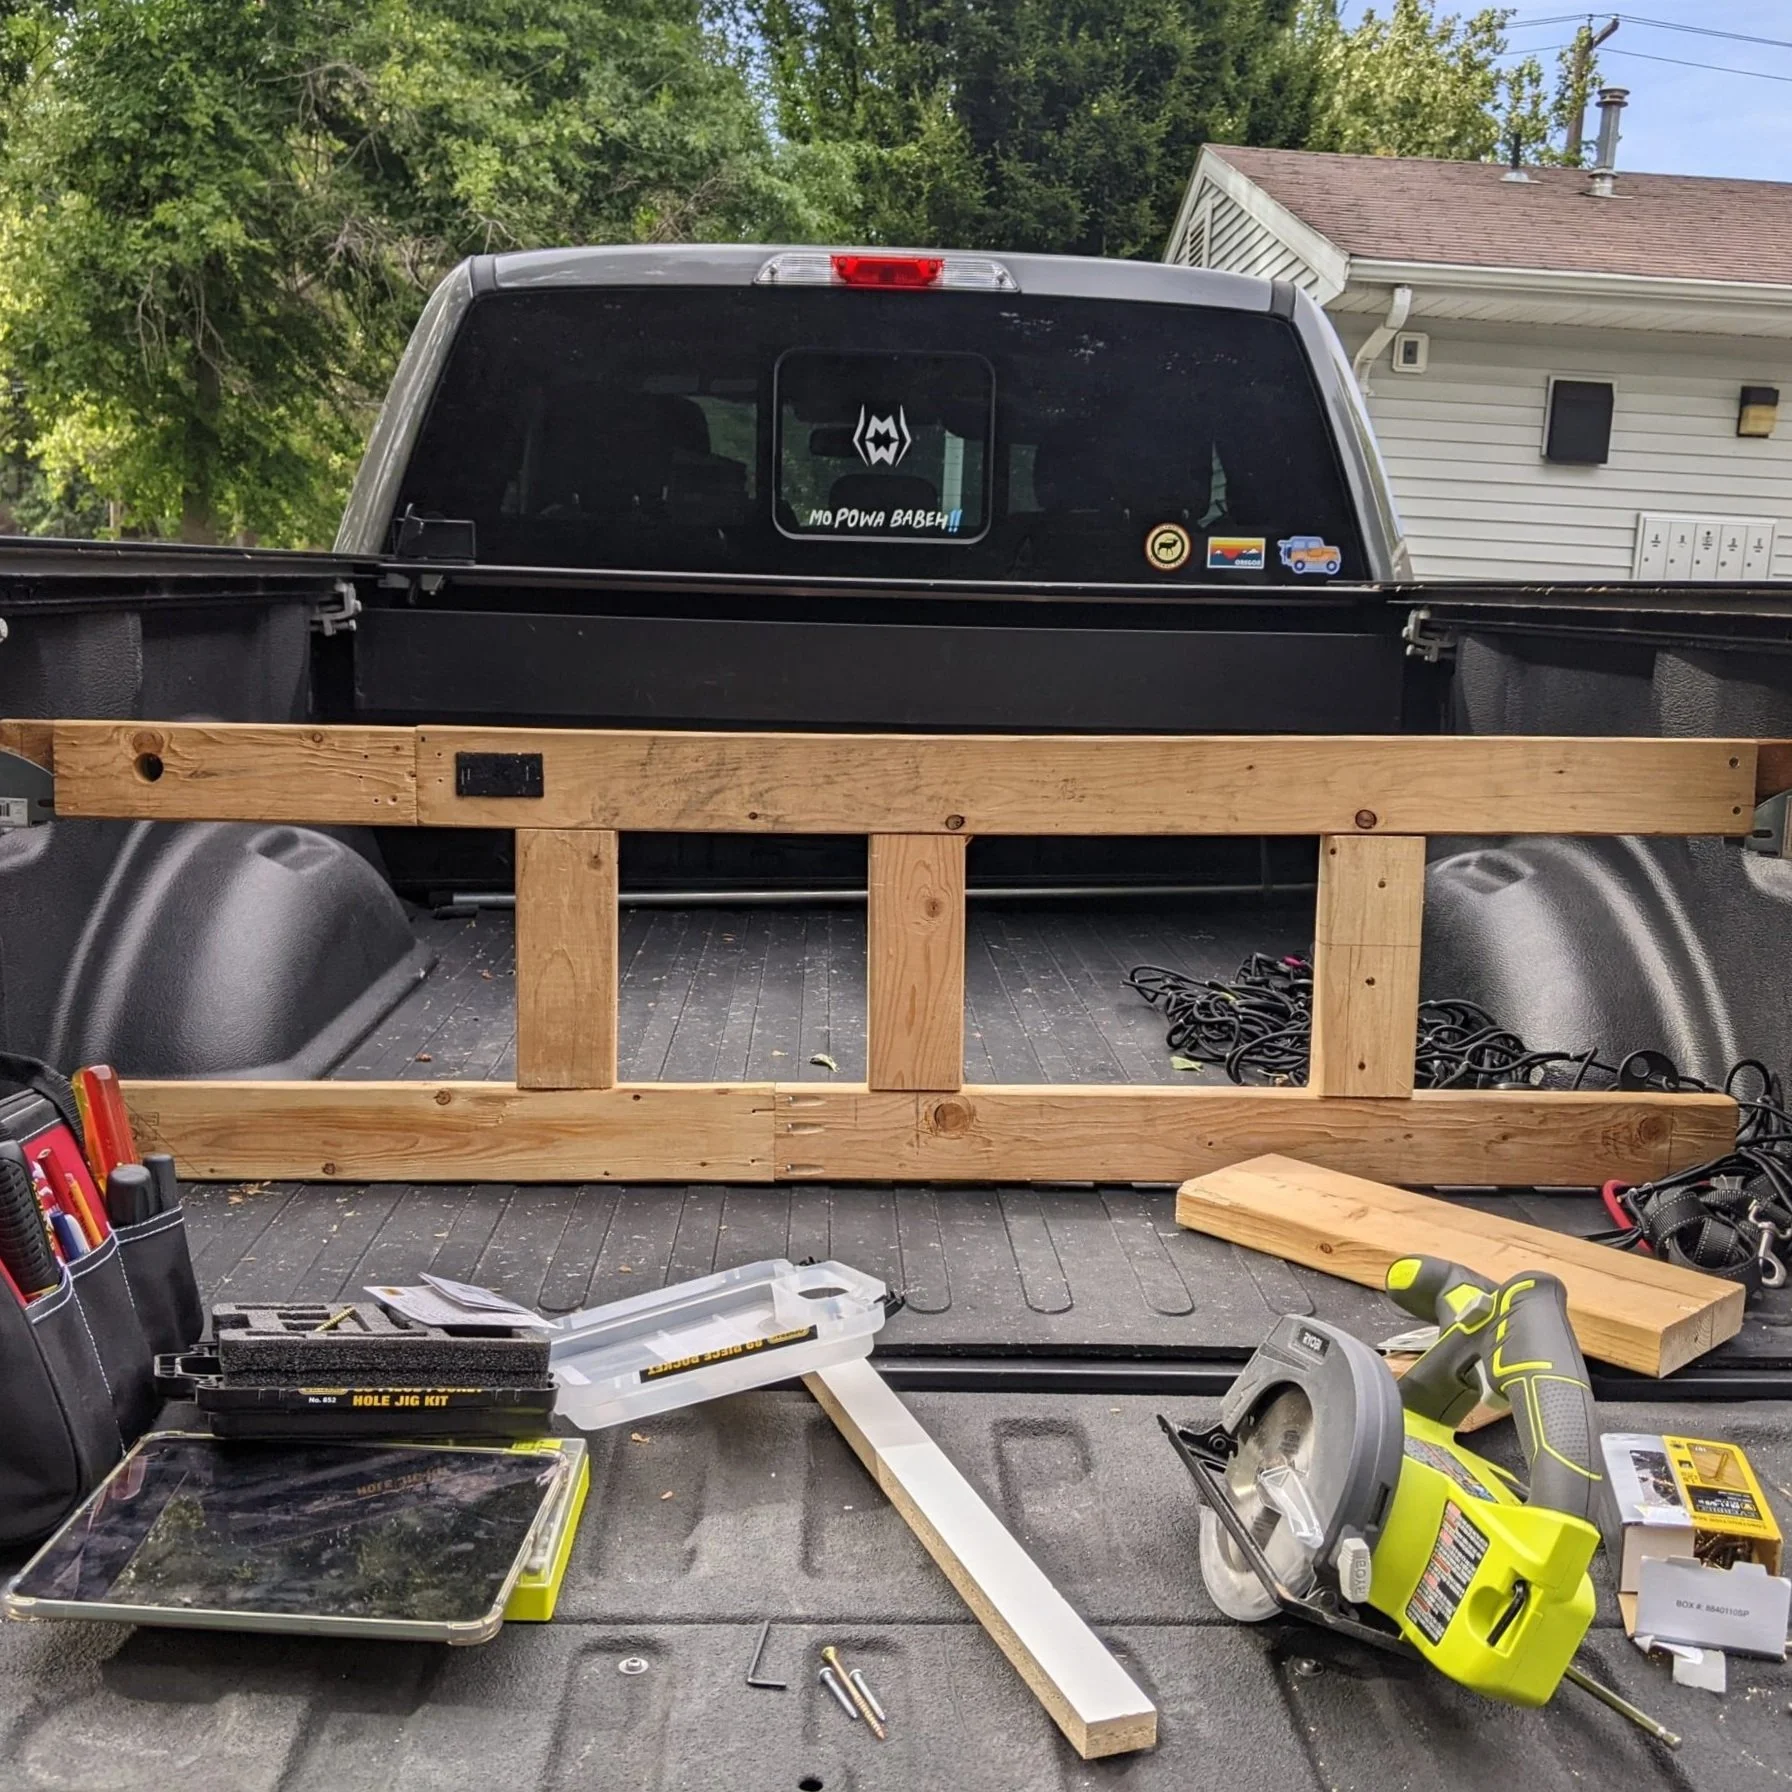
9. Transfer the distances from the previous step to your third 2×4, double-check, and cut. You should end up with 3 (at least), well-labeled pieces that will serve as columns of sorts between the top and bottom runners as well as provide additional tie-down locations. Since I decided to add a little flair and mimic the OEM Ford bed divider I had to add 45º miters to my 2 edge pieces and cut off a tad bit on the bottom runner to line it up with the angle of the outer support. This made this step a little trickier for me but I think it was totally worth it.
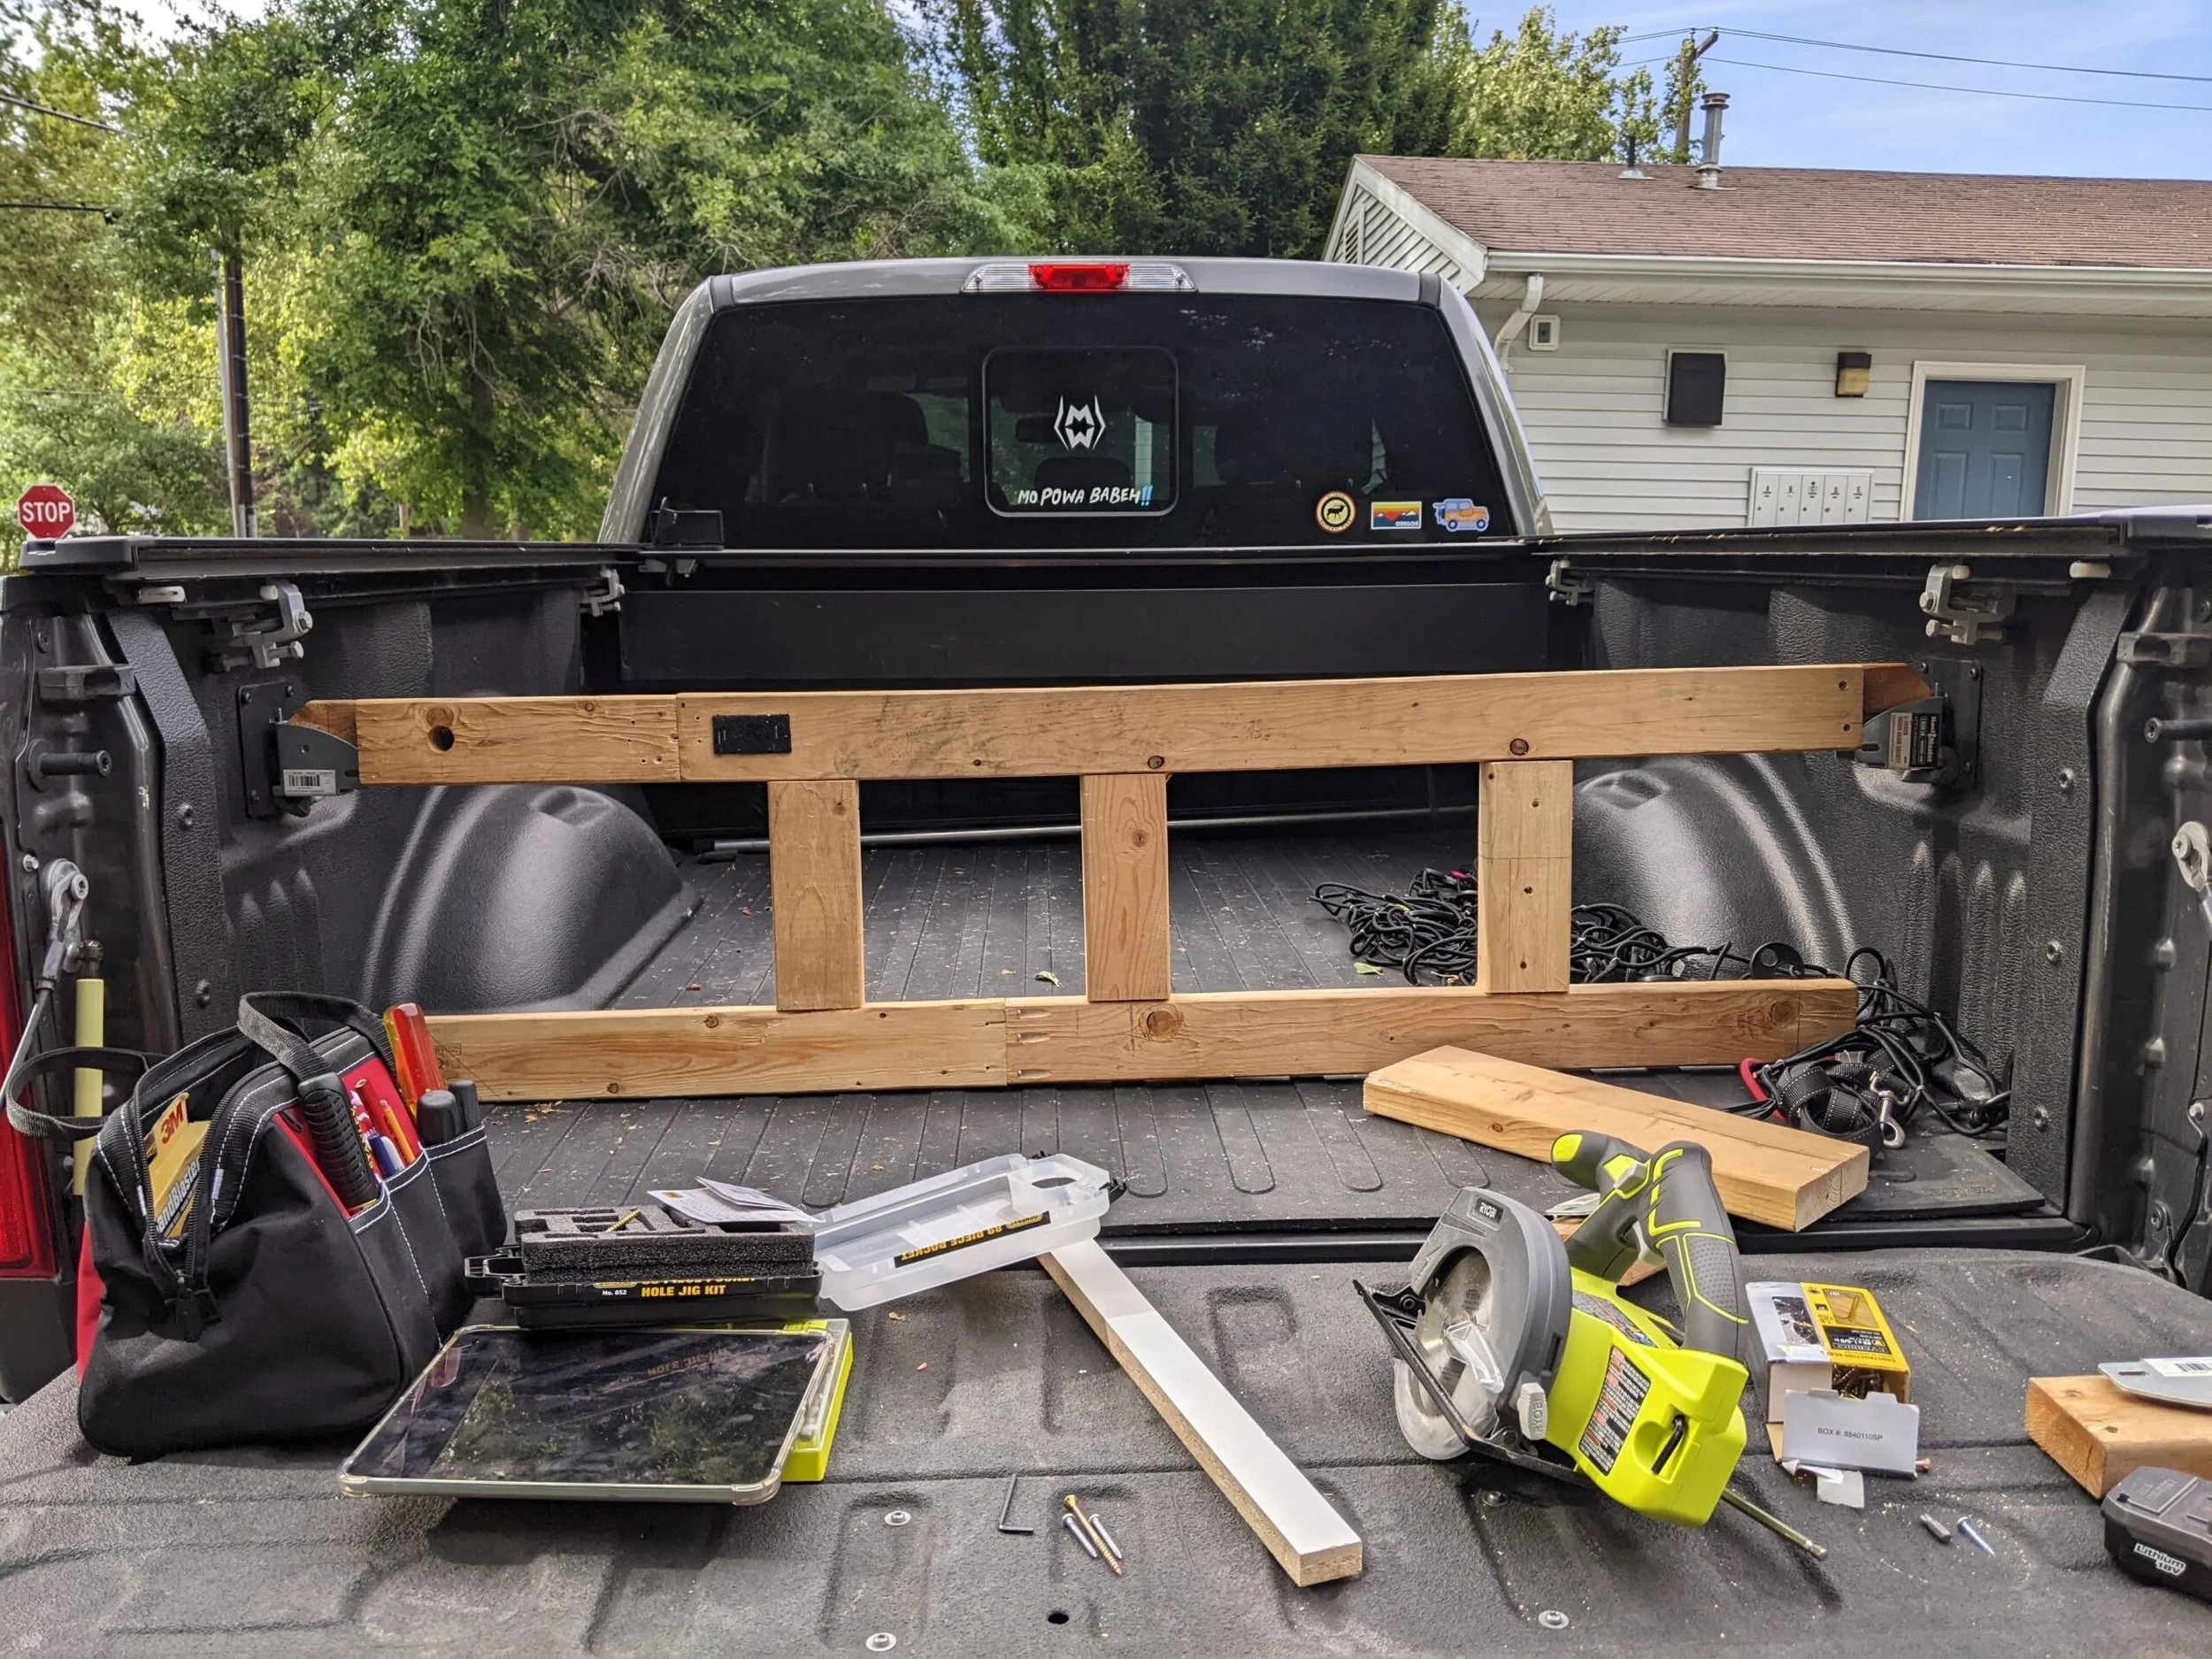
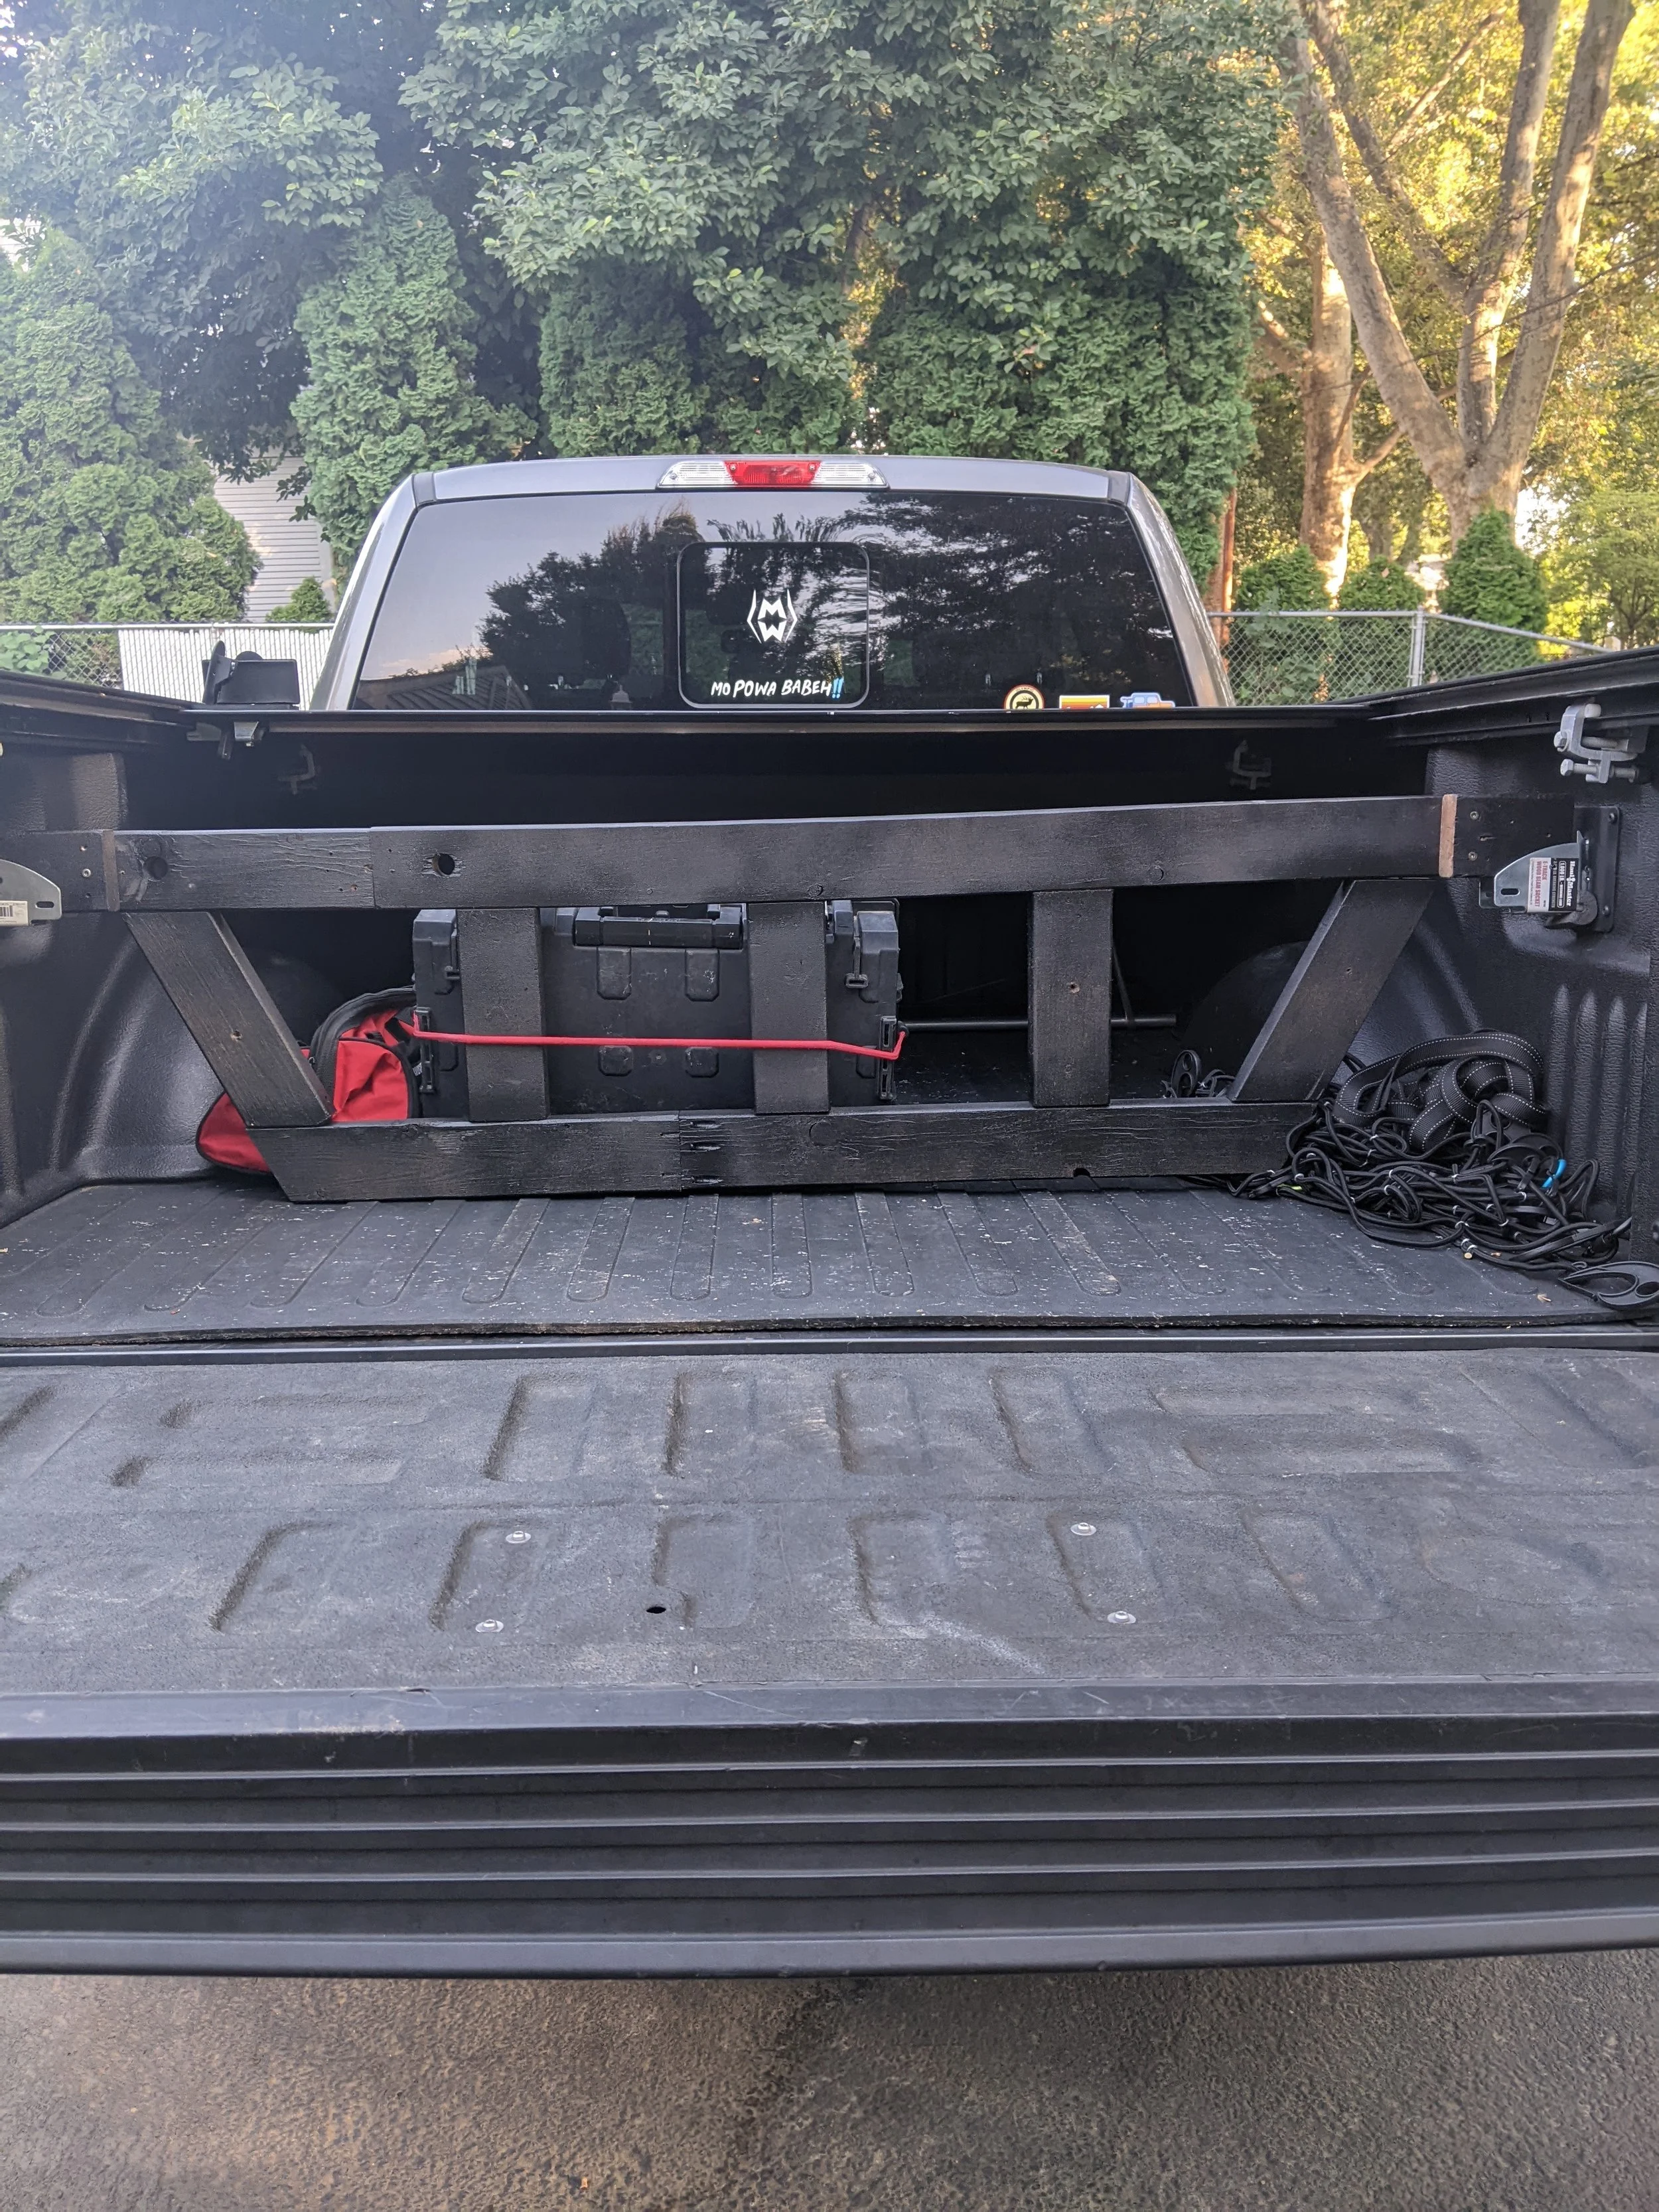
13. Time to put it all together! Lay all your pieces out (a level floor works great for this) and starting with the middle “column” screw your support pieces to the top and bottom runners. Be sure to give some thought to where you want to place your attachment points. I put one of the outside edges of the outermost support pieces and a third on the front of the middle support but your needs are likely different. 12-20 more screws later attach the two feet, have a beer, and pat yourself on the back because you now have a functional removable bed divider.
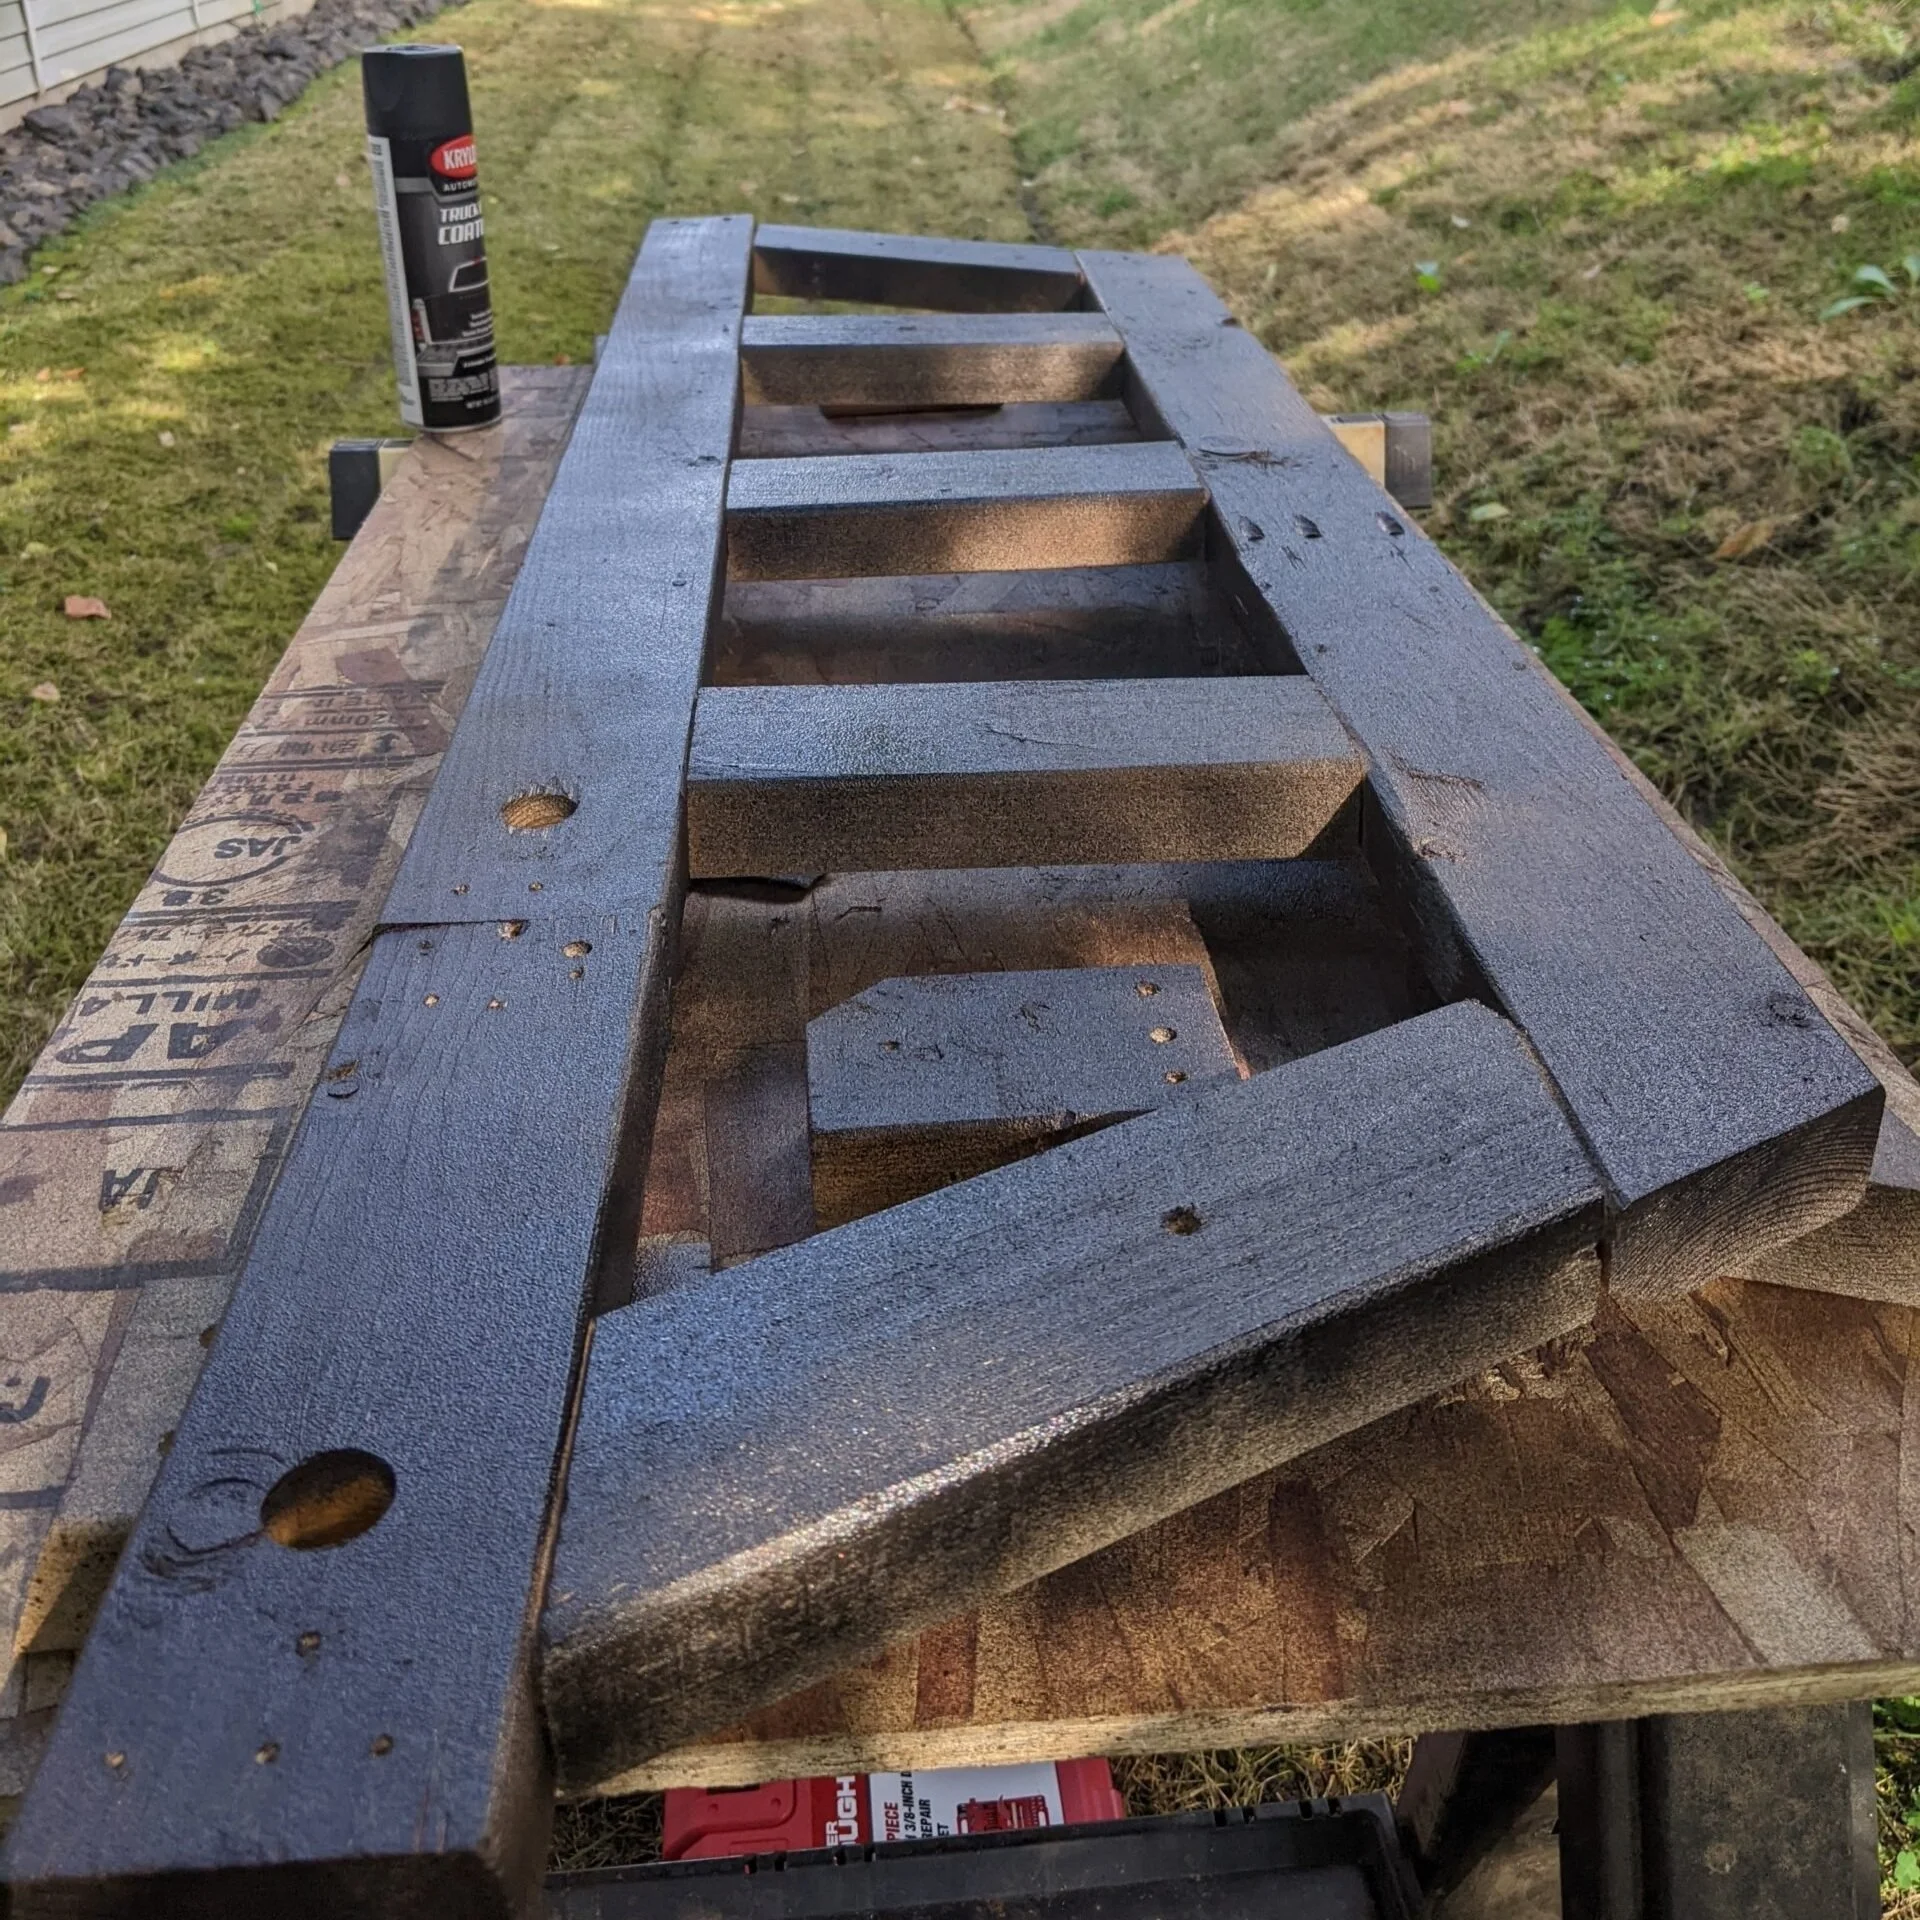
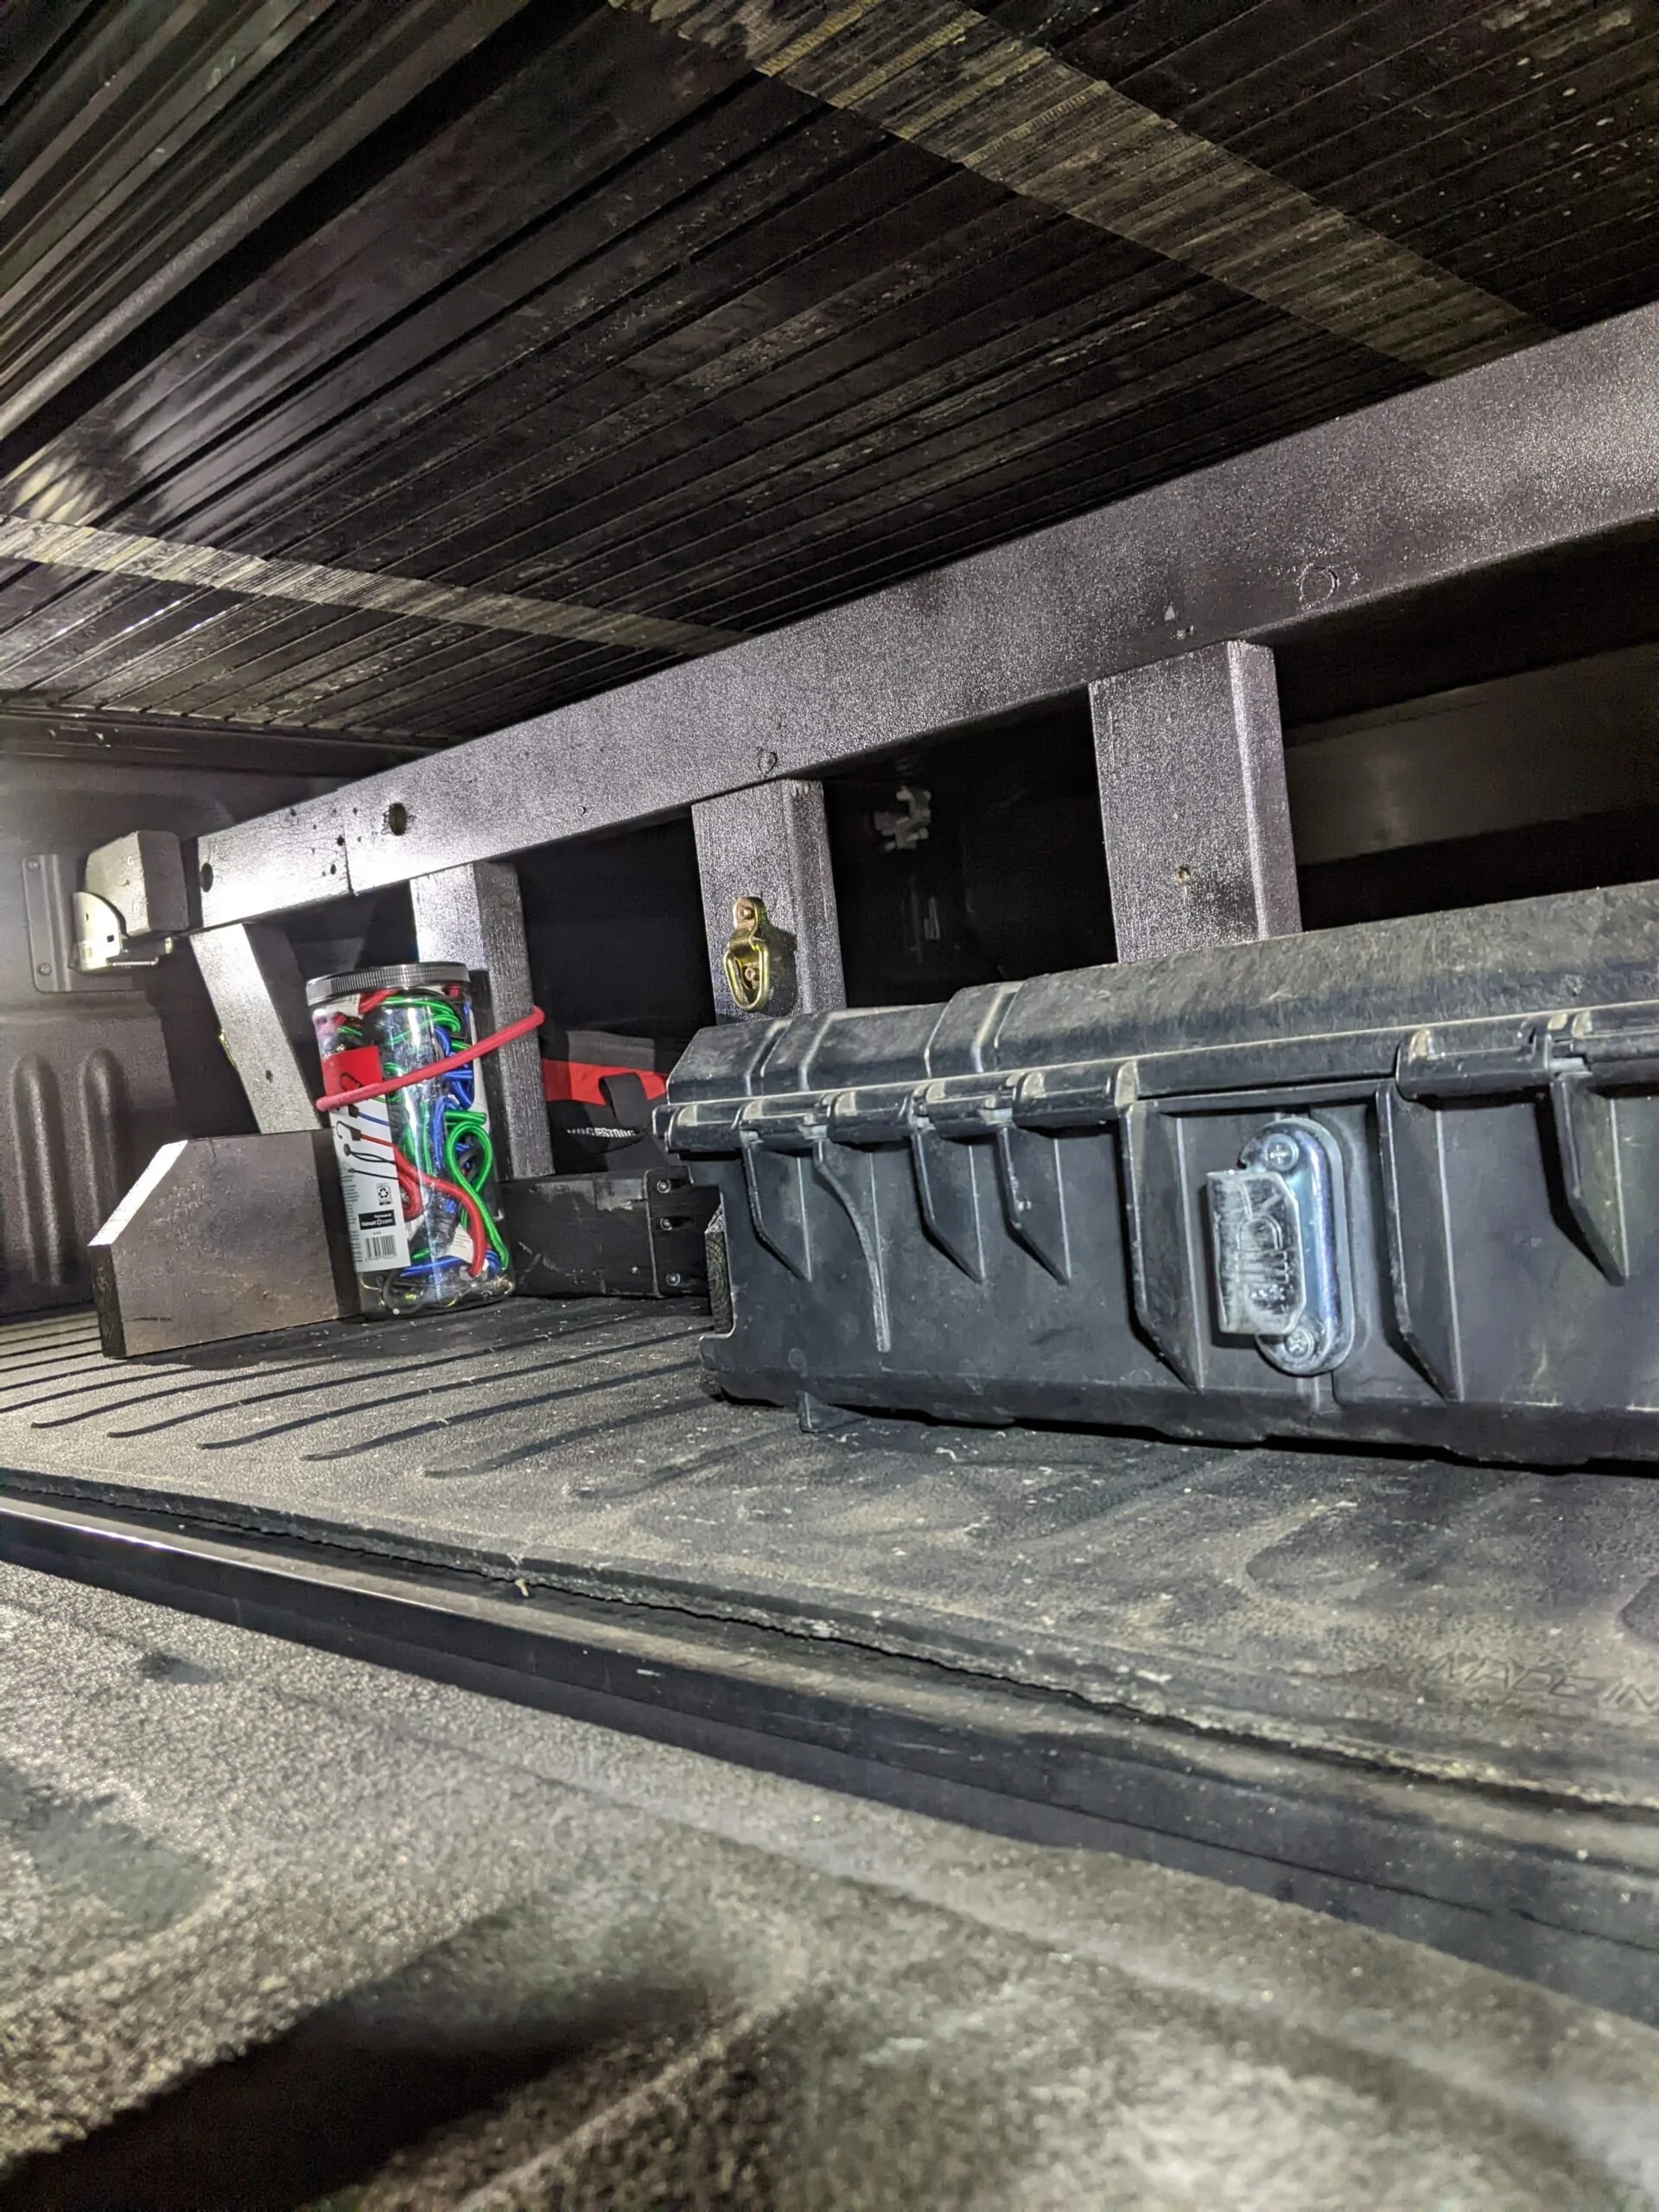
14. This step is not necessary but I chose to spray bed liner on mine to further imitate the look of the OEM version. The spray-on bedliner I chose (while economical) did not hold up well to anything more than grocery use. In truth, it was not required since I have a cover on my truck bed but if yours is exposed to the environment I would recommend looking into a better product or respraying as needed (which is what I’ll be doing).
BIG Whoops:
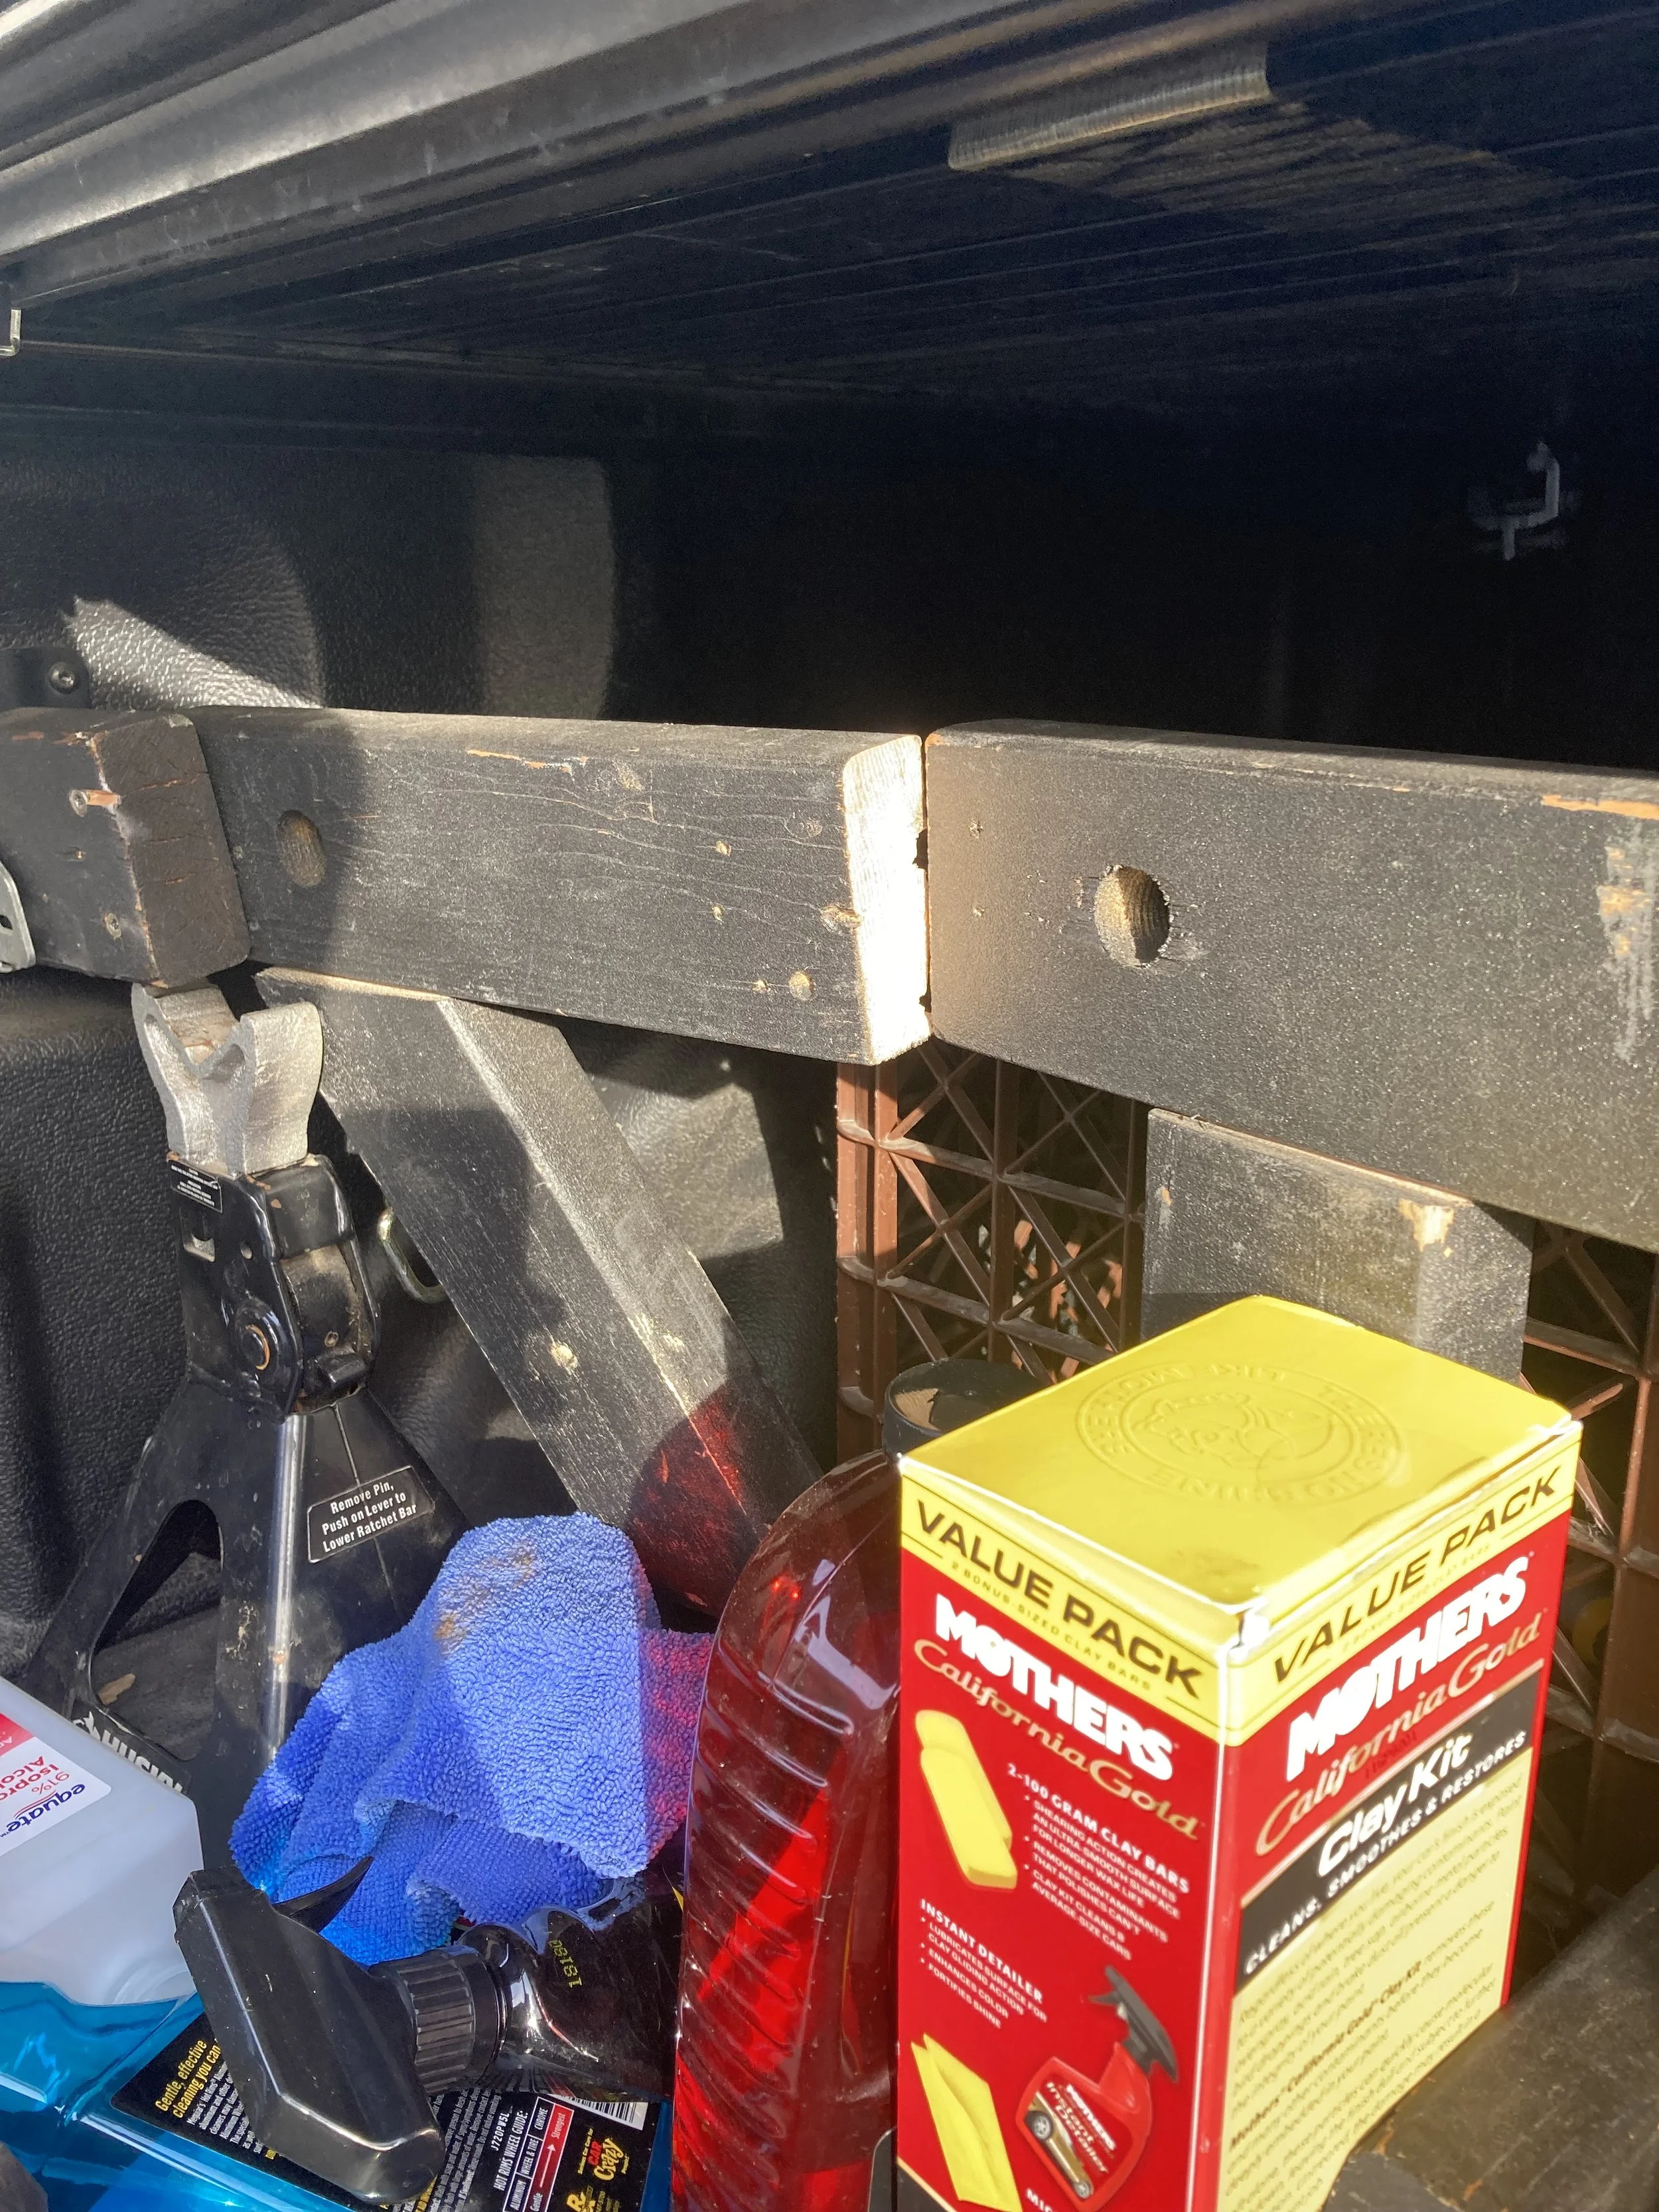
**Due to budget restraints and my inability to toss any wooden scraps over 6 in. in the trash I (wrongly) decided to use pieces left over from a previous project resulting in a subpar and weaker diver. Recently V1.0 was seriously damaged while packing for a camping trip. That is why I recommend that you use new stuff to avoid the headache. Stay tuned for V2.0 this summer!**
Price (estimate):
Box of 3 in screws | $13 Home Depot; $10.47 Amazon
D-rings and included screws | $2.89 ea Home Depot; $18.99 for 6 Amazon
Spray-on bed liner | $7.97 ea Walmart & Amazon
e-track beam socket | $4.99 ea Harbor Freight; $23.85 for 2 Amazon
1 in foam pipe insulation | $2.98 ea Home Depot; $11.49 ea Amazon
2 in x 4 in x 8 ft stud | $3.35 ea Home Depot
2 in x 6 in x 4 ft stud | $4.57 ea Home Depot
TOTAL: $65.46 Big Box stores | $95.36 Amazon
Prices are accurate as of publication and do not take into account any tools I already had on hand.